After signing up from website, you will receive a confirmation email on your email provided at the time of sign up. You need to confirm your email. After that you need to download our YlogApp from Google Play
here
(If you are using an Android device) or from iTunes here (If you are using an iOS device).
You need to add Driver and Vehicle to be used on your device and then you can log into your mobile device and its
location data will be on portal under your account.
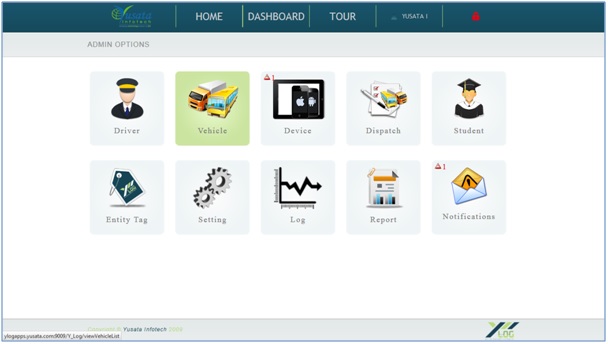
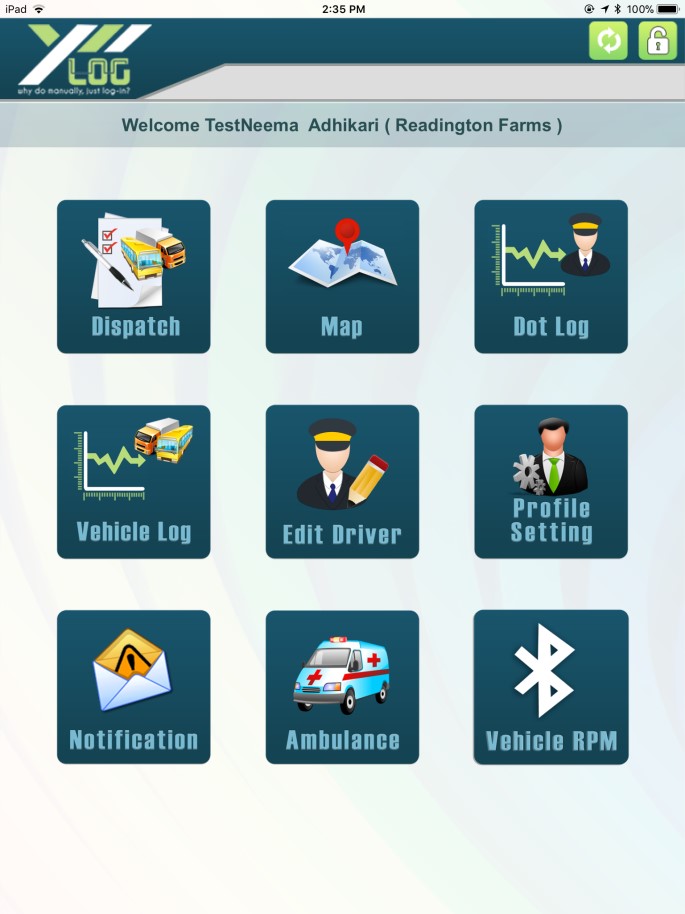
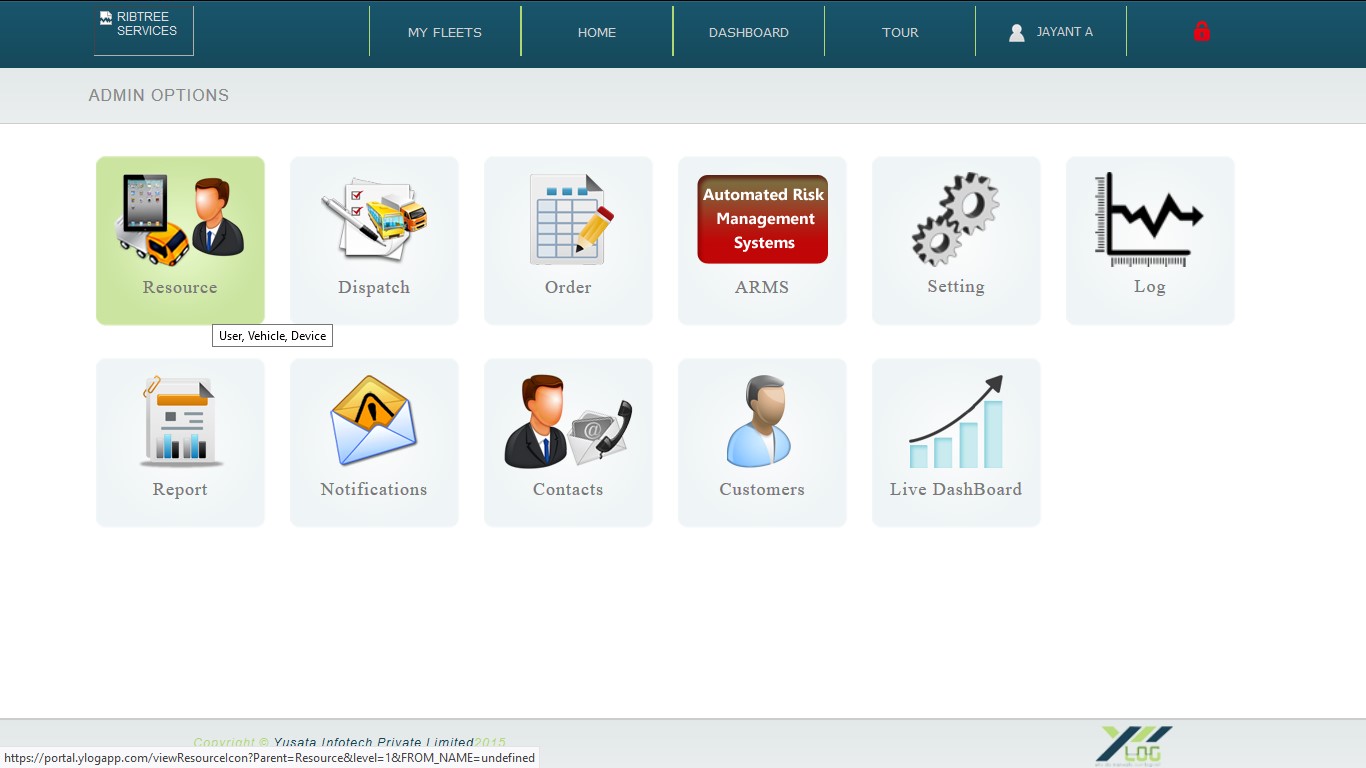
After login, you will be able to see Home Page. It has options for Driver.
Click on the Driver tile to view your existing drivers and/or to add new drivers.
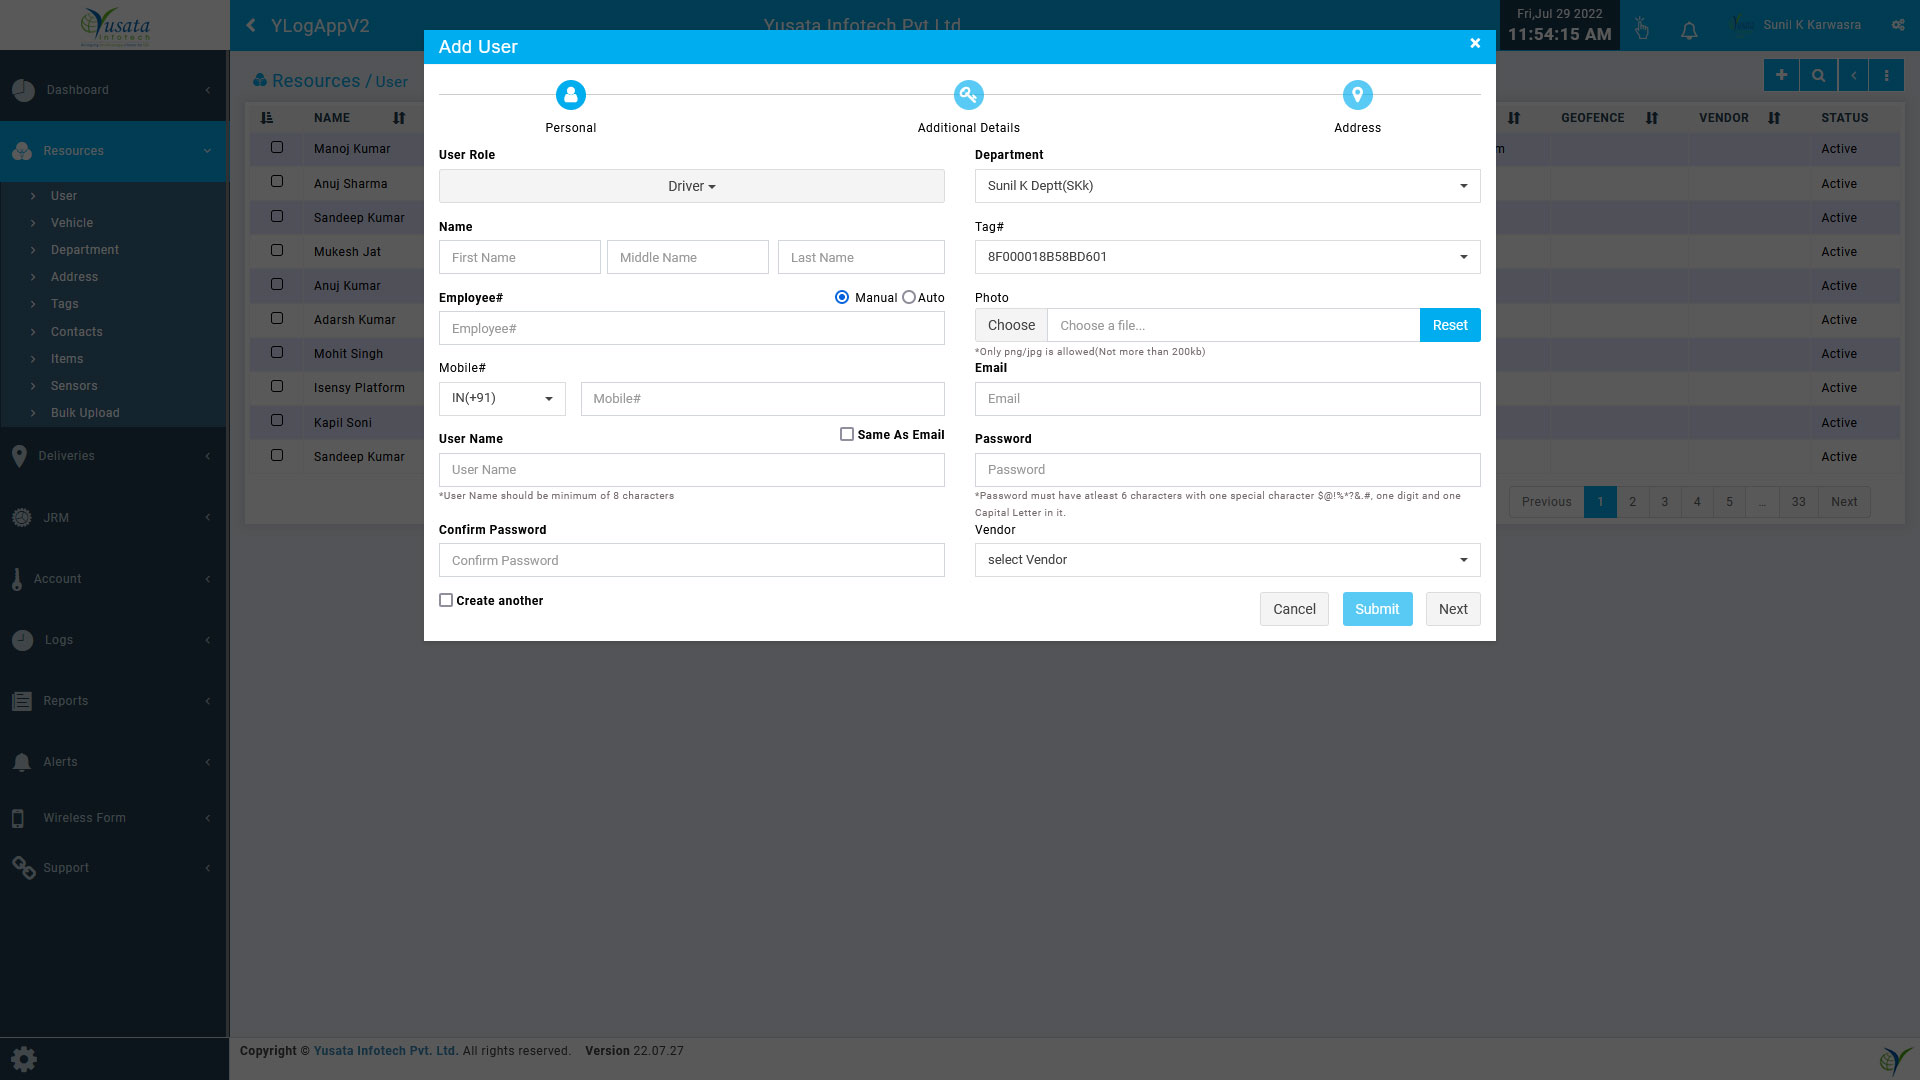
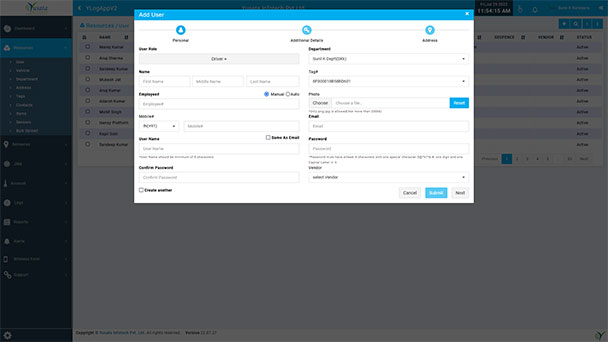
Hit the "+" icon on top right corner to add new driver. This will open up the driver registration page.
Input all the required information and submit. Upon successful submission you will get notification of "Successful Driver Registration".
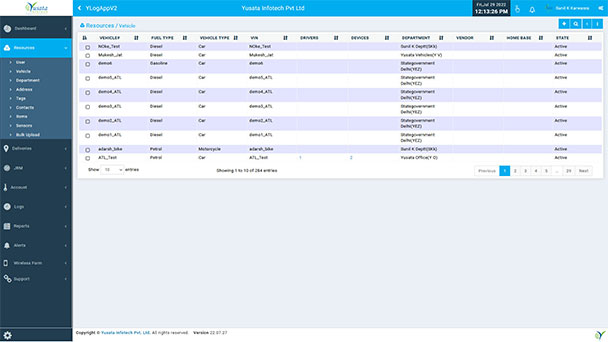
After login, you will be able to see Home Page. It has options for Vehicle.
Click on the Driver tile to view your existing vehicles and/or to add new vehicles.
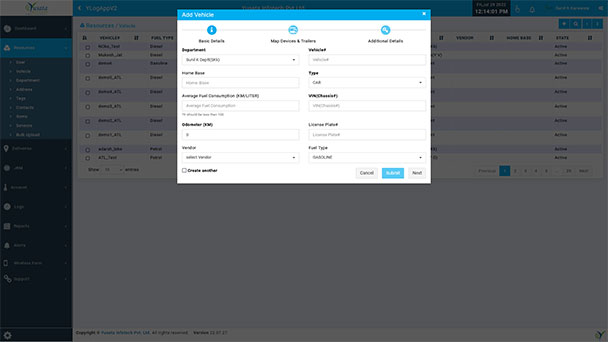
Hit the "+" icon on top right corner to add new vehicle. This will open up the vehicle registration page.
Input all the required information and submit. Upon successful submission you will get notification of "Successful Vehicle Registration".
A Vehicle Identification Number (VIN), is a unique code including a serial number, used by the automotive industry to
identify individual vehicle. Sometimes it may be referred as Chassis Number.
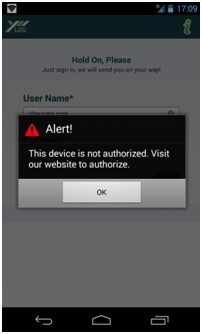
YLogapp provides security of using system by authorization process of devices. Every device needs to be authorized by Company administrator in order to be used.
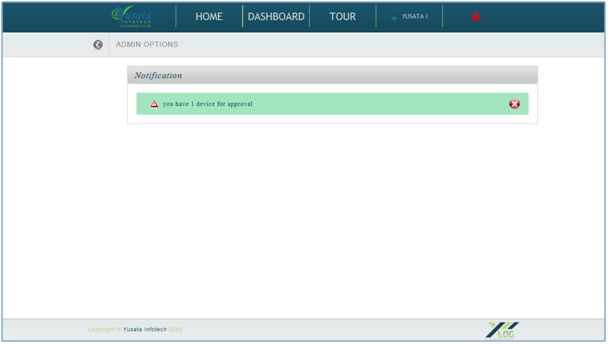
When you get this message on your device then you will see a notification on portal under your company account.
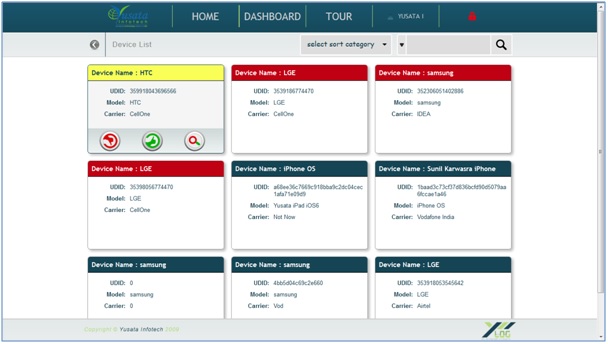
Go to Device on Home Page. You will see options as "Device", "User Device" and "Vehicle Device". Go to "Device". You will see your device there.
Here, Yellow means that device is "Pending Authorization", Red means that device is "Declined Authorization" and
Blue means "Device Authorized". Click on Green icon against your device and this device will be authorized.
YLogApp tracks devices in order to track a vehicle. There is mandatorily a vehicle needs to be assigned with device.
If you have already added vehicle into your account and it is not engaged with any other user then you can use it
(See How to free engaged vehicle?). You can add vehicles from YLogapp Home Page. There is option for vehicles on Home Page.
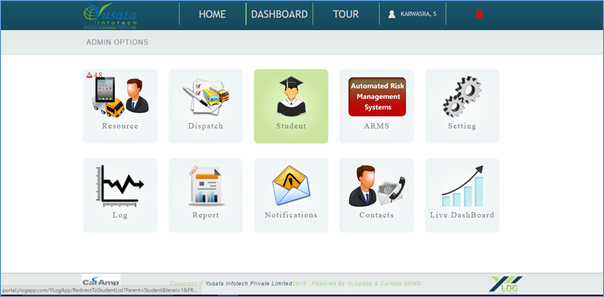
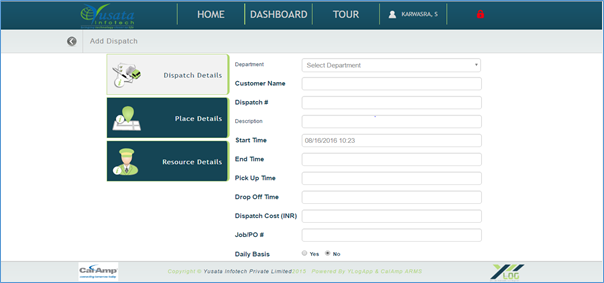
After login, you will be able to see Home Page. It has option for Dispatch.
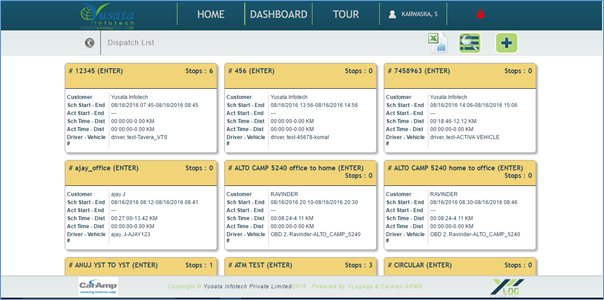
Click on Dispatch tile to view your existing dispatches and/or to add a new dispatch.
Hit the “+” icon on top right corner to add new dispatch. This will open dispatch creation page.
Input all the required information and submit. Upon successful submission you will get notification of “Successful dispatch added”.
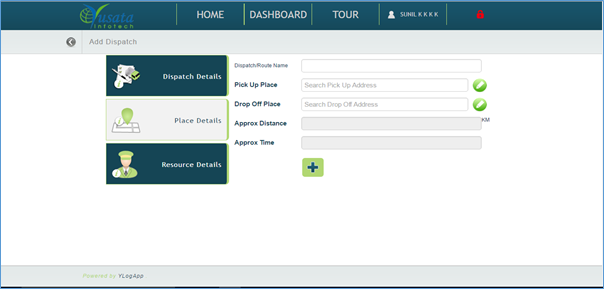
Once you have completed “Dispatch Details” tab and proceed then you will find yourself on “Place Details” tab and this tab has “Pick up place” and “Drop off place” as source and destination. A dropdown will popup when you start typing source and destination and then you can select from that list.
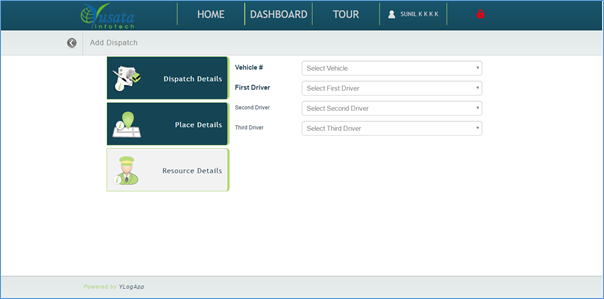
Once you have done with “Place Details” tab, click on “Proceed” button and it will take you on “Resource Details” tab. You can assign a vehicle to dispatch by selecting vehicle from drop down. You can assign drivers as well.
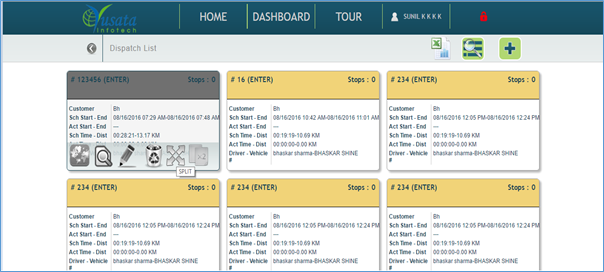
Once you get on Dispatch list screen and you move your cursor on any dispatch then there will a “SPLIT” icon appears, click on that icon.
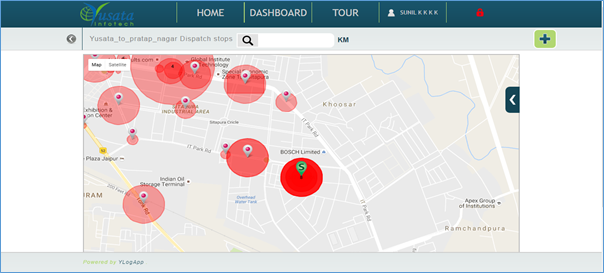
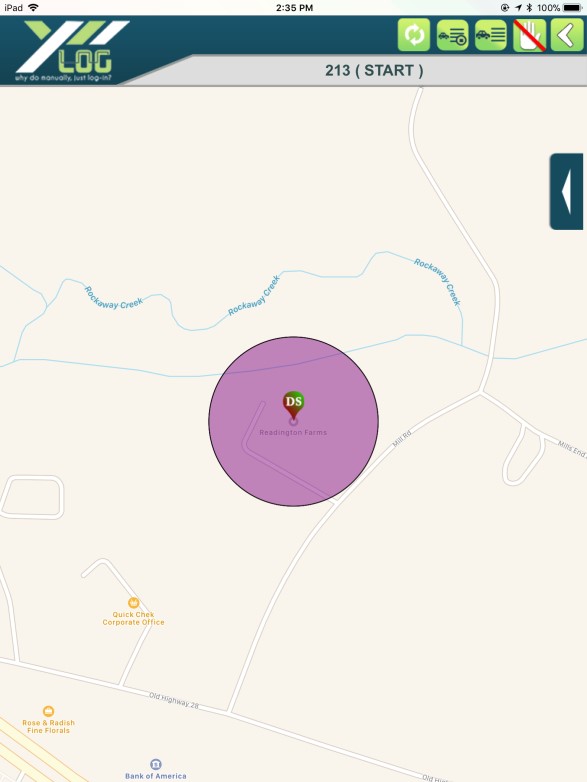
After clicking on “SPLIT” icon, you will be on a map screen where you can add more stops.
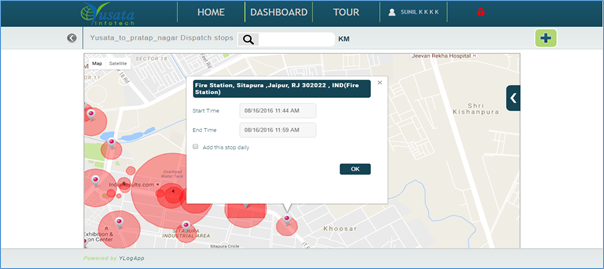
Now Click on pink colour markers and a popup will generate, click on “Ok” button. After clicking “Ok” button marker colour will change into green. If you don’t see any geo-fence, then you can enter radius and click on search icon. It will get all the geo-fences within that radius.
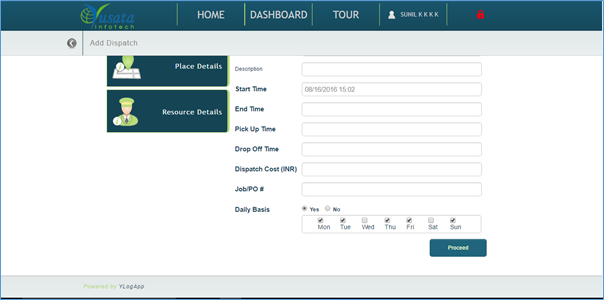
In above step you can set start time and end time for that stop and if you check the check box that means you want that stop daily basis.
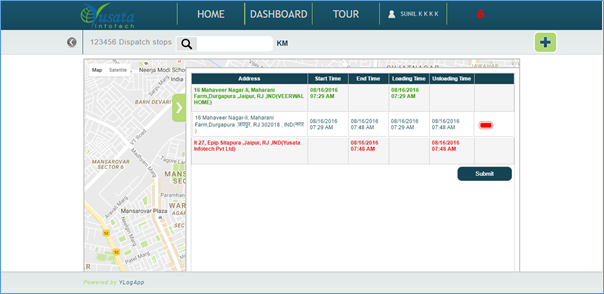
Now click on slider icon which is given on the right side of screen and a slider screen will come forth like below:
Finally click on “Submit” button and that stop will add in that dispatch with the message is in popup like “Stops successfully added to your dispatch” and marker for that stop will turned into yellow colour marker.
In above screen, if you have more than one stop and you want to reorder their sequence then you just need to hold and drag the stop and release where you want that order in sequence, then click “Update” button to update that change.
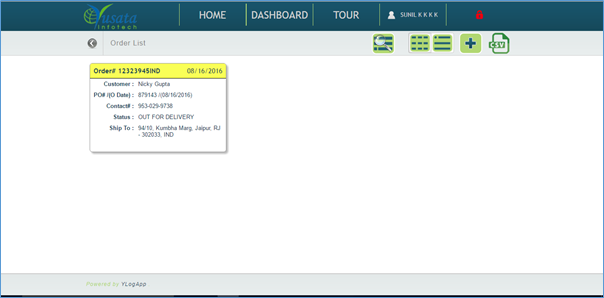
After login, you will be able to see Home Page. It has option for Order.
Click on “Order” tile and it will show you existing order/to create new order.
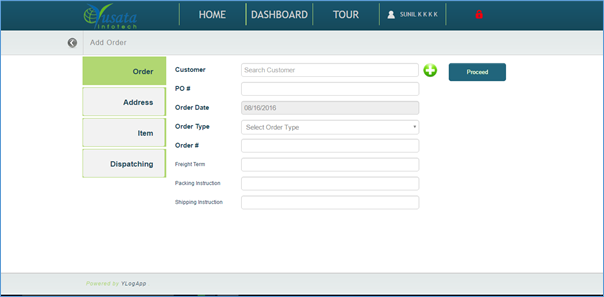
Click on “+” icon and it will take you on order creation screen.
A companywide unique number which is automatically generated to identify them.
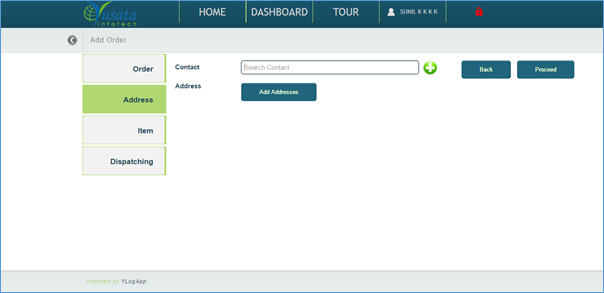
After filling all information about order click on “Proceed” button and it will open address tab where you can add contact number. There will be a drop down when you start typing and you can select contact number from that list.
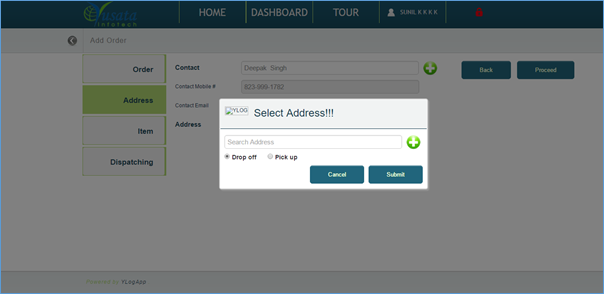
There is a button “Add address” which shows you a popup dialog box. This dialog takes address for order delivery and you need to select delivery type means either it is “Drop off” (place to where order is going to be delivered) or “Pick up” (place from where order is about to be picked). Click on “Submit” button and then click on “Proceed” button to go to the “Item” tab.
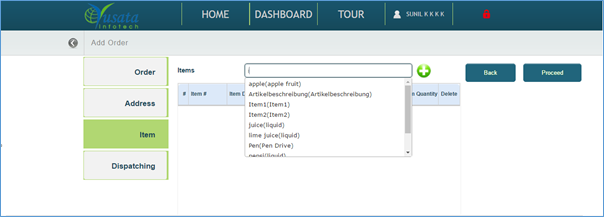
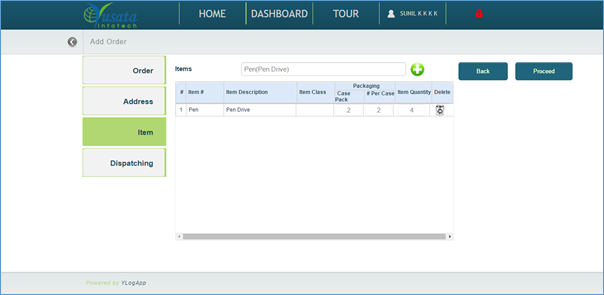
On the Item tab screen, you can select item from drop down list which opens up while we typing for some item. Once you have selected item then you need to choose “Case Pack” (how many case do you have of that item.) and “#Per Case” (means total number of item in one case pack).
After selecting item and filling required information of item, need to click on “Proceed” button to “Dispatching” tab.
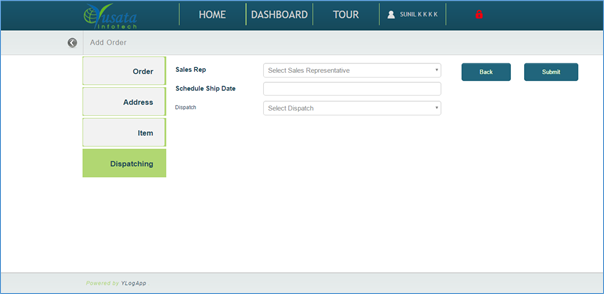
On the “Dispatching” tab, you can select “Sales Rep” (means Sales representative/driver), “Ship date” for that order and you can select a dispatch for that order by choosing from the Dispatch drop down.
After these steps of order, you need to click on “Submit” button to add that order.
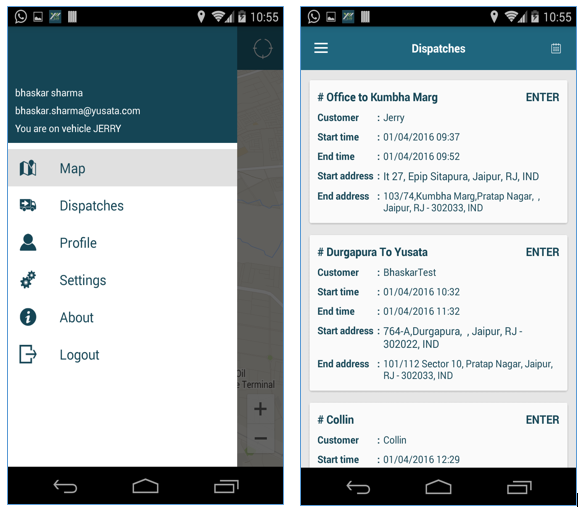
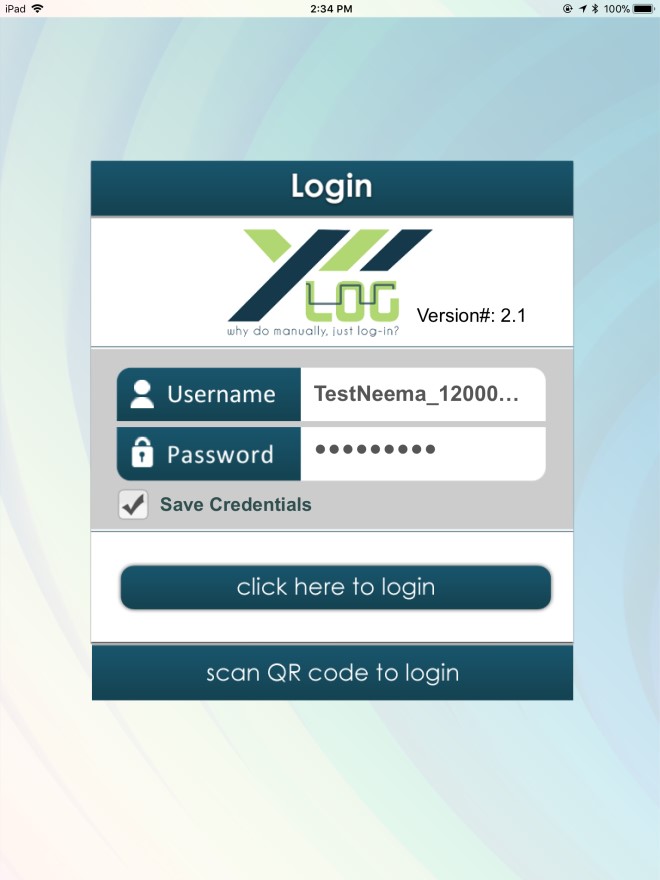
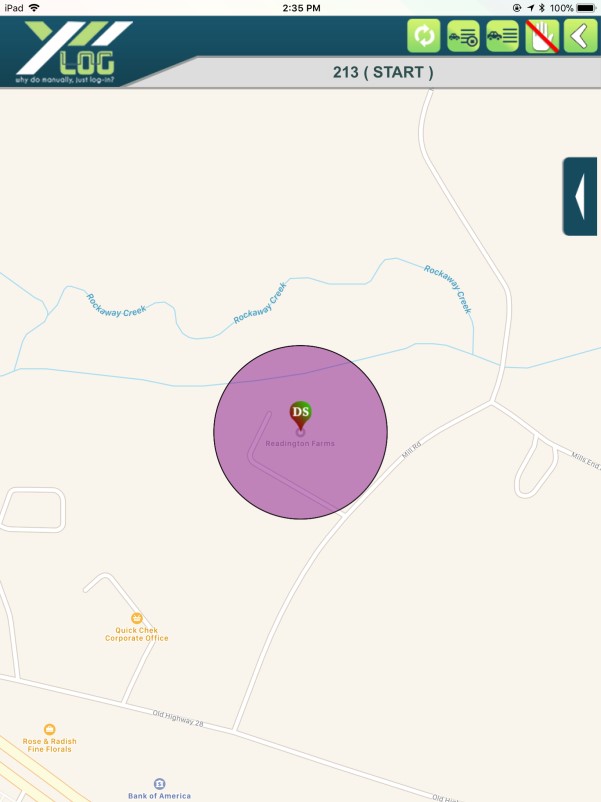
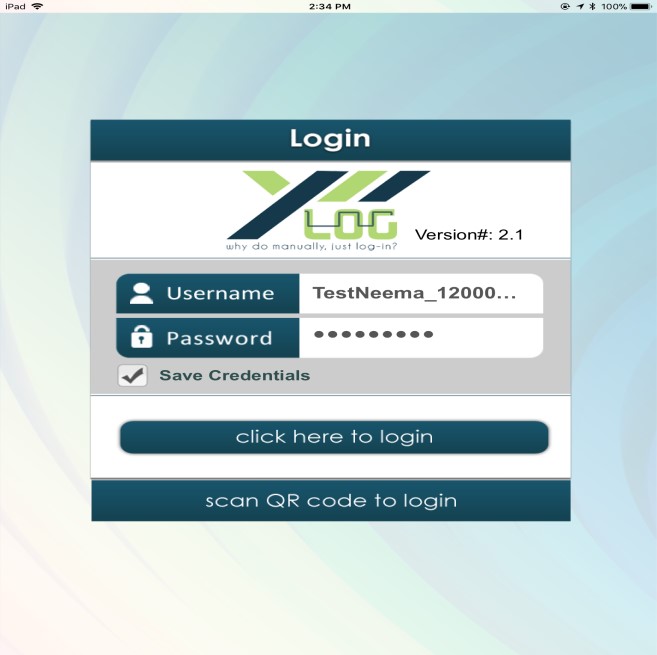
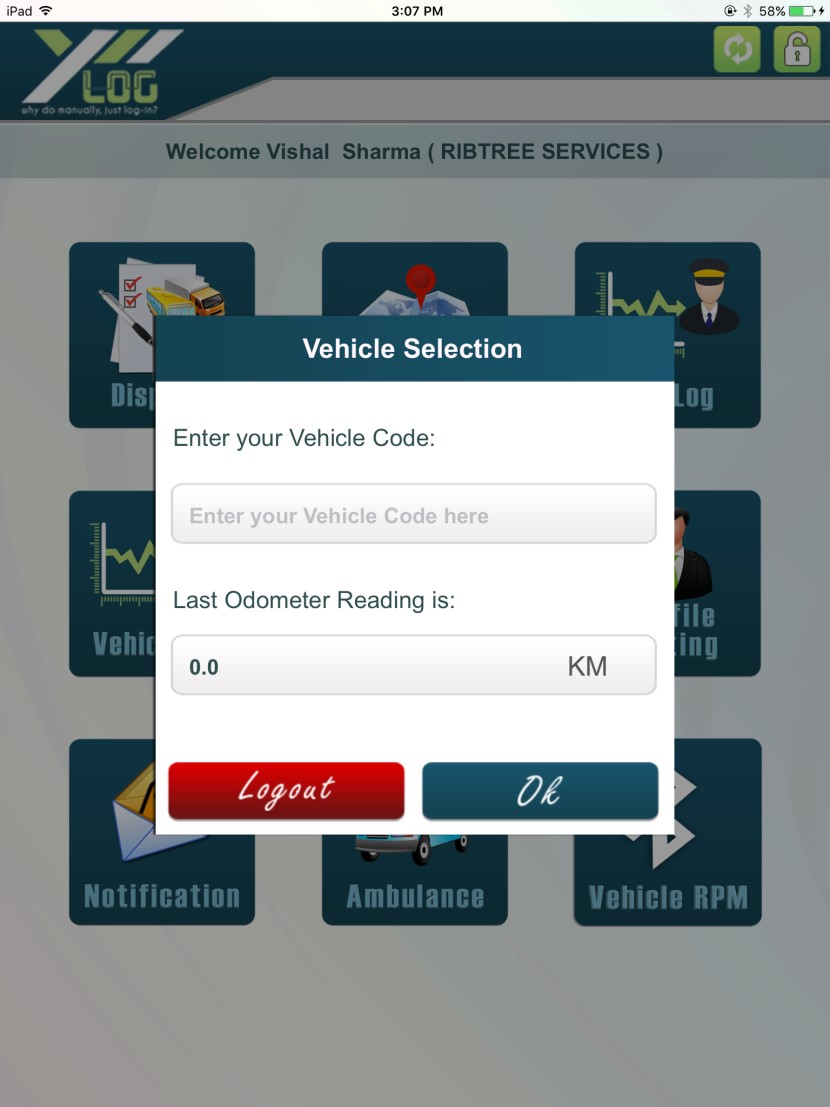
First of all, you need to login to app with your valid credentials. After login you need to enter vehicle number which is registered with you and when you will have done with all this then you will be redirected to map screen which is home screen of application.
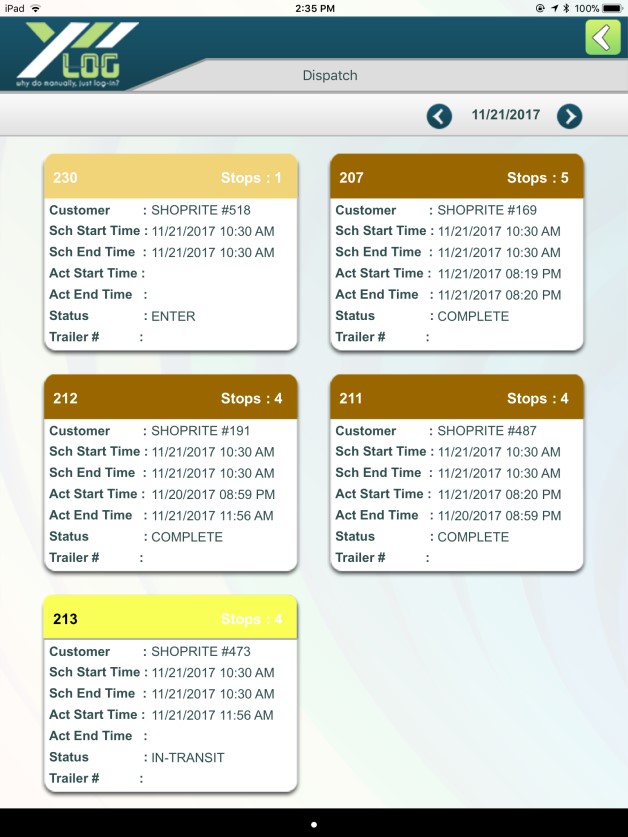
Now click on hamburger icon which is shown of the top left corner of application. This will open a drawer of menus. Now you only need to click on dispatches menu item and it will show you all dispatches available for you.
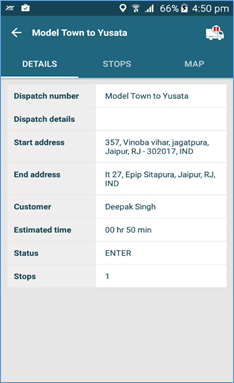
Click on dispatch which has order to deliver, it will open details of that particular dispatch.
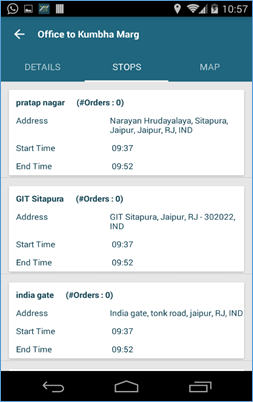
By swiping left above screen, you can find “STOP” tab where stops list will be shown.
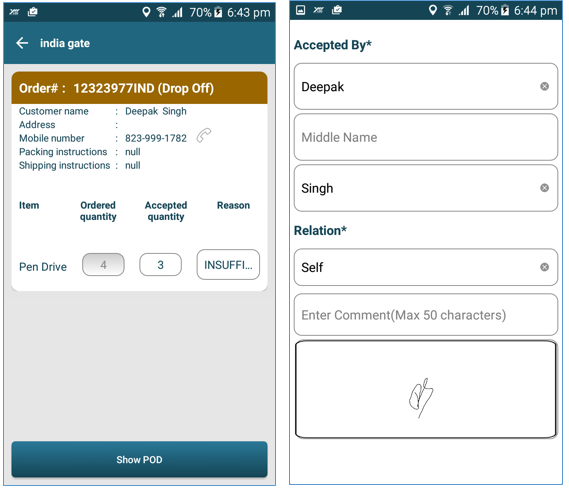
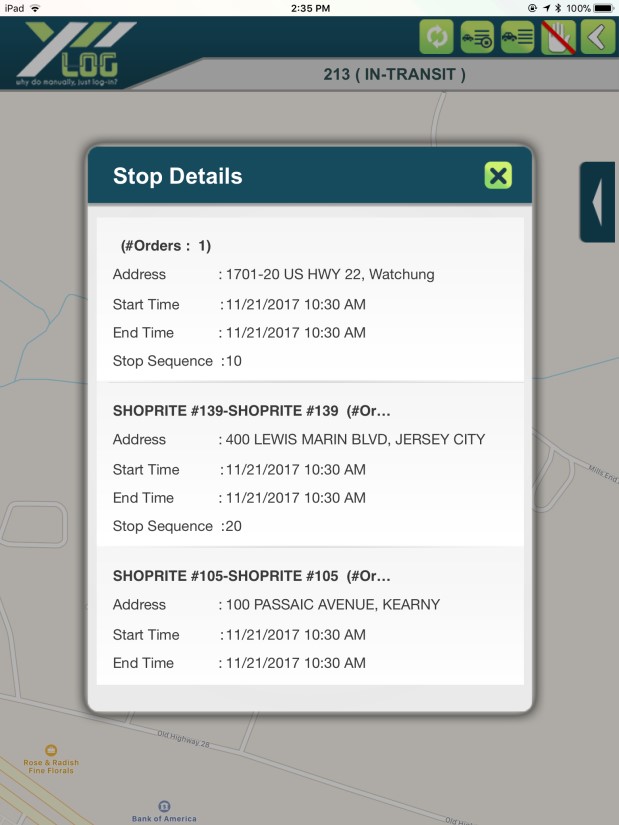
You can see complete details of order by clicking on the stop which has orders and you can find out that which one has orders by numbering tag shown as (#orders: 0).
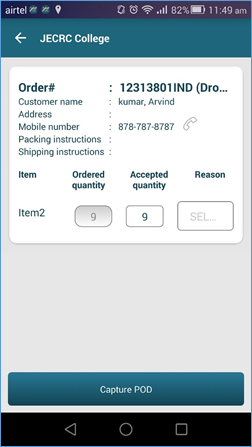
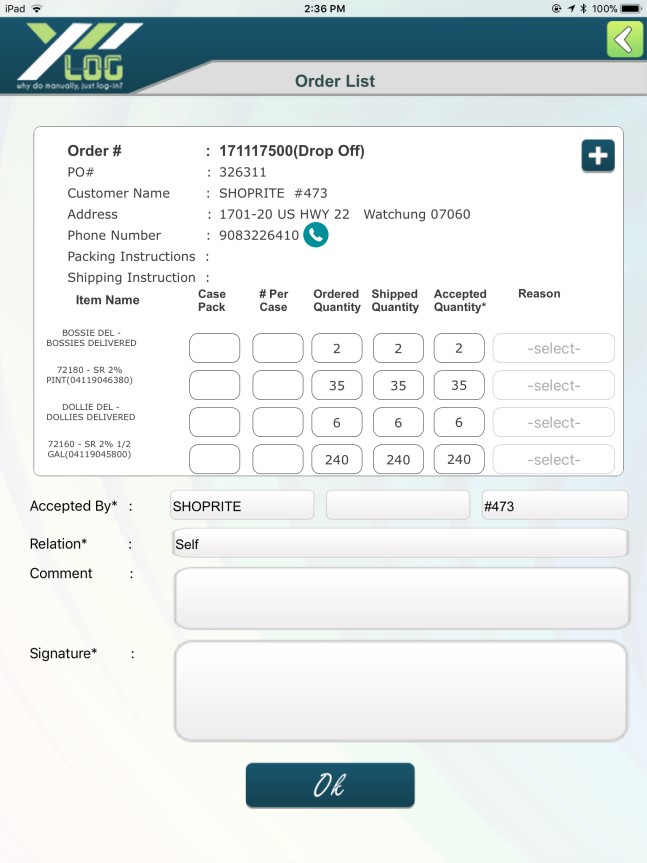
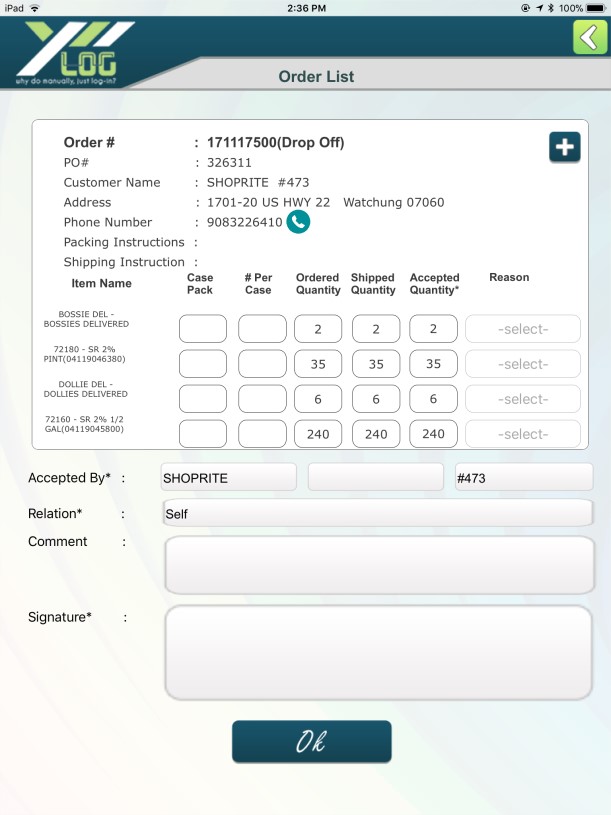
You can change accepted quantity and can select reason from drop down. We have given camera functionality to click an image of that product if it is defective or has some quality issue or different order is delivered. After doing all this you need to click on “Capture POD” button to capture POD (Proof of delivery).
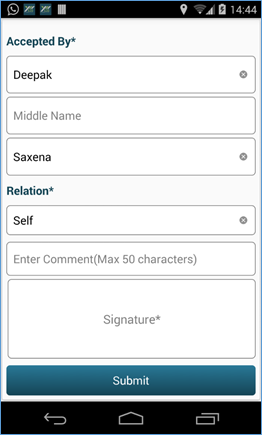
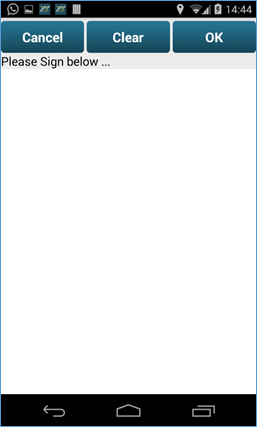
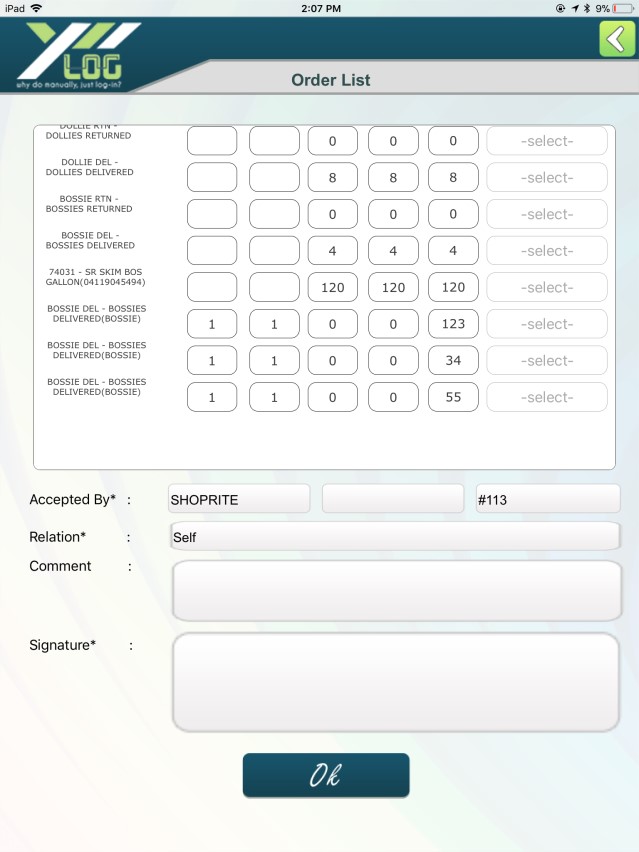
Here in this screen, signee details are going to be filled, you can enter some comment in comment block and at the last click on “Signature*” block and it will show you a screen where you need to do signature after that click on “Ok” button and then “Submit” button to capture POD.
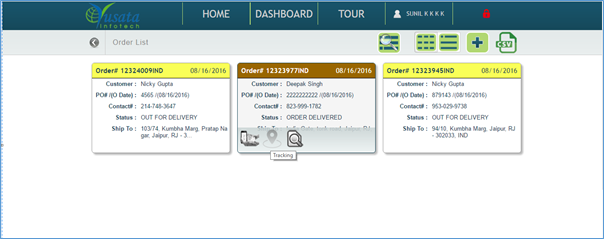
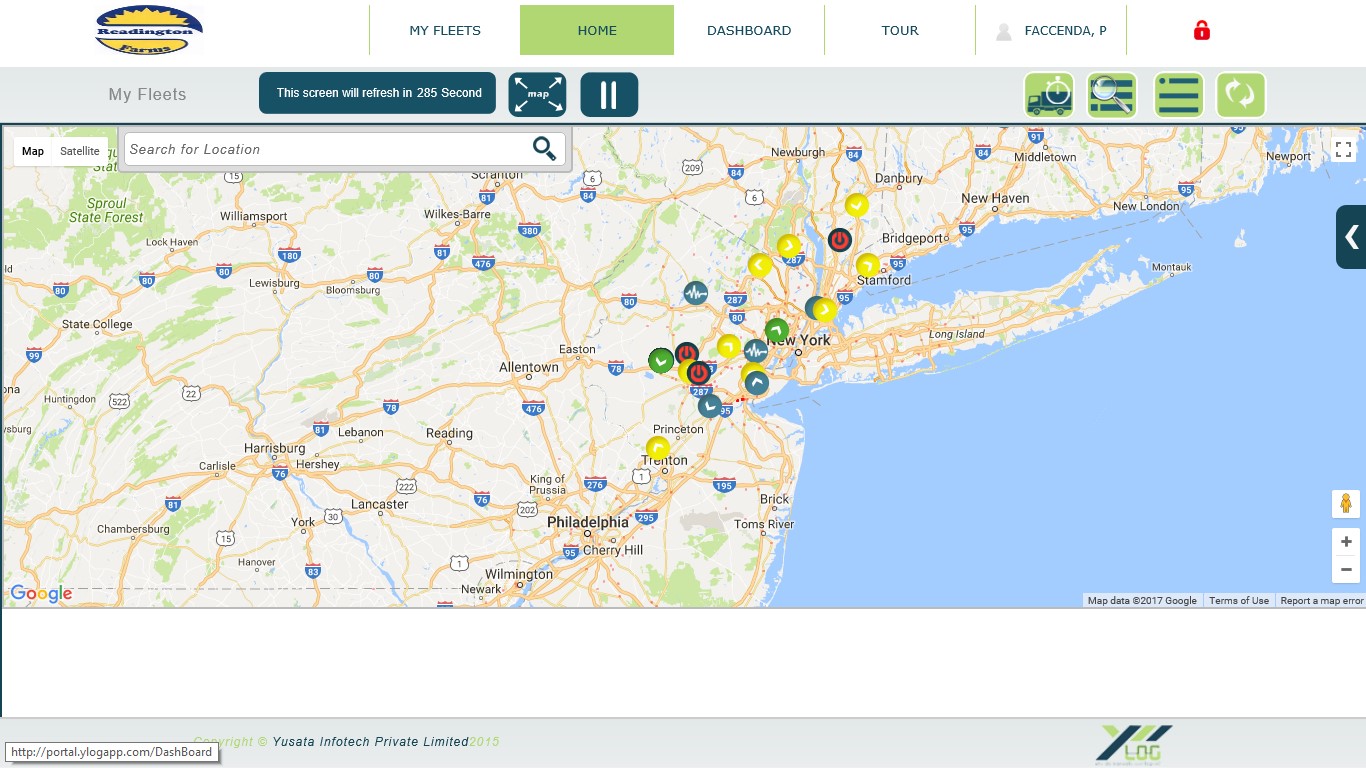
Go on the Home page as mentioned in above steps. Then click on order tile and move cursor on the order which is going to be tracked. There is an icon for tracking click on that icon, then it will take you on tracking screen.
After clicking on tracking icon
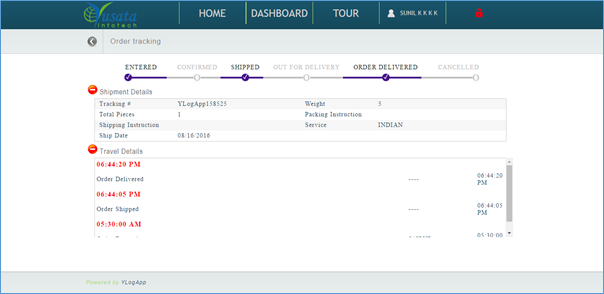
Here you can track down you order.
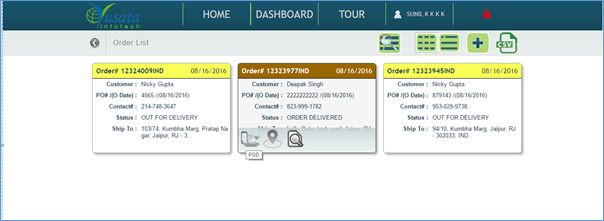
Go to home page and click on Order tile then move your cursor on that order for which you want to check POD. Click on POD icon.
After clicking POD icon following screen will be visible. You can see comments and image of POD.
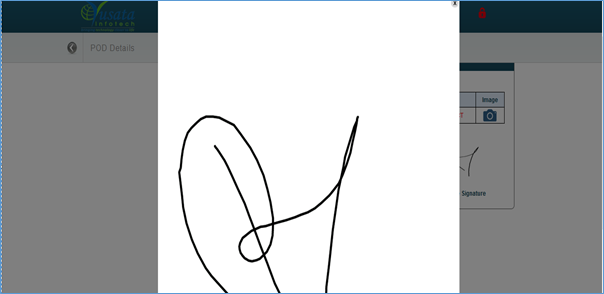
In the above screen, you can see signature in bigger size by clicking on signature and it will open a window with zoomed signature as shown below.
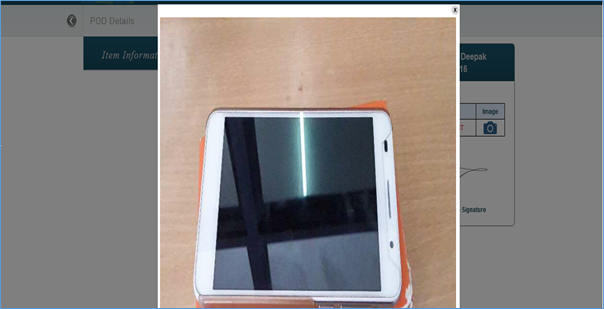
You can check the POD image by clicking on “Camera” icon.
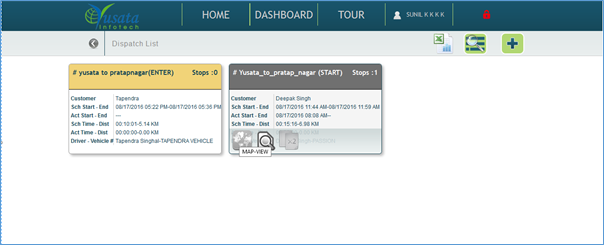
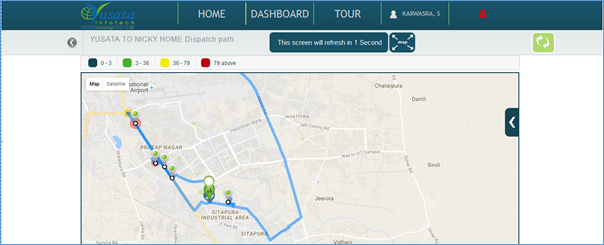
First you need to go to home page and then click on “Dispatch” tile and after complete grid of dispatches loaded, move your cursor on that particular dispatch for what you want to see/download. You will see “MAP-VIEW” icon as below:
Click on “MAP-VIEW” icon and you will be redirected on a map screen which has a slider button on its right side.
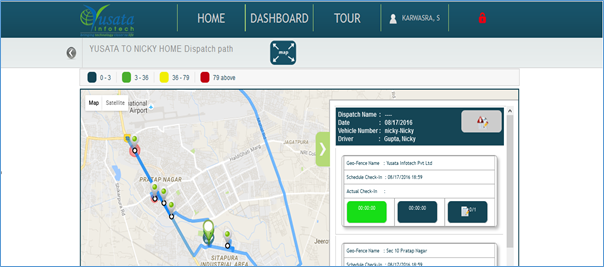
Now click on this slider button and it will open a slider with order’s list.
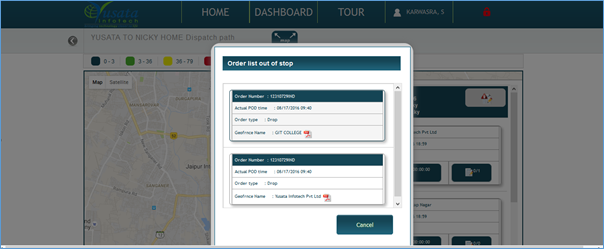
If POD has submitted on its pick up/drop off place, then you can download pdf from the list which is showing in slider otherwise you can download pdf from top right corner of the header of slider, click that icon and a popup will be shown like below:
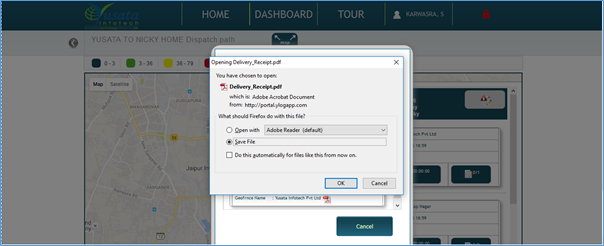
Now you can download pdf by clicking on pdf icon in the order list and a popup will ask you to save this file as below:
Check the “Save File” radio button if it is not, then click “OK” button to save file.
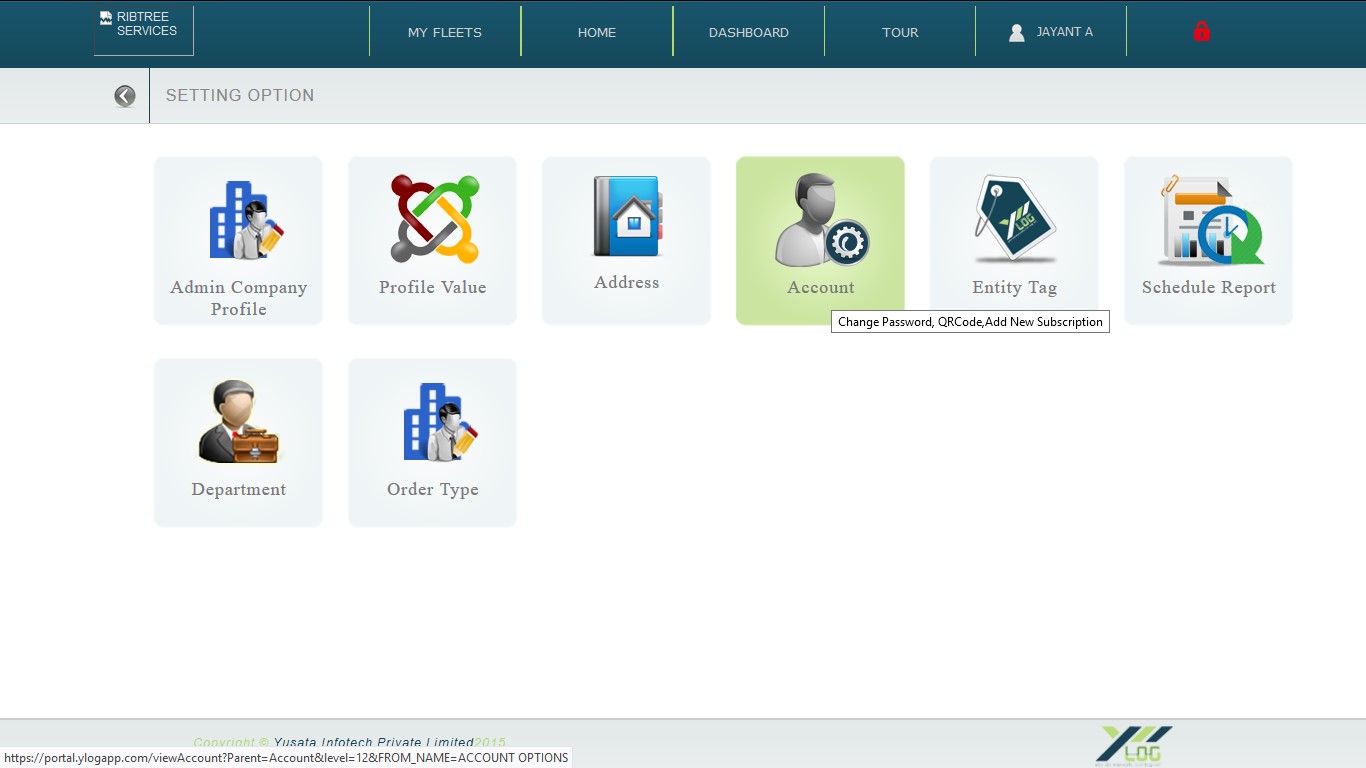
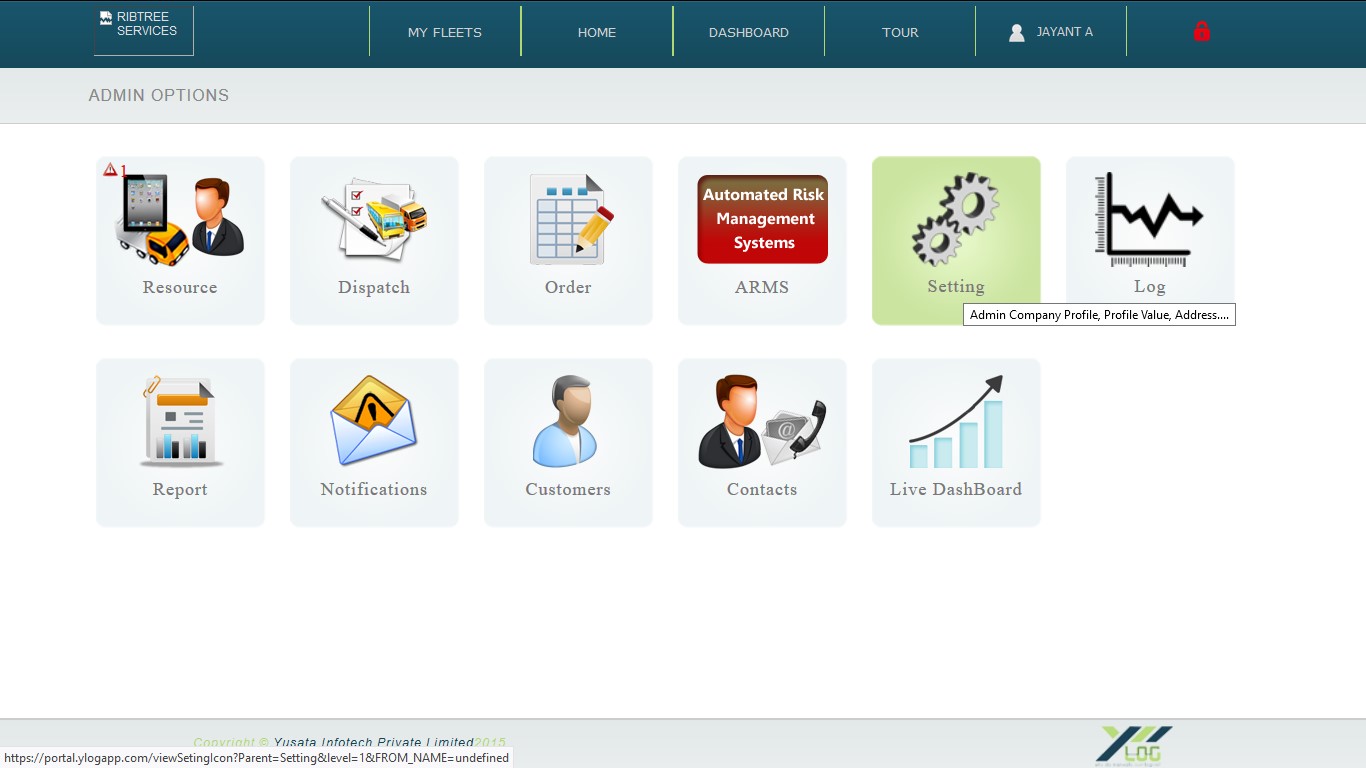
1. Go to Home > Setting > Account > QR Code Home Settings Account QR Code
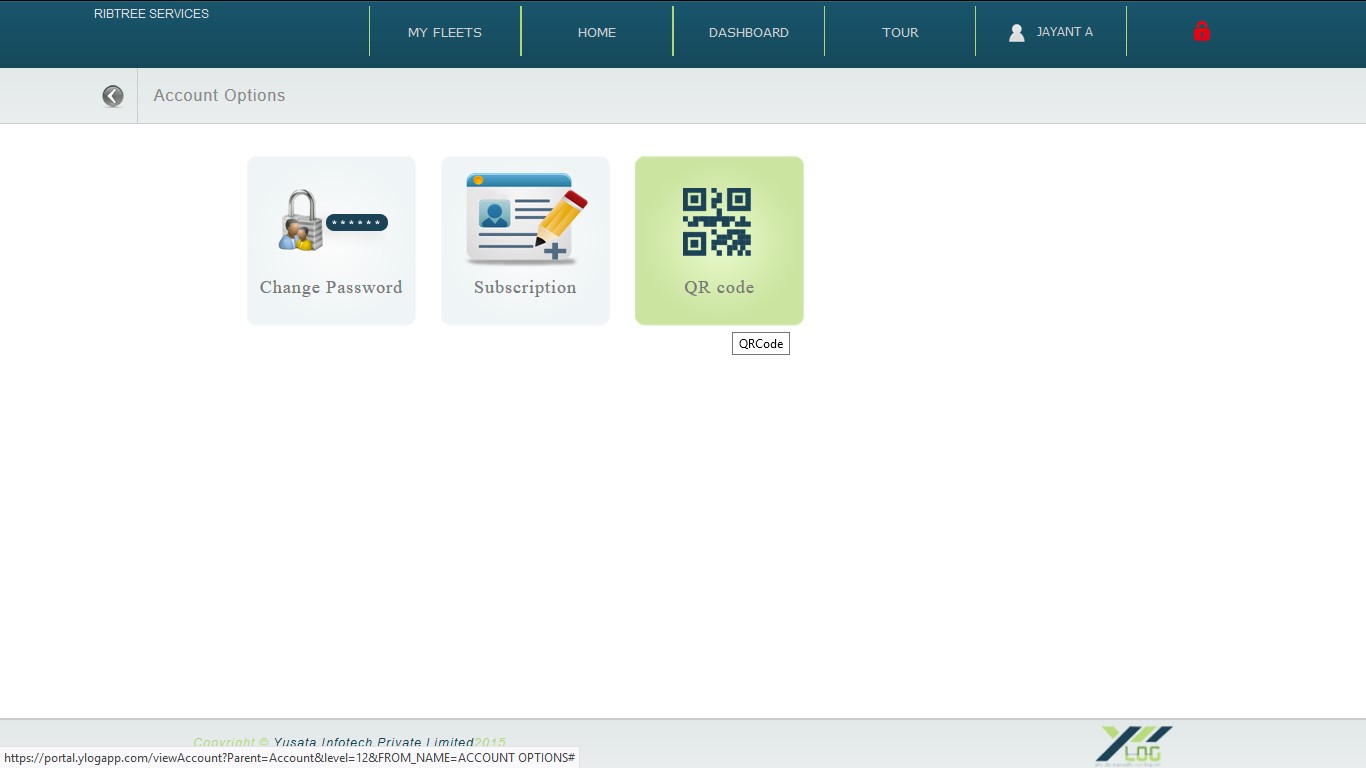
1. Click on QR Code, QR Code screen will open.
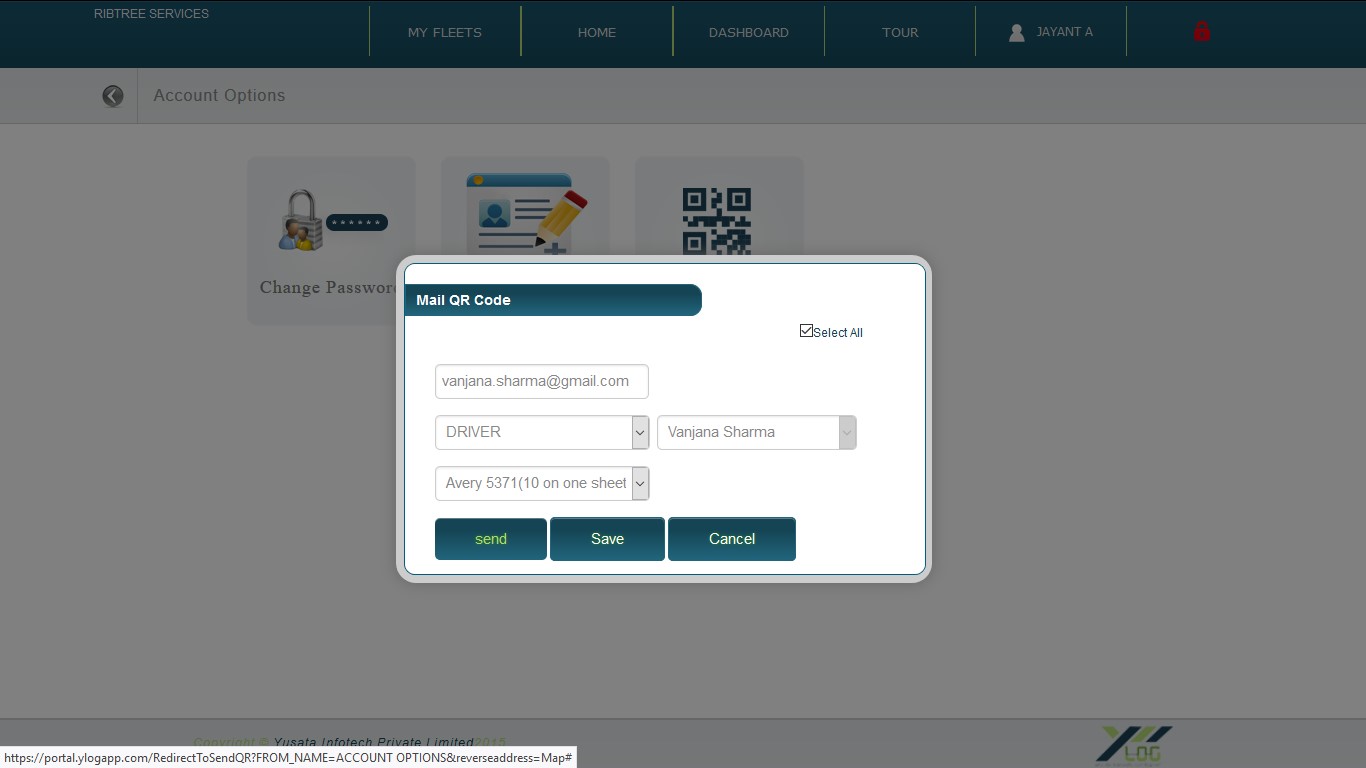
2. Fill all the necessary information; Email Id, select entity , select avery label
3. Click on Select All option.
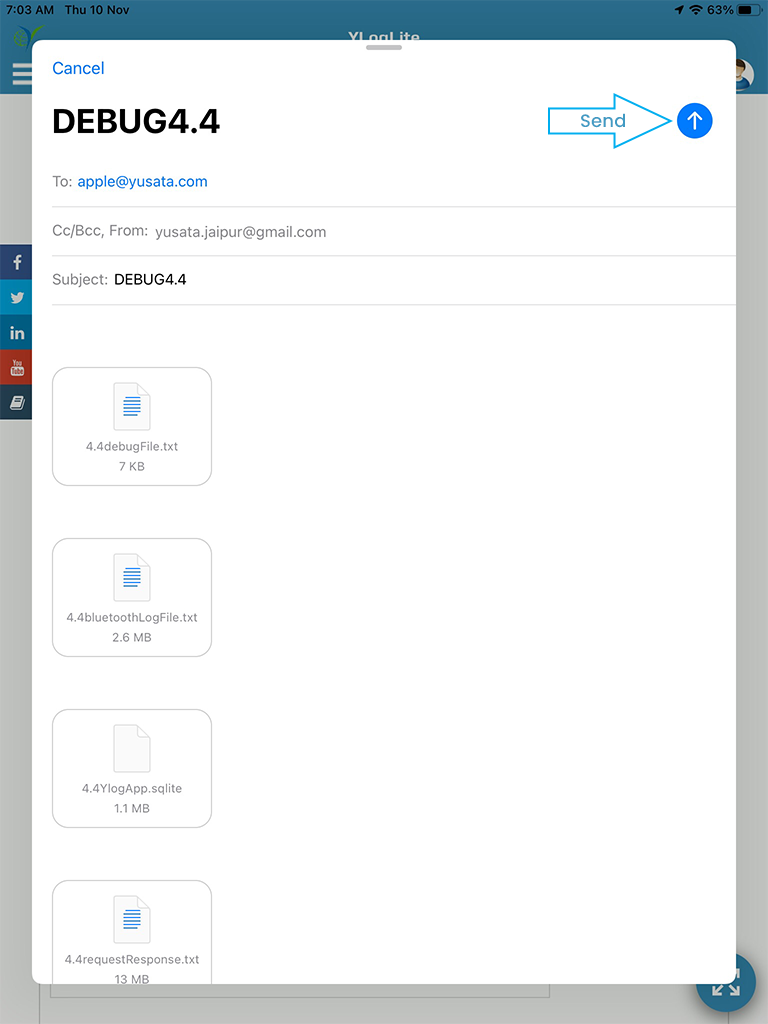
4. Click on Send, to send QR Code in mail.
This email will be received.
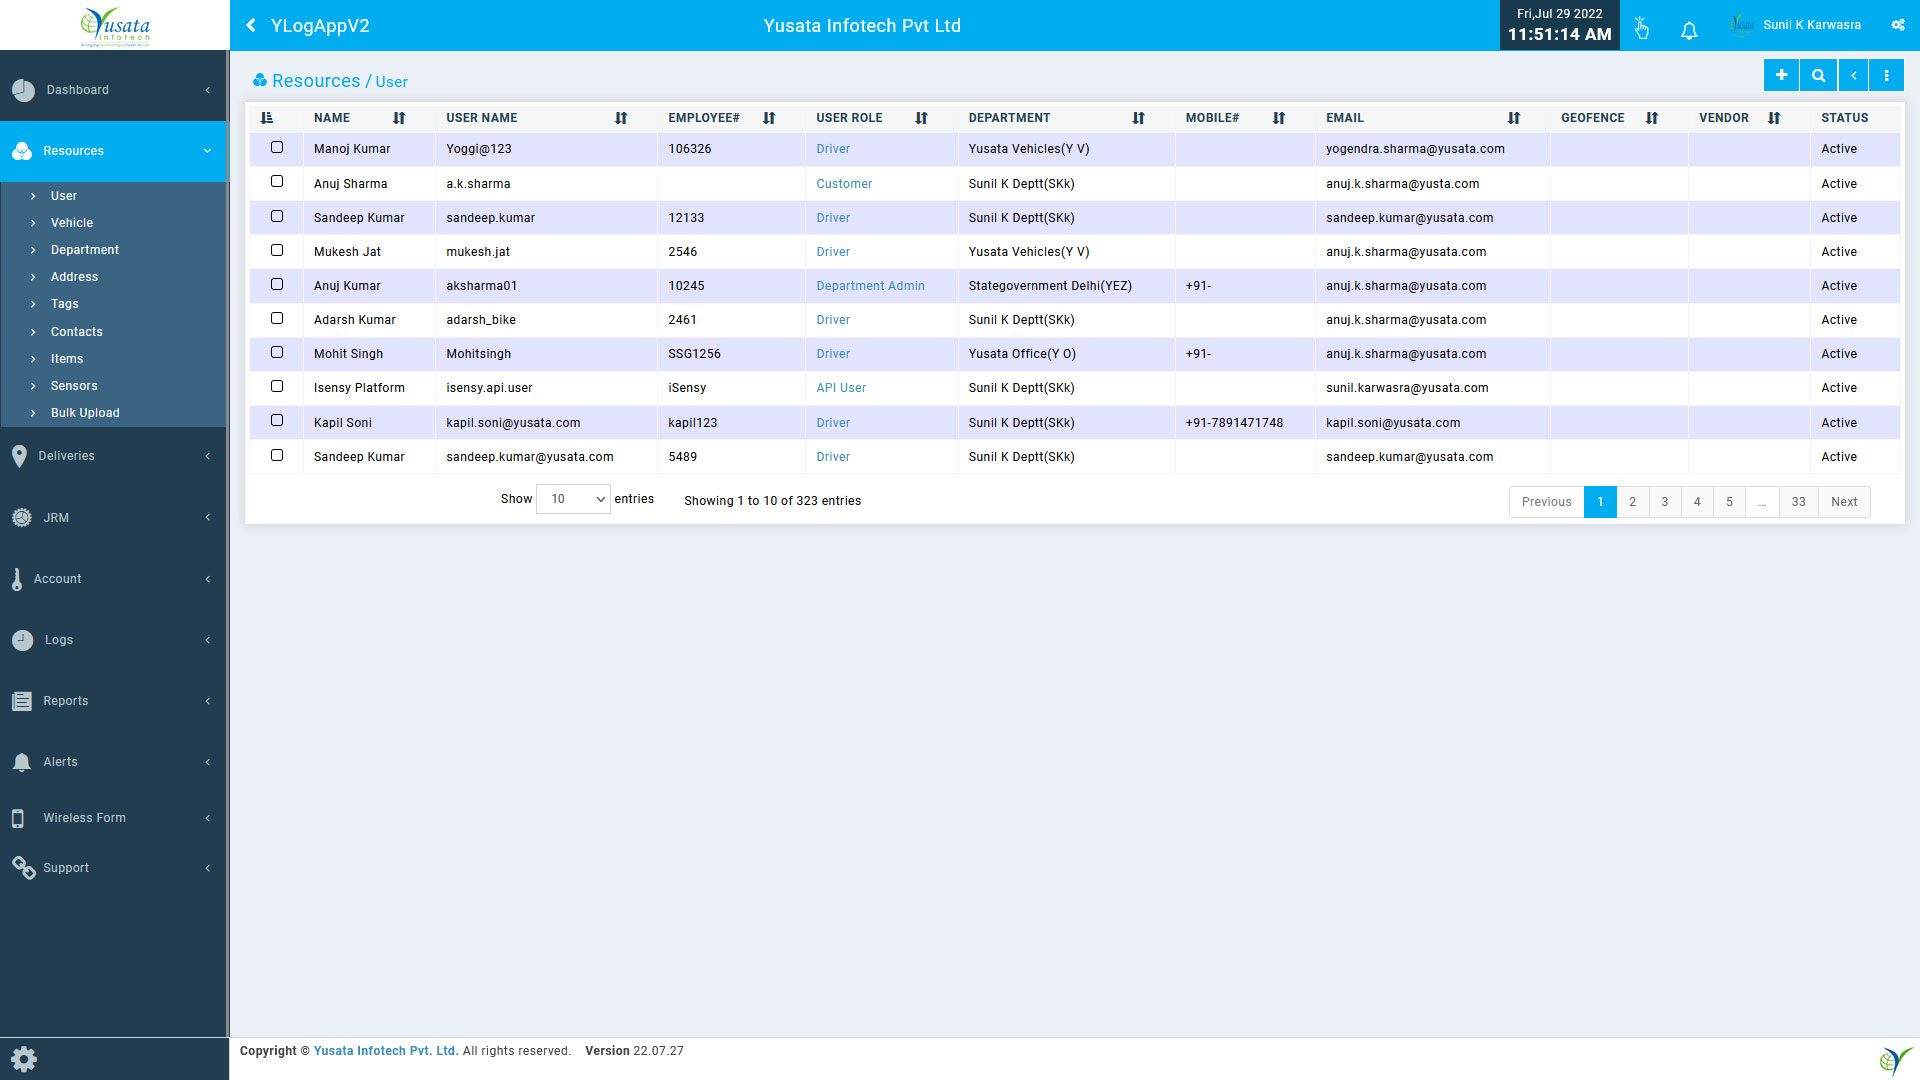
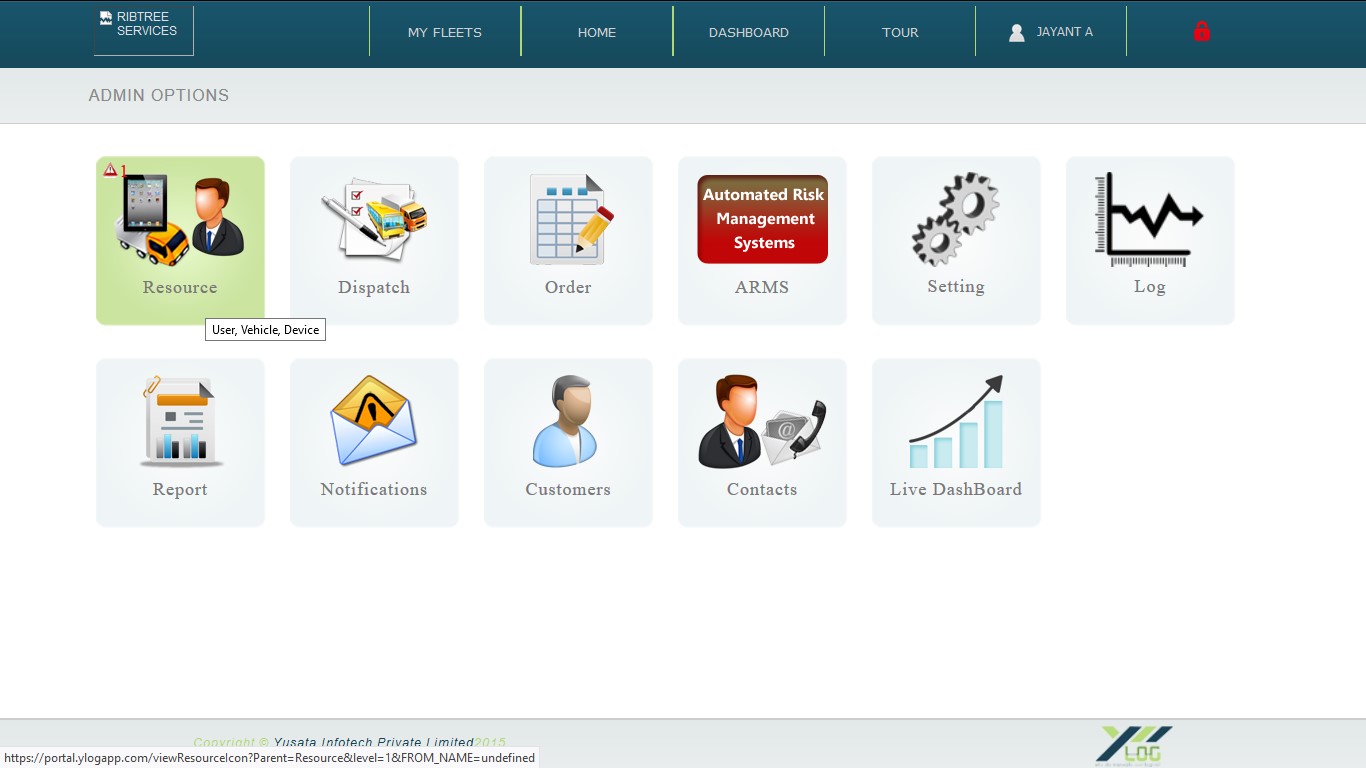
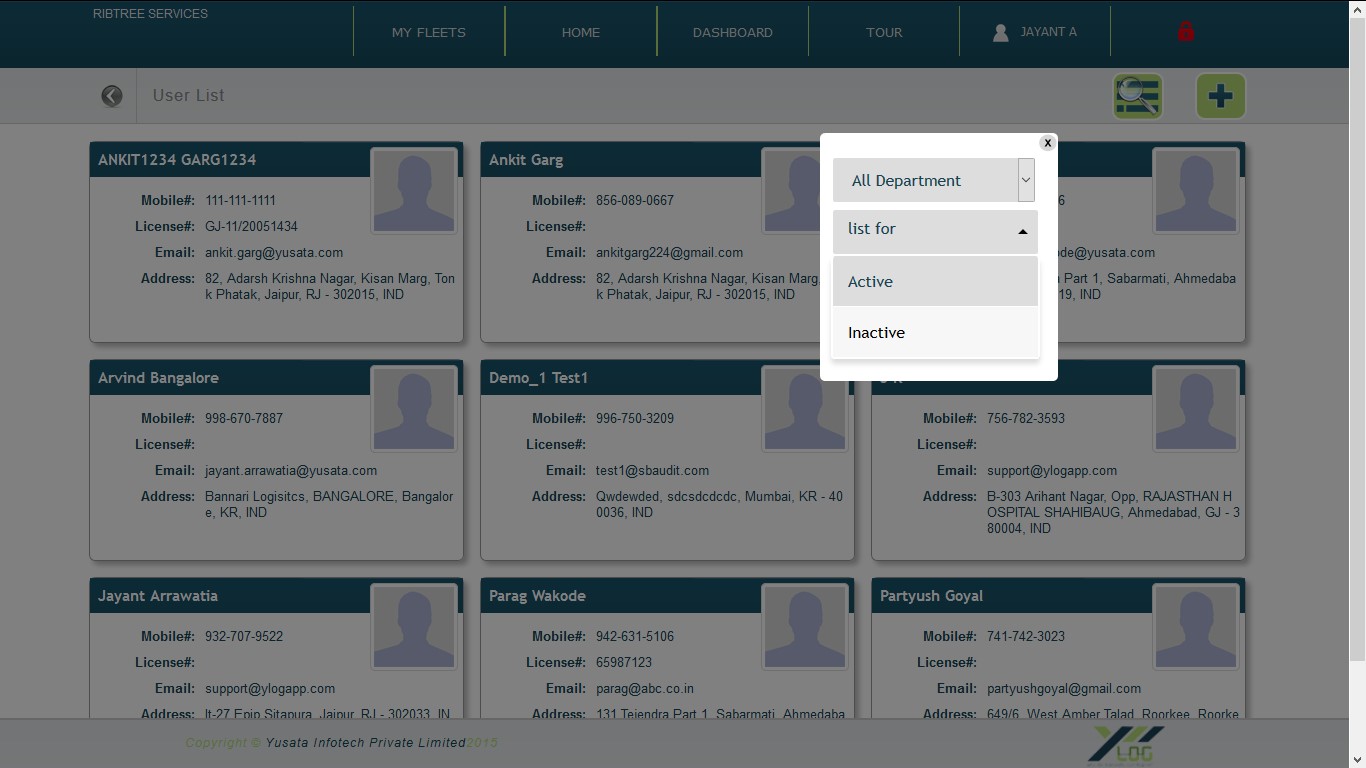
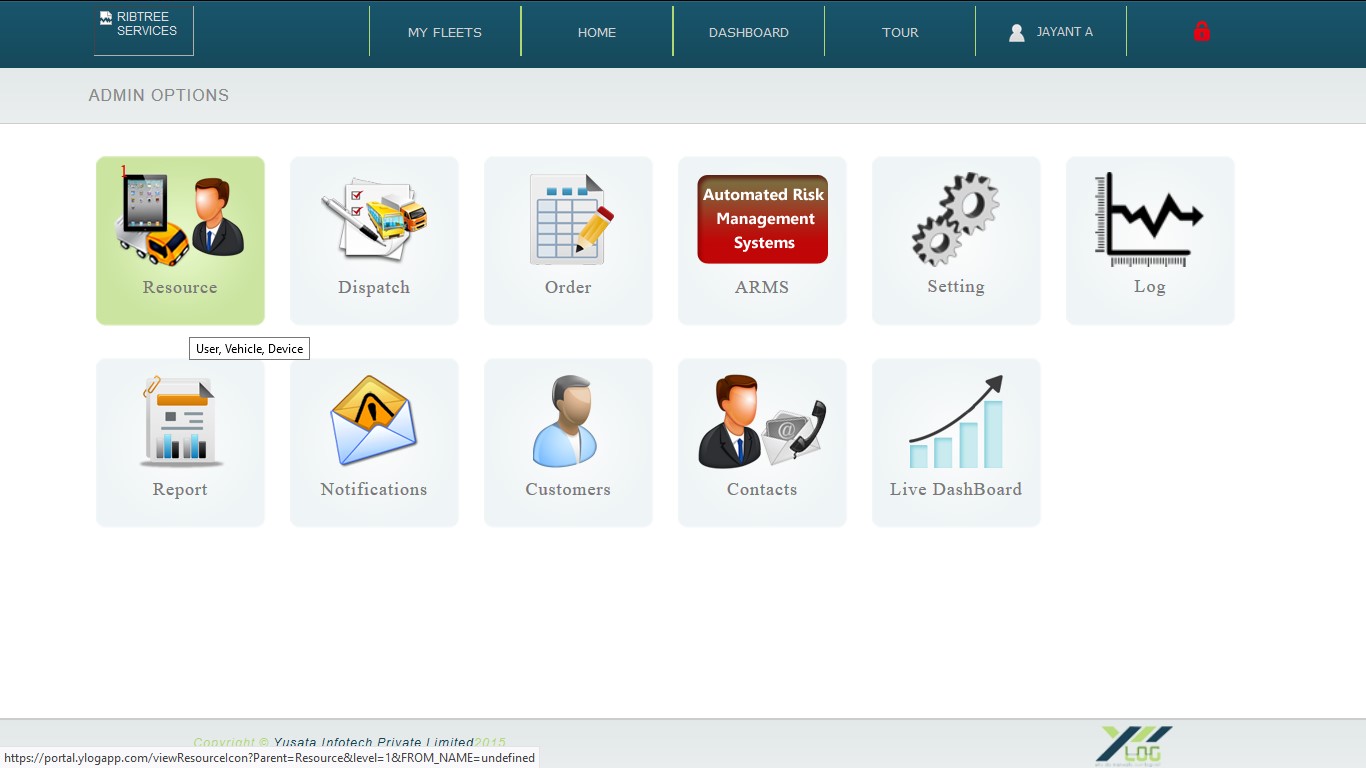
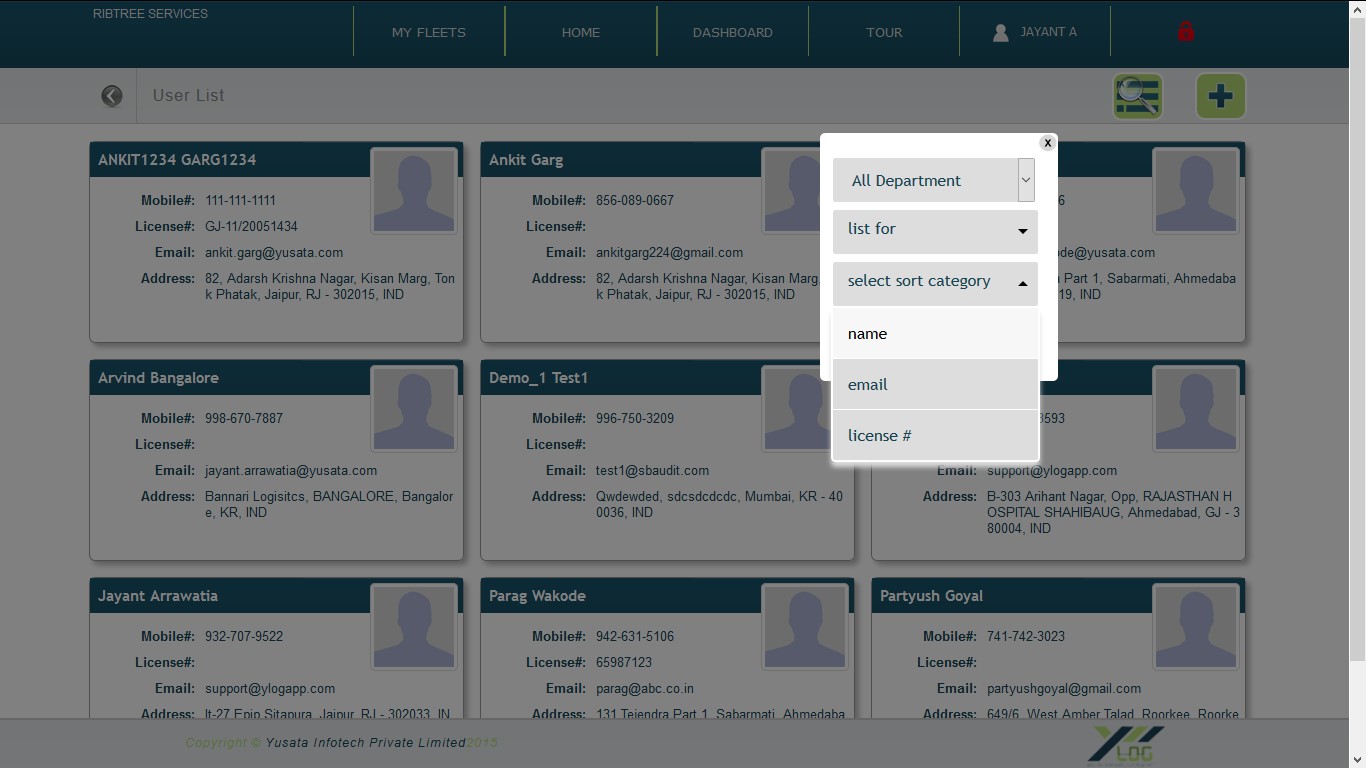
1. Go to Home> Resource> User Home Resource User User List
2. If you are looking for active user, then click on active in drop down menu.
3. If you are looking for inactive user, then click on inactive from drop down menu.
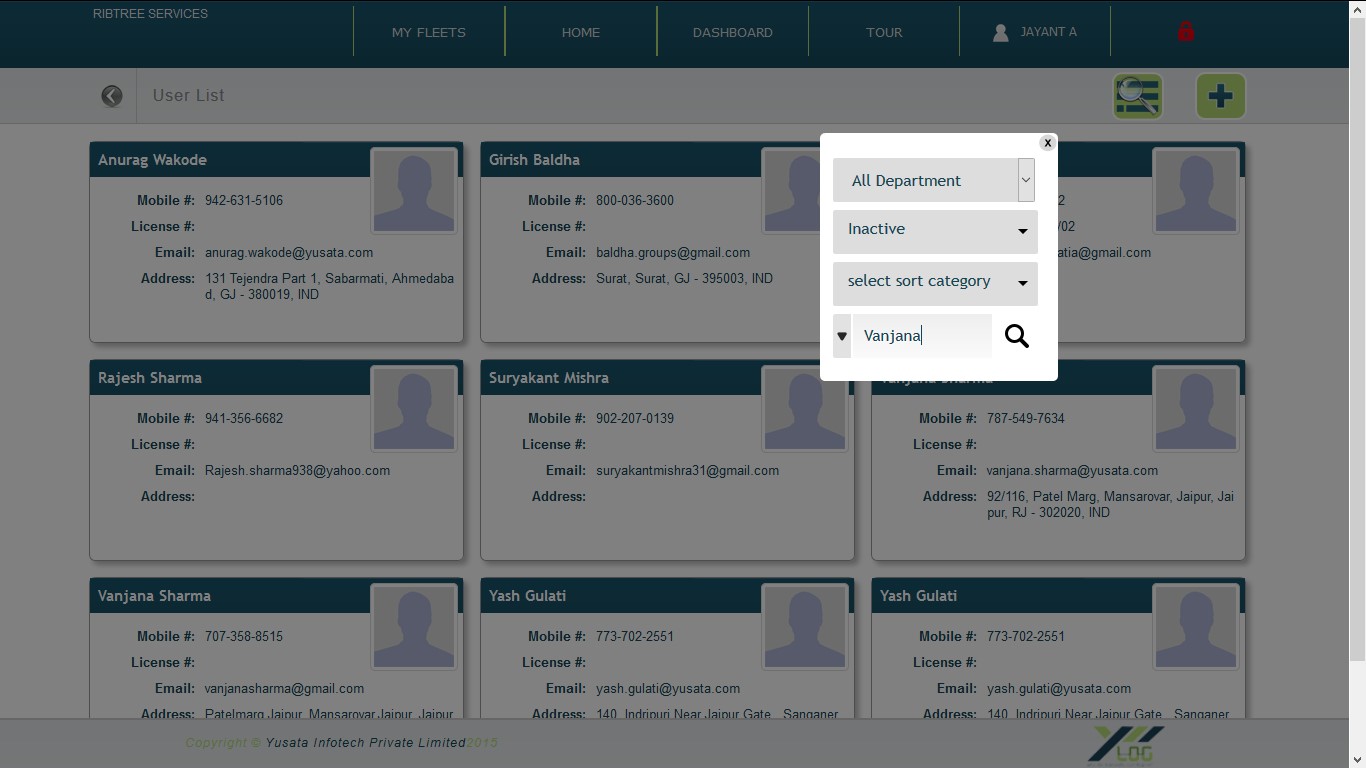
1. First of all, check if you are a valid user.
2. Go to Home> Resource > User Home User Search user by Name 3.Confirm username credential details.
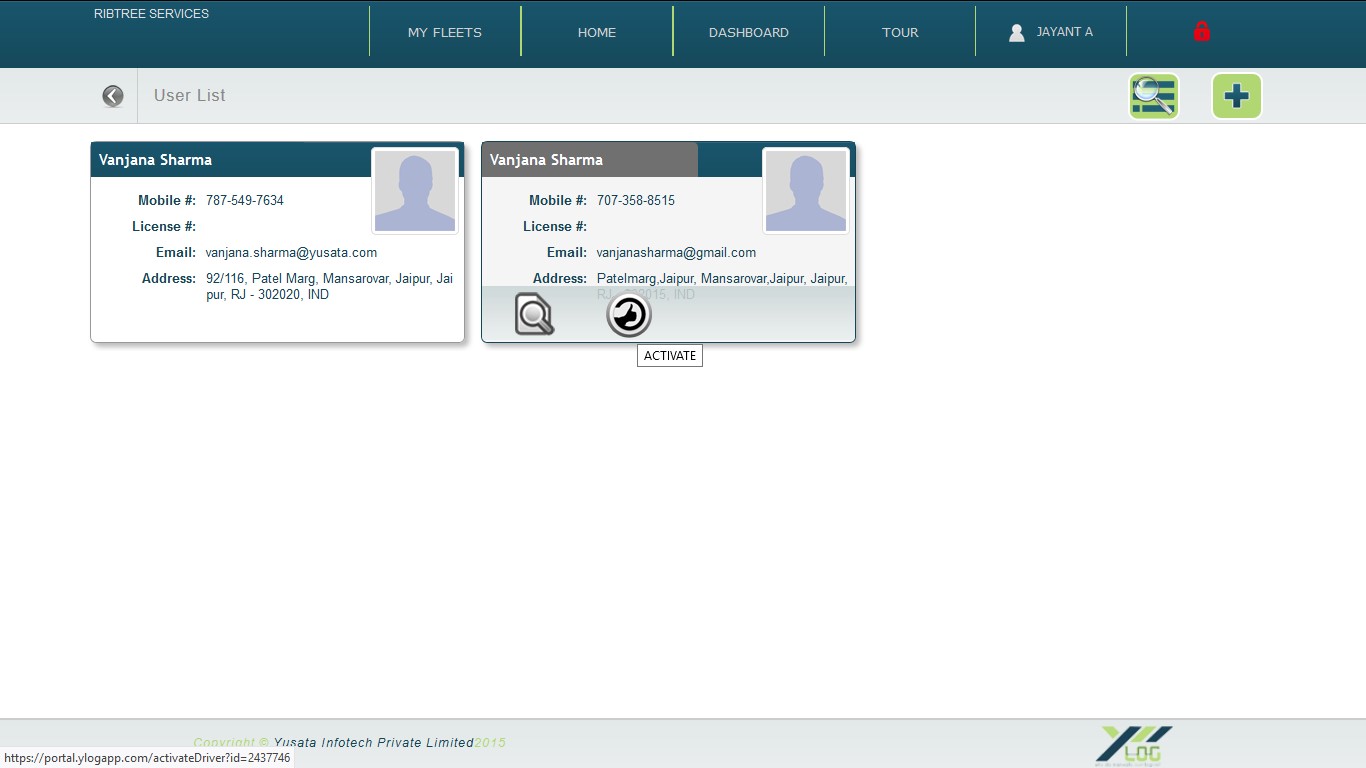
Enable an Inactive User
1. Go to Home>Resource > User> Resource User 2. Search for concerned Inactive User. 3. Click on Thumb Icon to activate the inactive user.
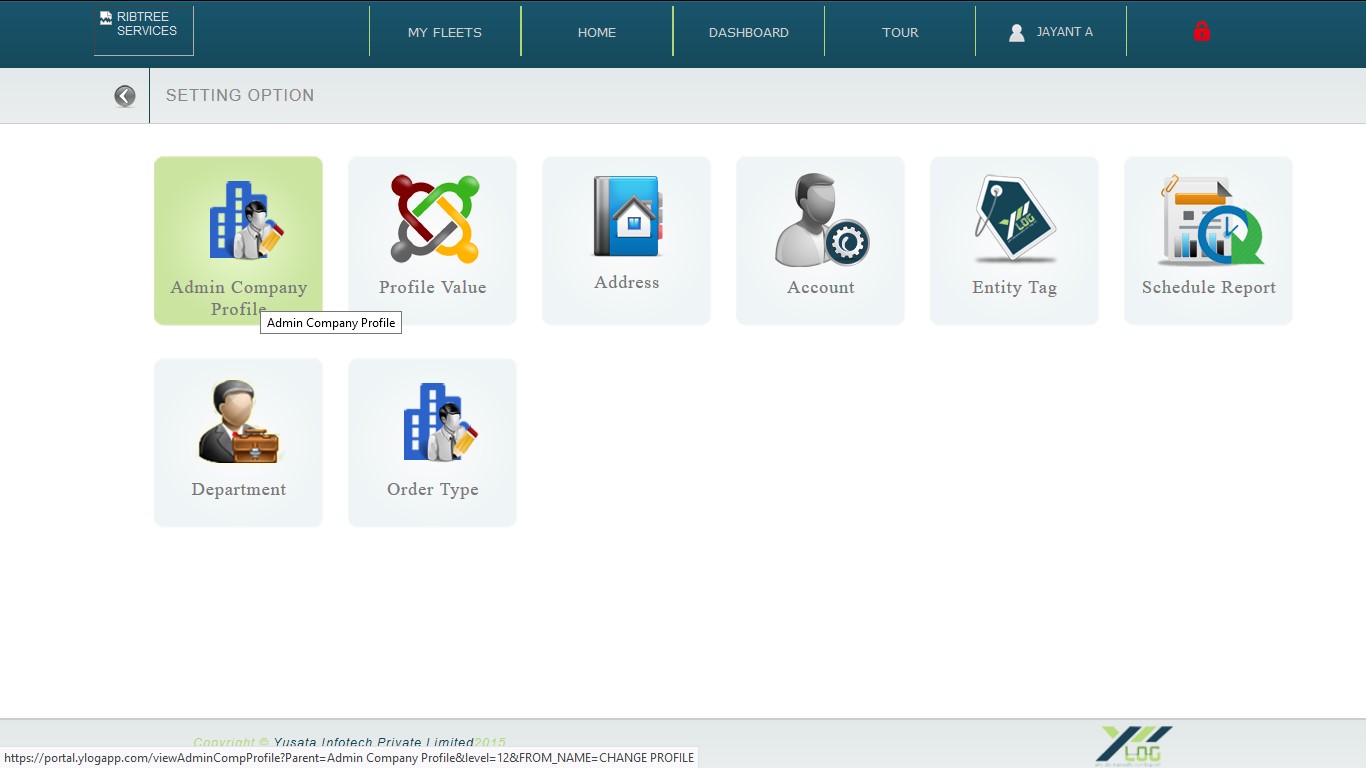
TO UPDATE LOGO, IF YOU’RE LOGGED IN, THEN LOGOUT AND LOGIN AGAIN.
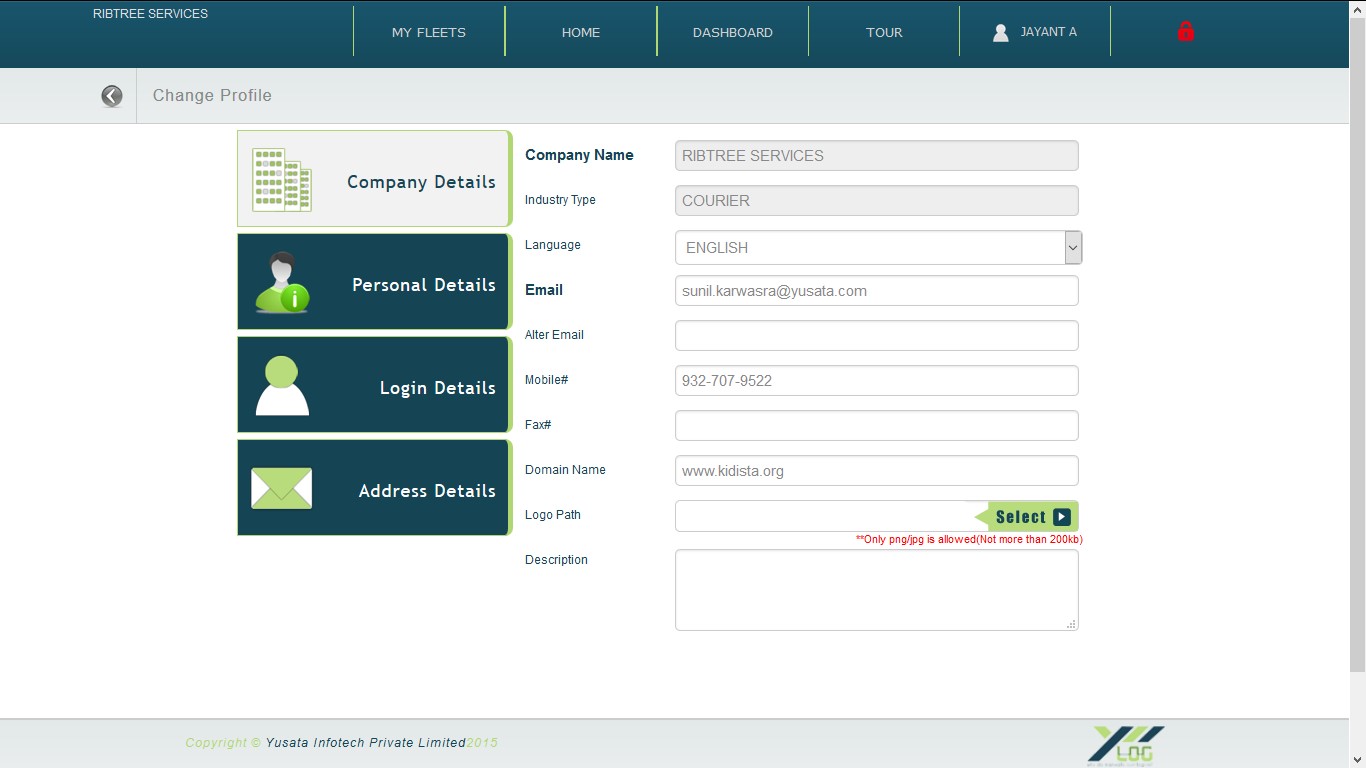
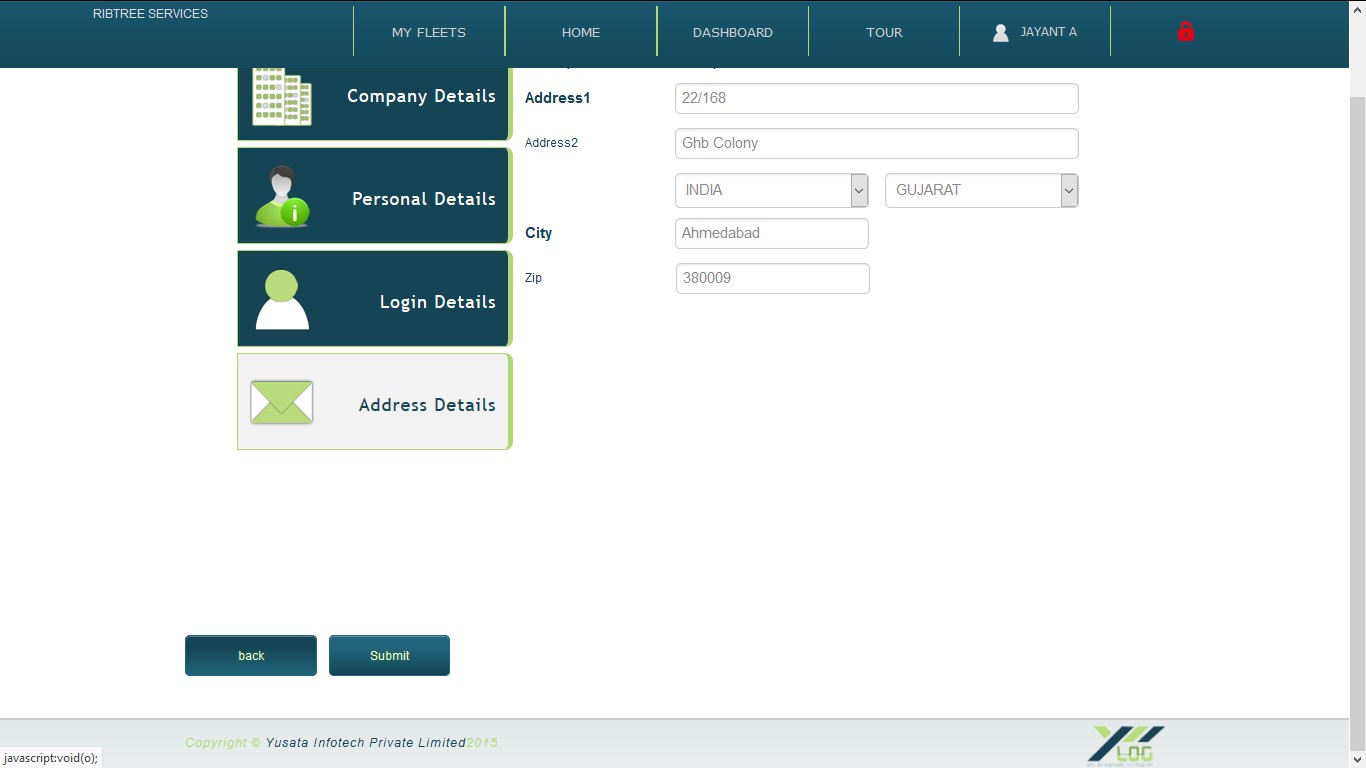
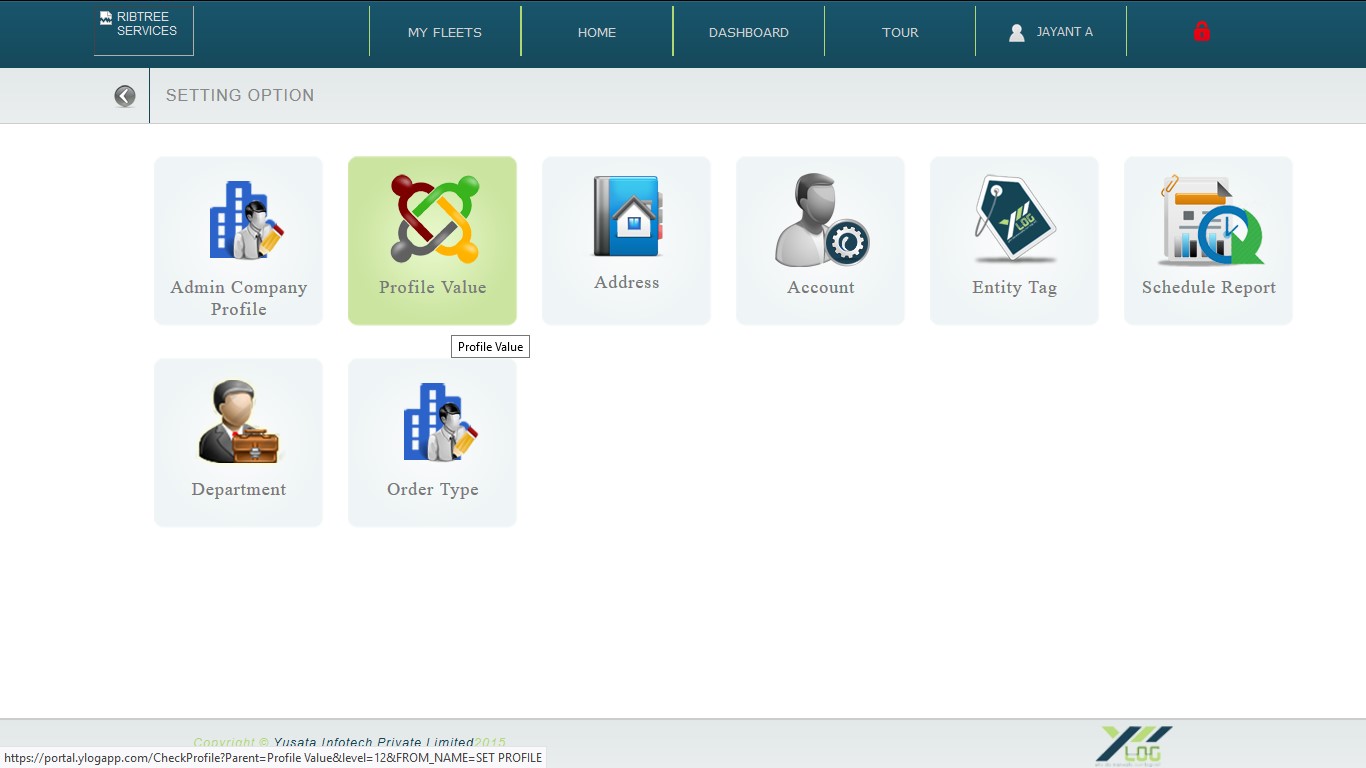
1. Go to Home> Settings > Admin Company Profile Home Admin Company Profile 2. Click on Logo Path option, to update new logo. 3. Proceed with all the details and finally, click on submit button.
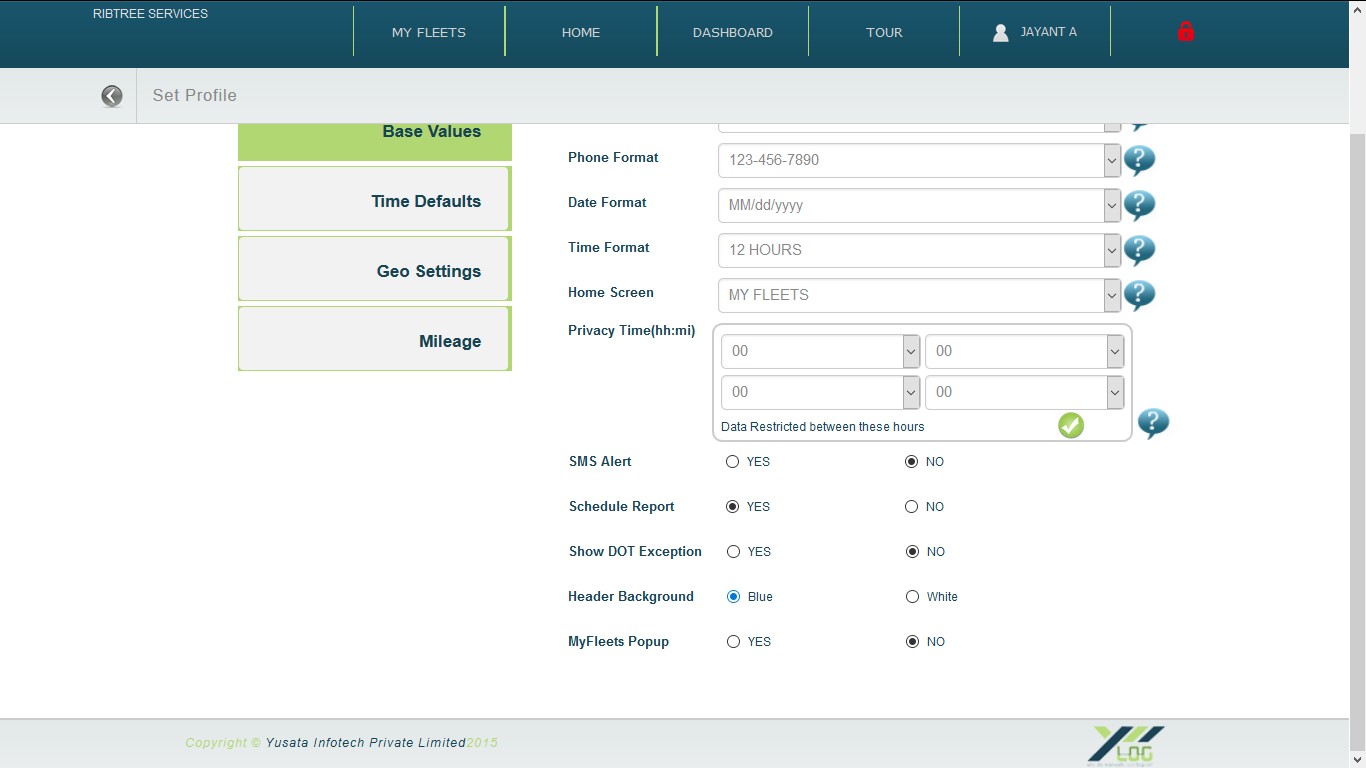
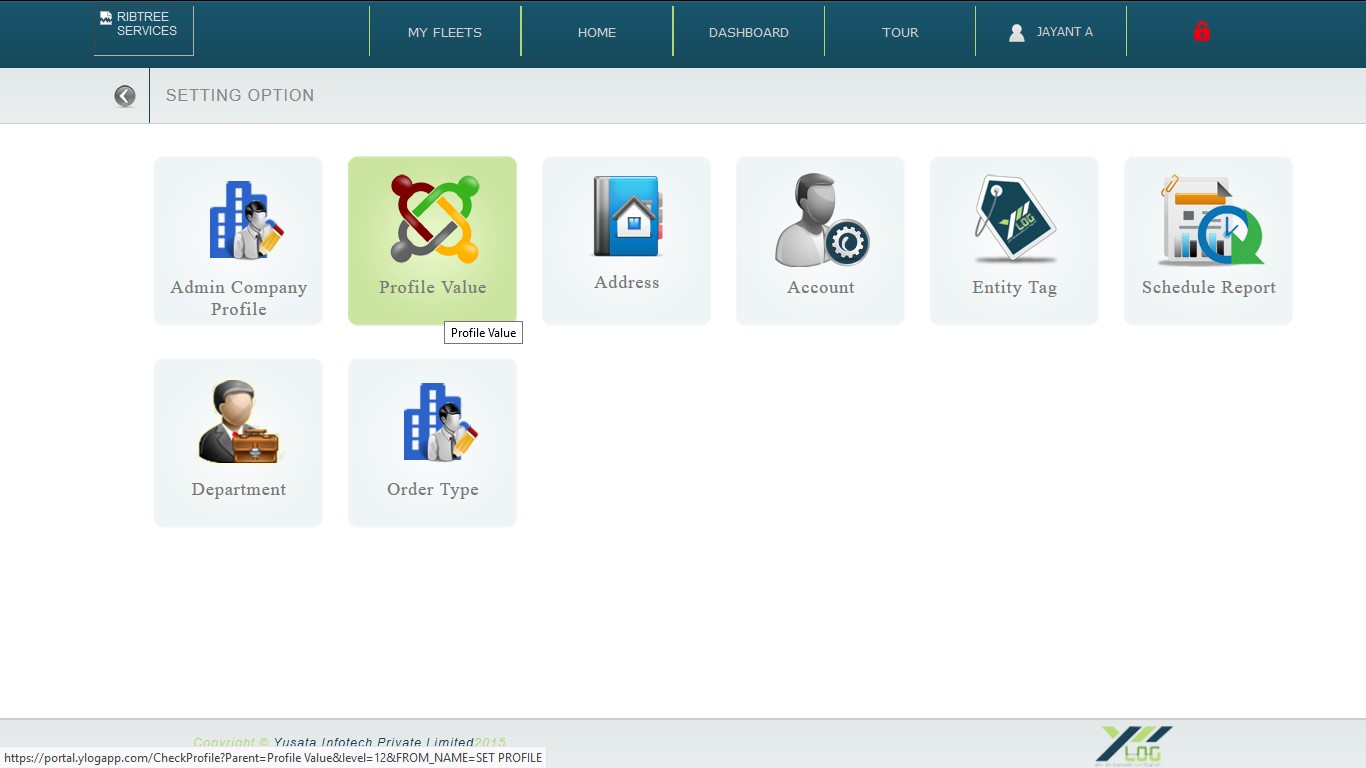
1. Go to Home> Settings > Profile Value Settings Profile Value
2. In the Base Values Section, select Header Background color, white/blue to change the header background color.
3. When you select any of the two colors, then a notification will come, that Your Header Background is updated successfully.
4. Click on OK to proceed.
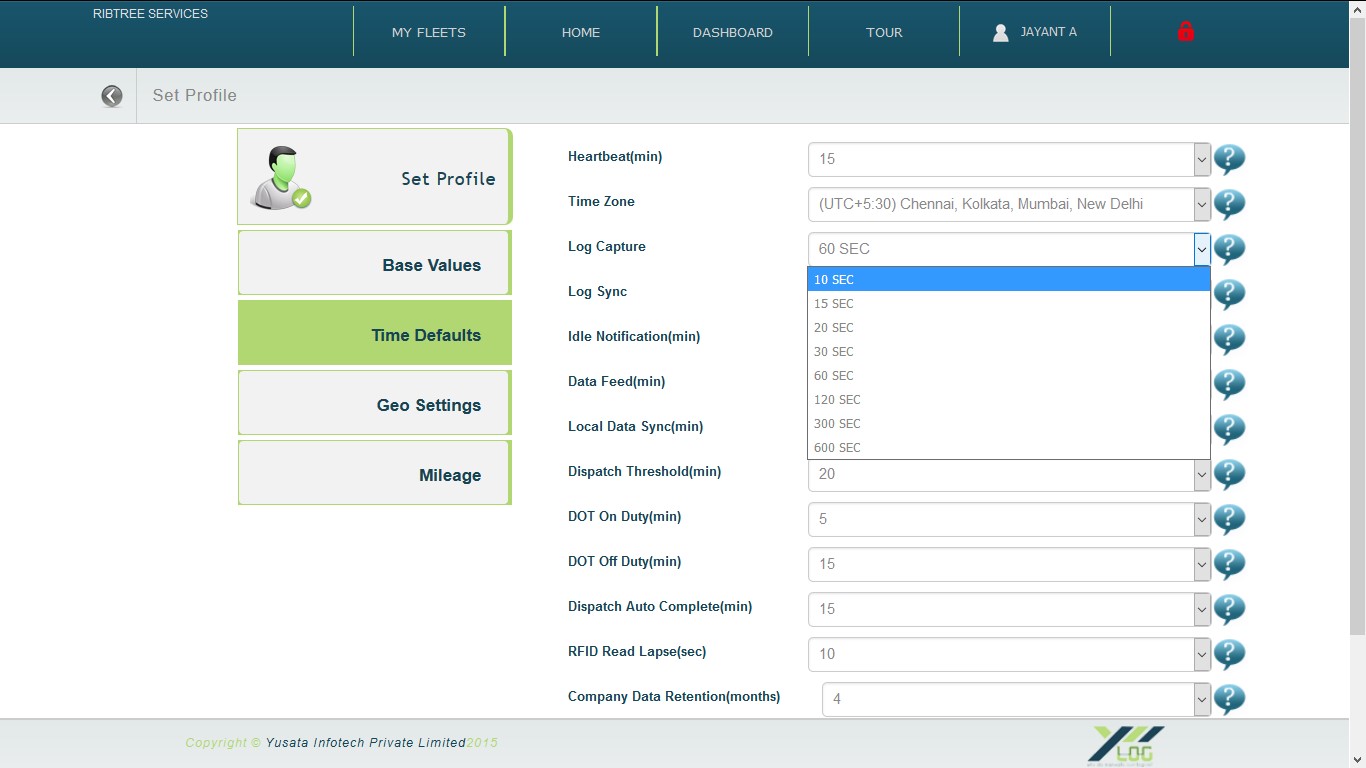
1. Go to Home> Settings> Profile Value> Set Profile> Base Values> Time Defaults Settings Profile Value Set Profile> Base Values> Time Defaults
2. For reporting, click on Log Capture, and select the required time by you.
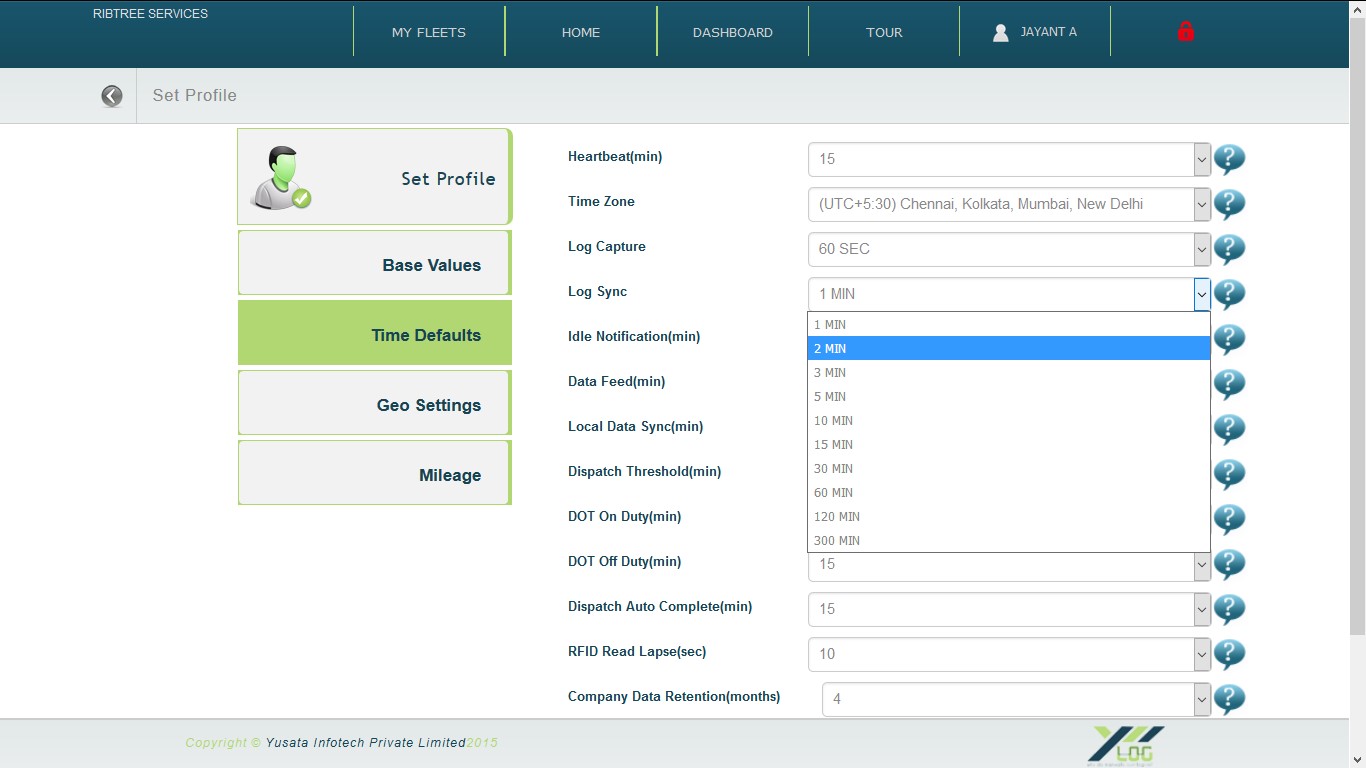
3. For sync frequency, click on Log Sync, and then select the required time for syncing the data.
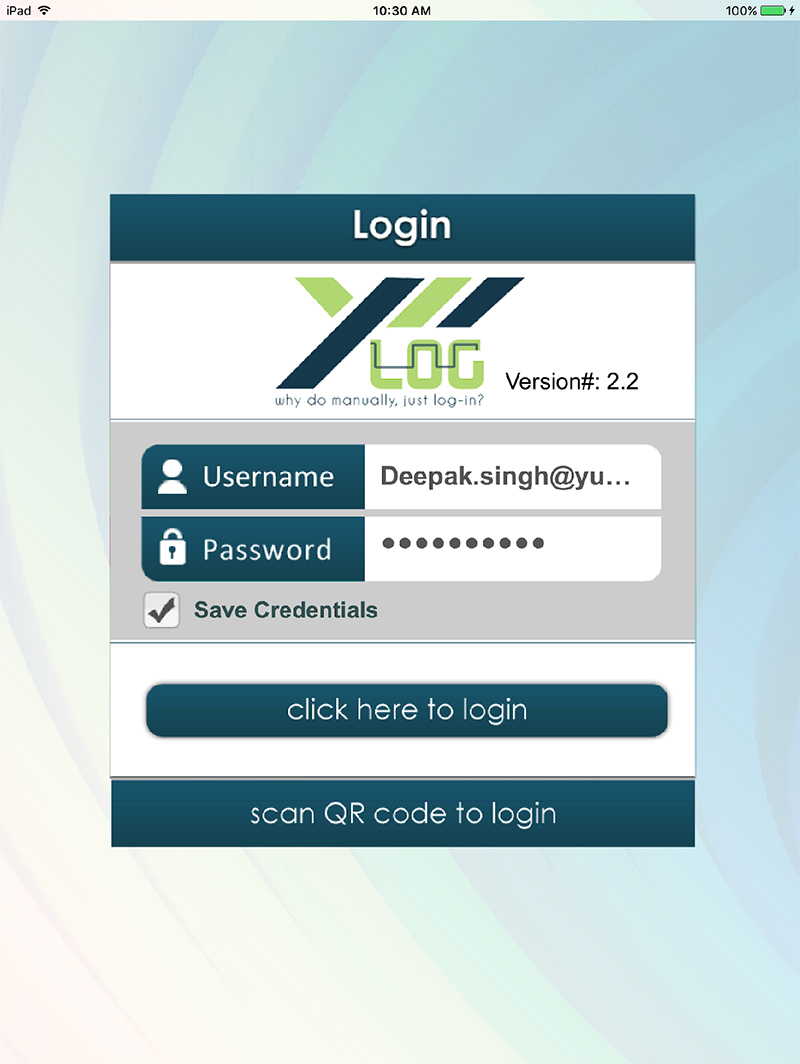
1. Sign In using concerned credentials.
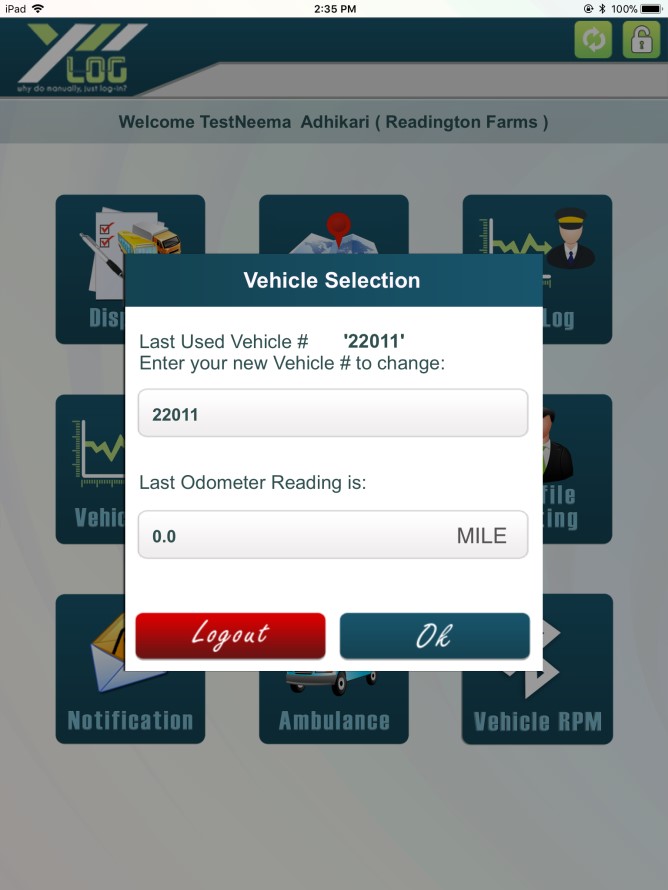
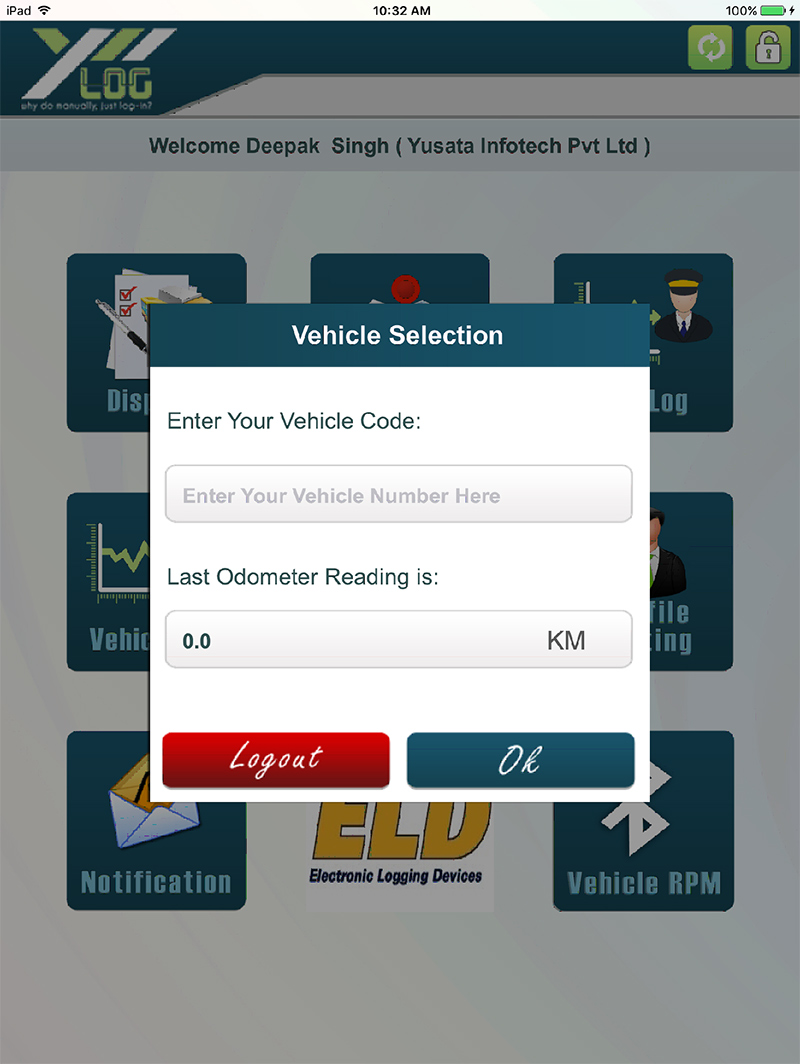
2. Enter Vehicle Code to proceed.
3. Click on Dispatch button to move ahead.
4. List of all the dispatch will appear. Click on your dispatch.
5. To add items on order, it is necessary to start dispatch.
6. Following screen will appear, then, click on second button from the upper side bar to view stops.
7. After clicking on stop button, stop details will appear. Select one order for which you want to edit the details.
8. You can edit the order quantity manually and then click on OK button.
1. Login with Credentials.
2. Enter your vehicle code to proceed further.
3. Home Page will appear, click on the Dispatch screen.
4. After clicking on Dispatch, dispatch list will appear.
5. After selecting your dispatch from the dispatch list, certain screen will appear.
6. To add items on order, it is necessary to start dispatch.
7. Click on the second button from the upper right bar, stop details will appear.
8. Select your order, in stop details, concerned order details will appear.
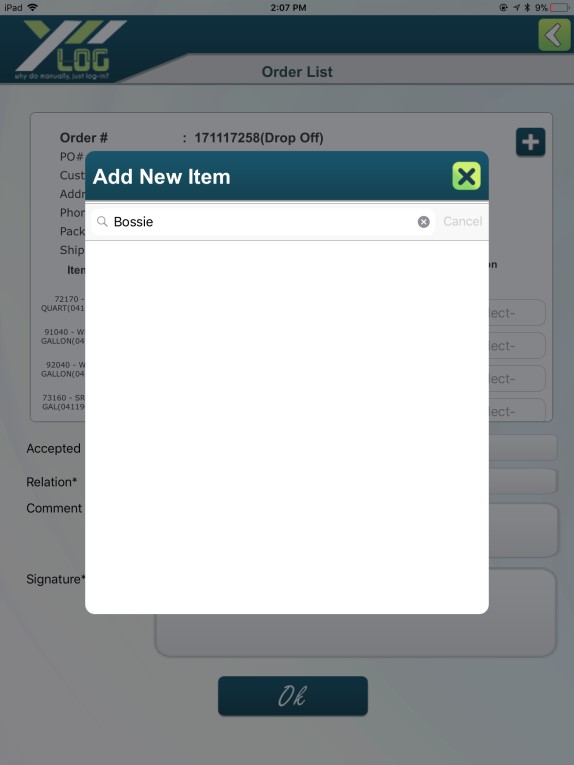
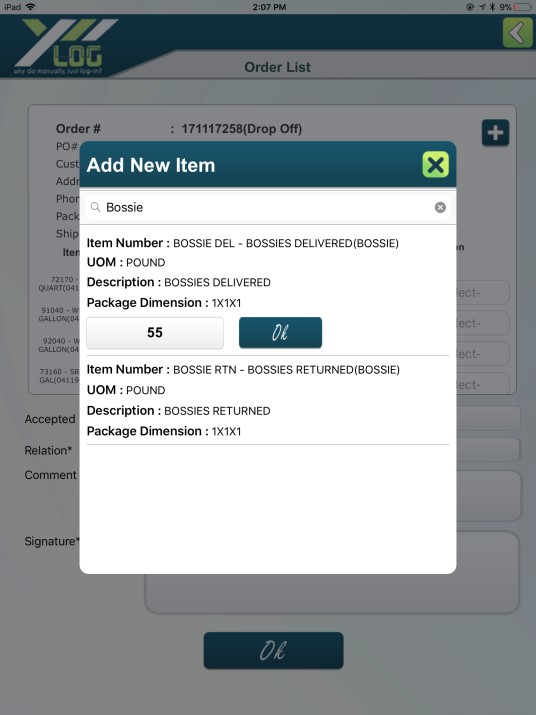
9. Click on the Plus (+) button to add new items on IPad.
10. To add new item, it is mandatory to add UPC Code.
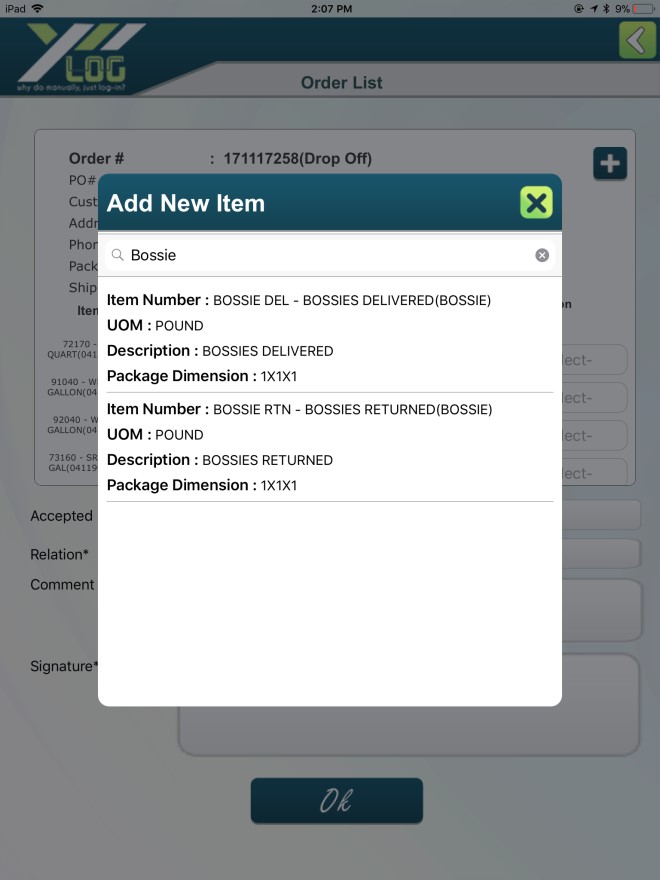
11. All items will appear related to the item searched. Click on the concerned order in which items need to be added.
12. Add the quantity of the item.
13. Item which is added recently will be shown at the last.
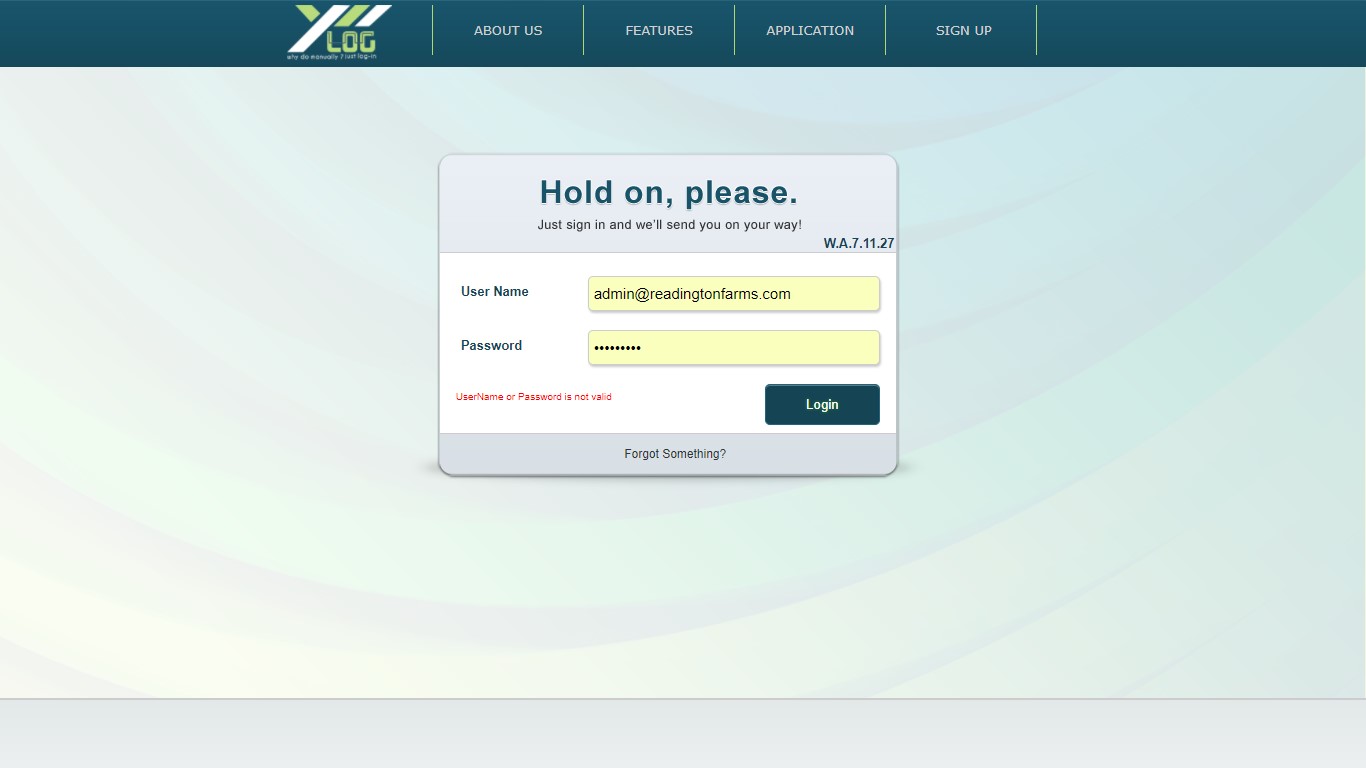
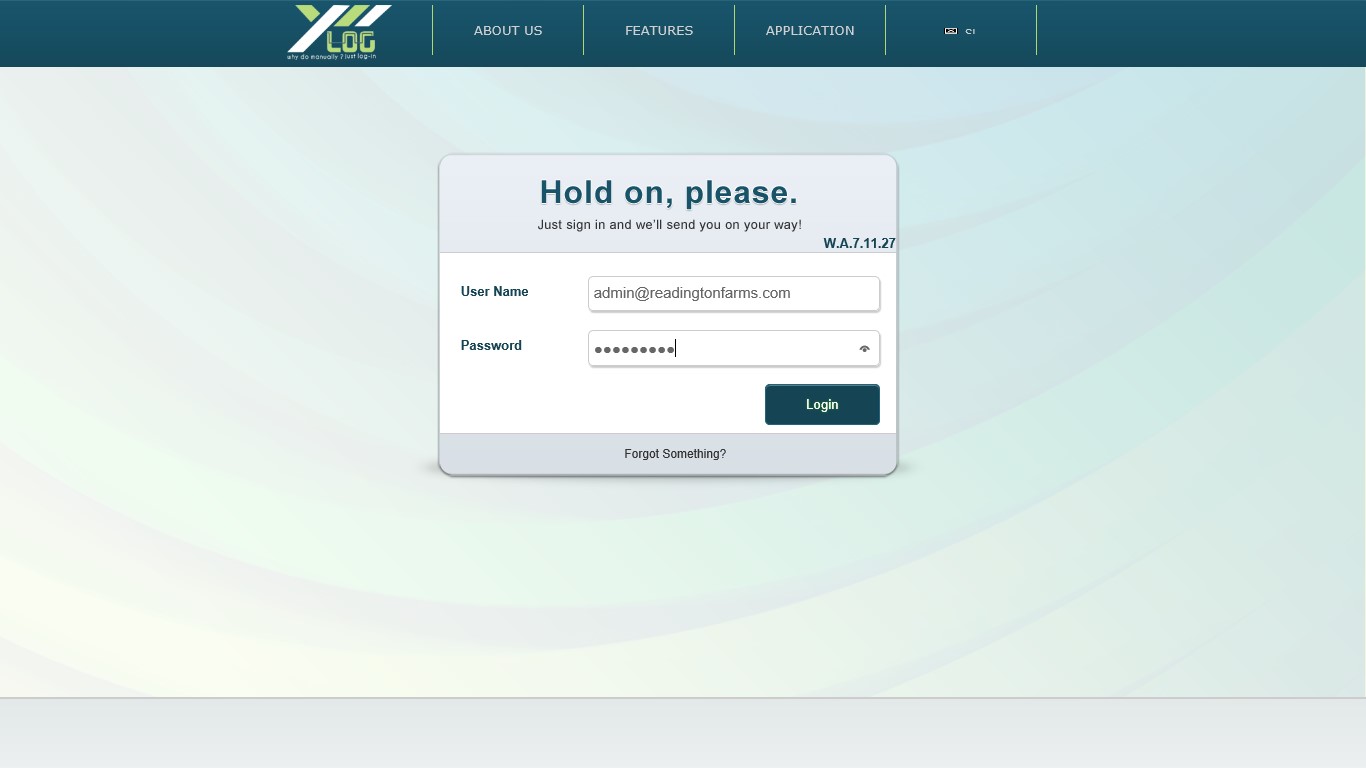
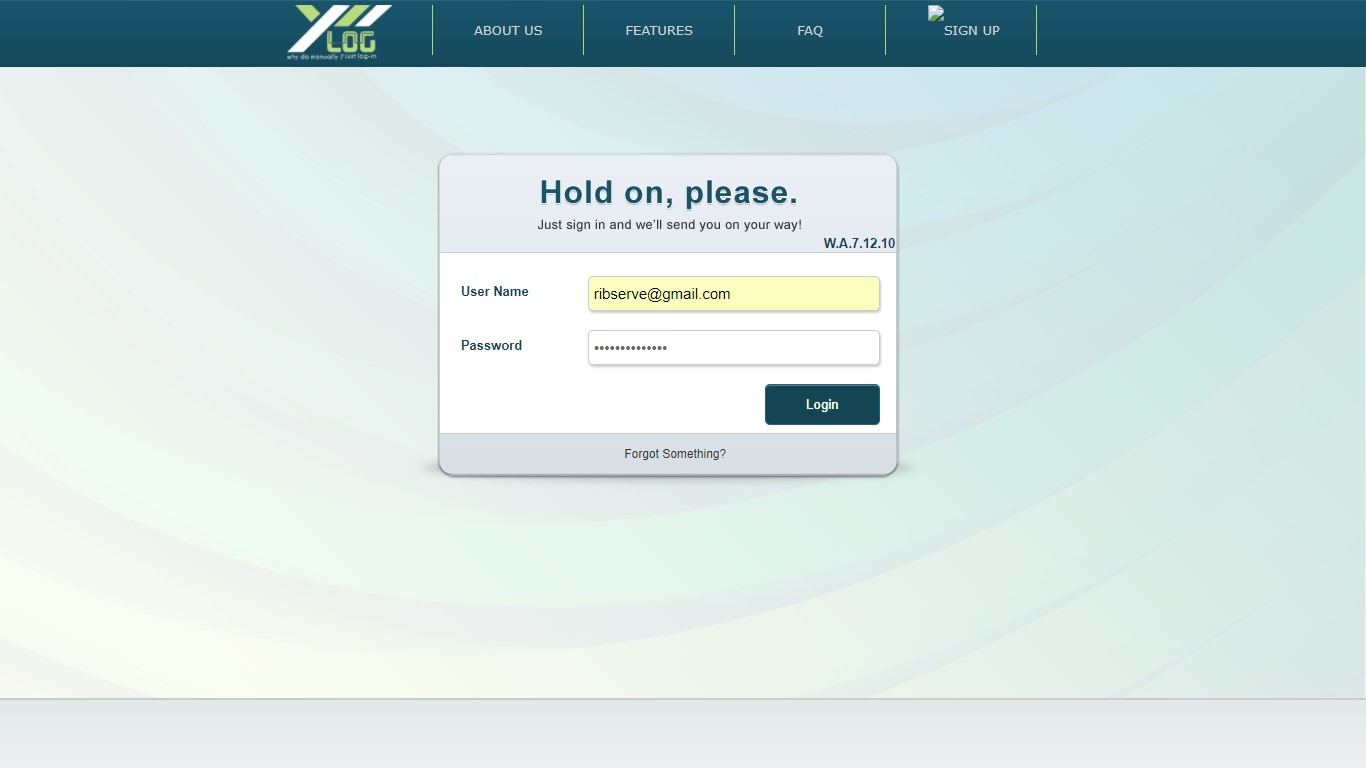
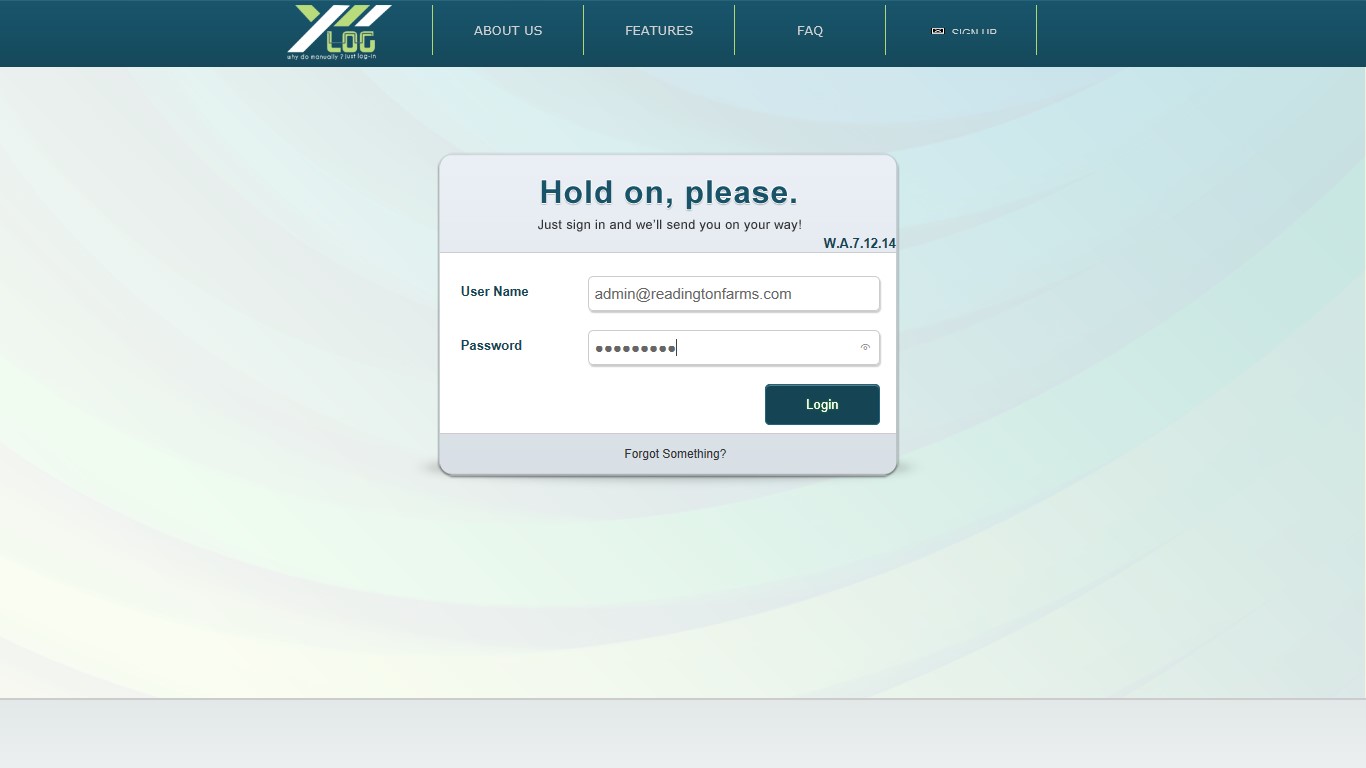
If you have forgotten your password, then following screen will appear.
1. Click on ‘Forgot Something’ to reset password.
2. It will ask you to enter your email id.
3. Email will be sent the mail id entered in email address option.
4. Click on the link, and reset password.
1. Login with credentials.
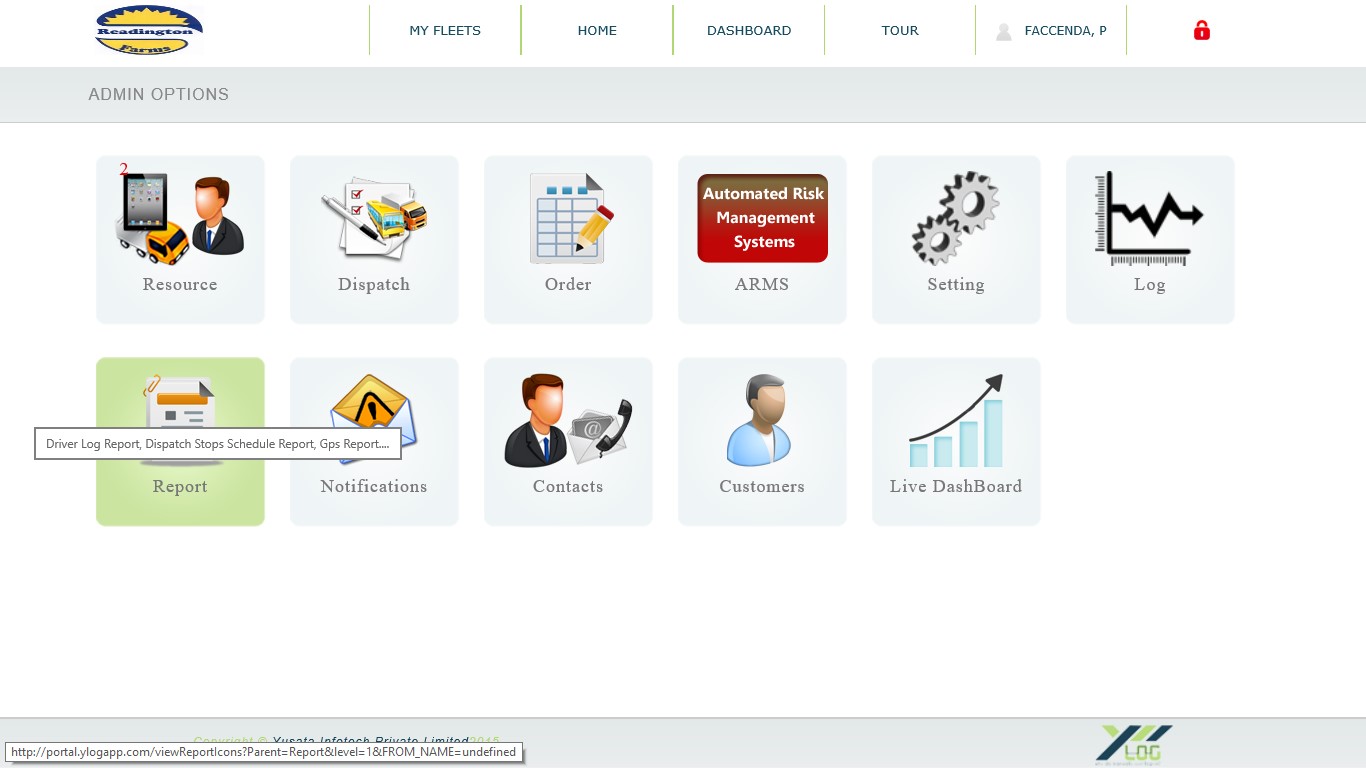
2. After logging in, Home page will appear. Click on Home option.
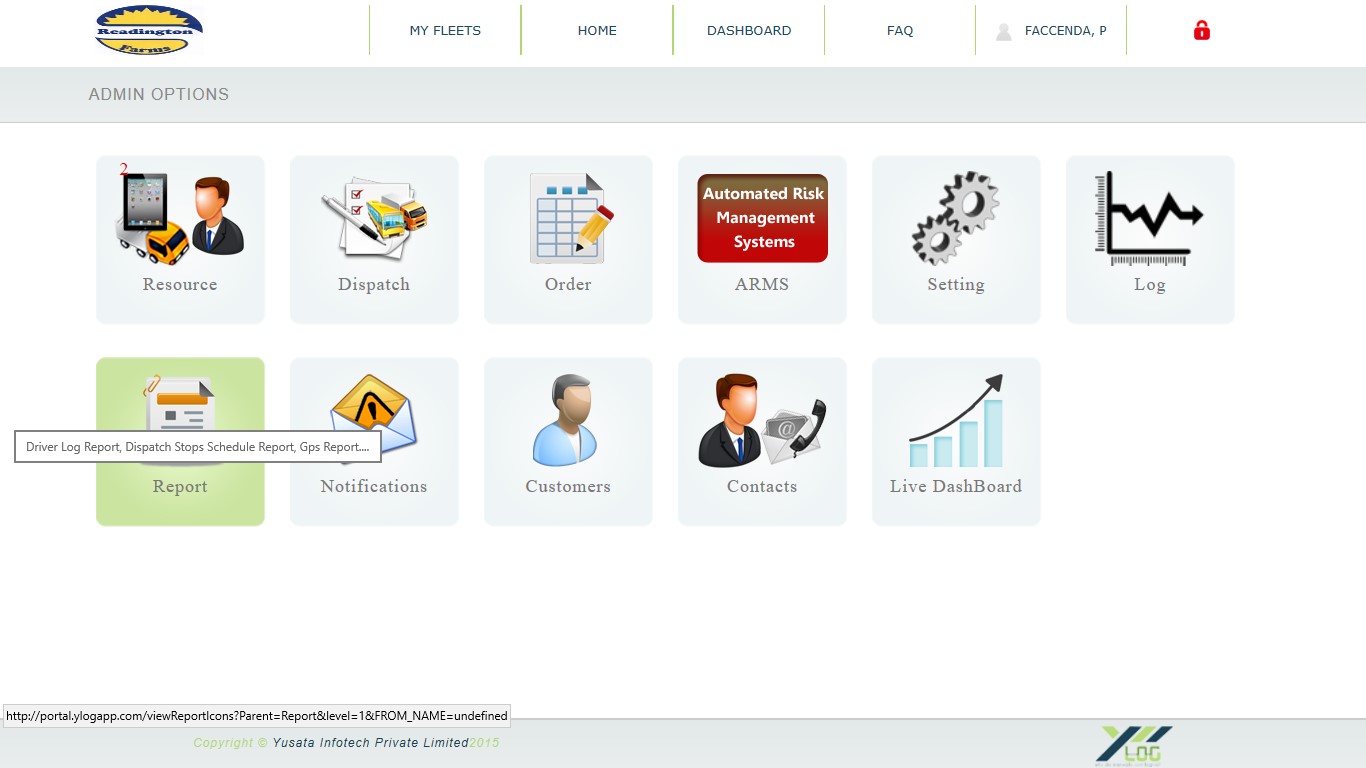
3. Click on Report option to move further.
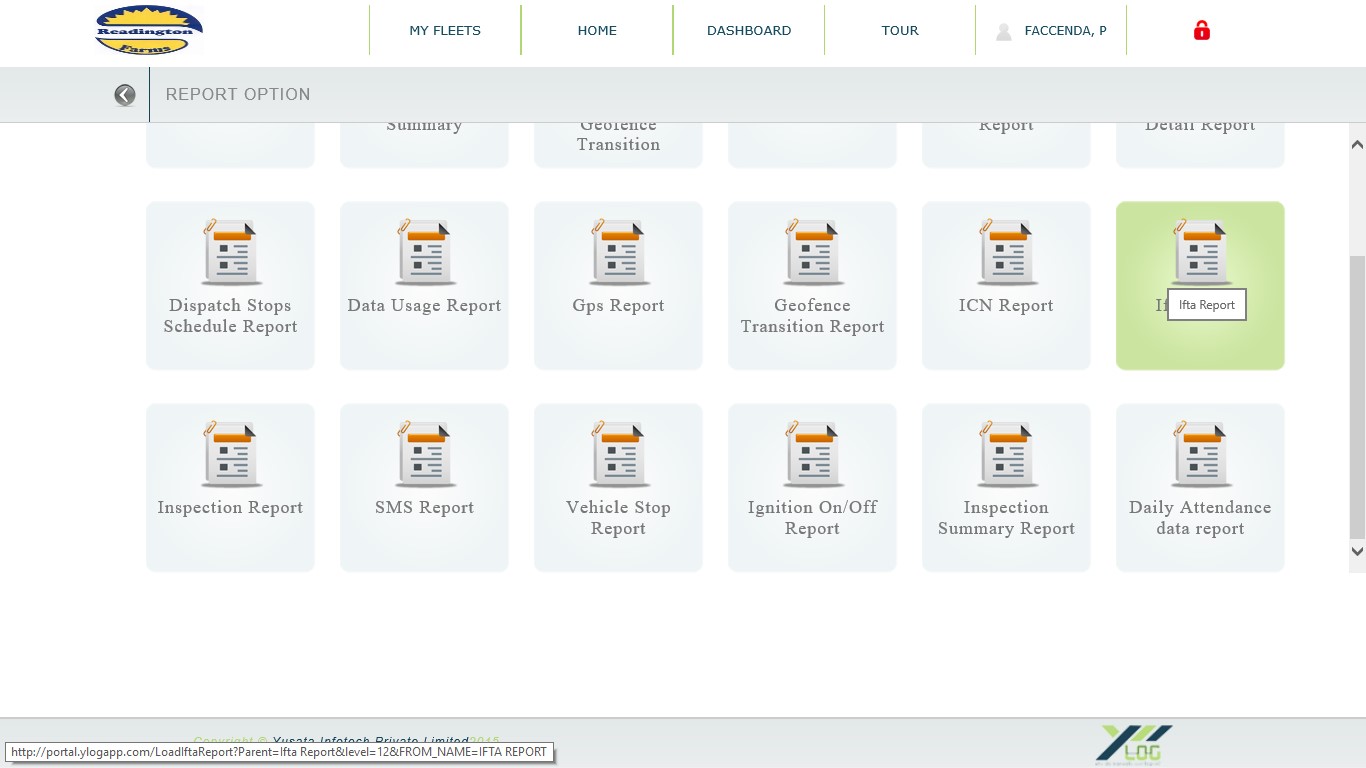
4. Click on IFTA Report from various report options.
5. Fill all the necessary details and select the type of report format you want to download.
1. Login with credentials.
2. After logging in, Home page will appear. Click on Home option.
3. Click on Report option to move further.
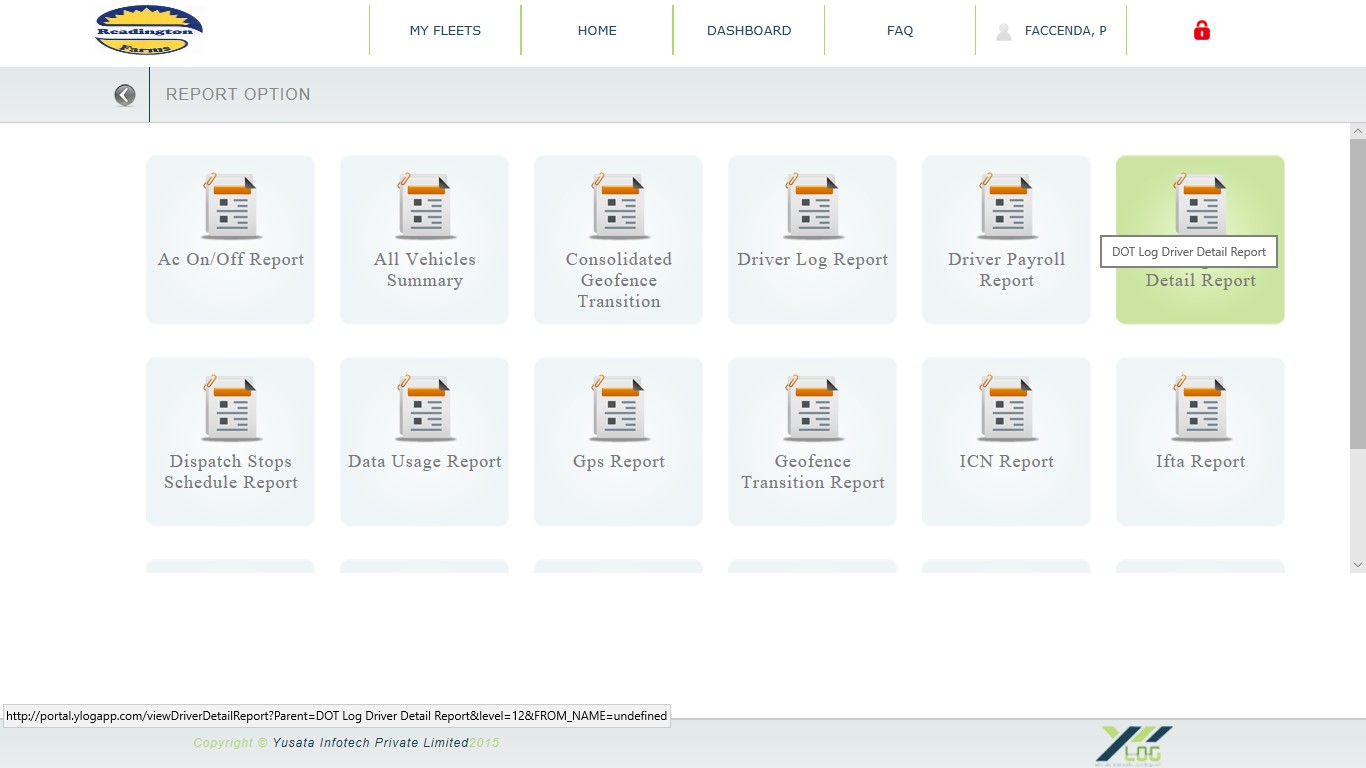
4. Click on DOT Log driver detail report.
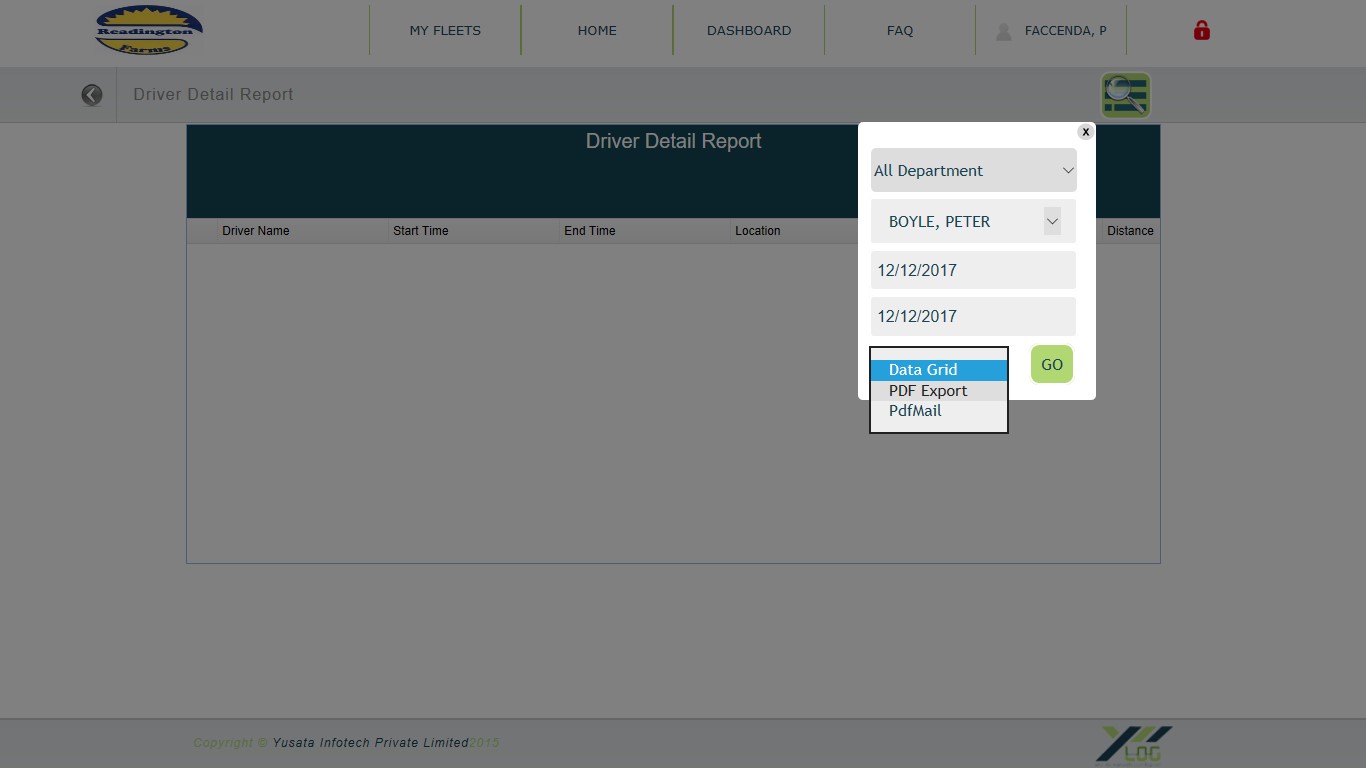
5. Fill all the necessary details and select the type of report format you want to download.
6. Click on Go to download the report.
1. Login with the help of credentials.
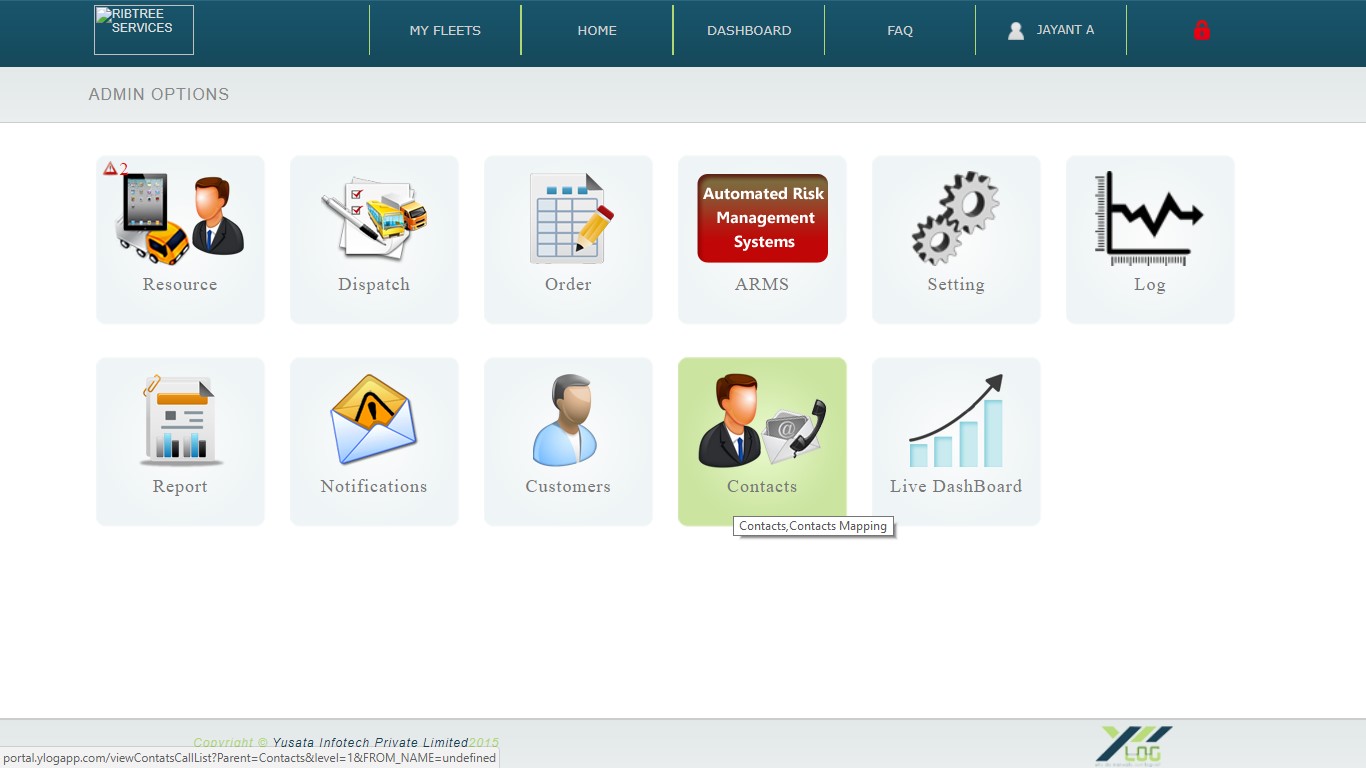
2. Go to home and click on Contacts option.
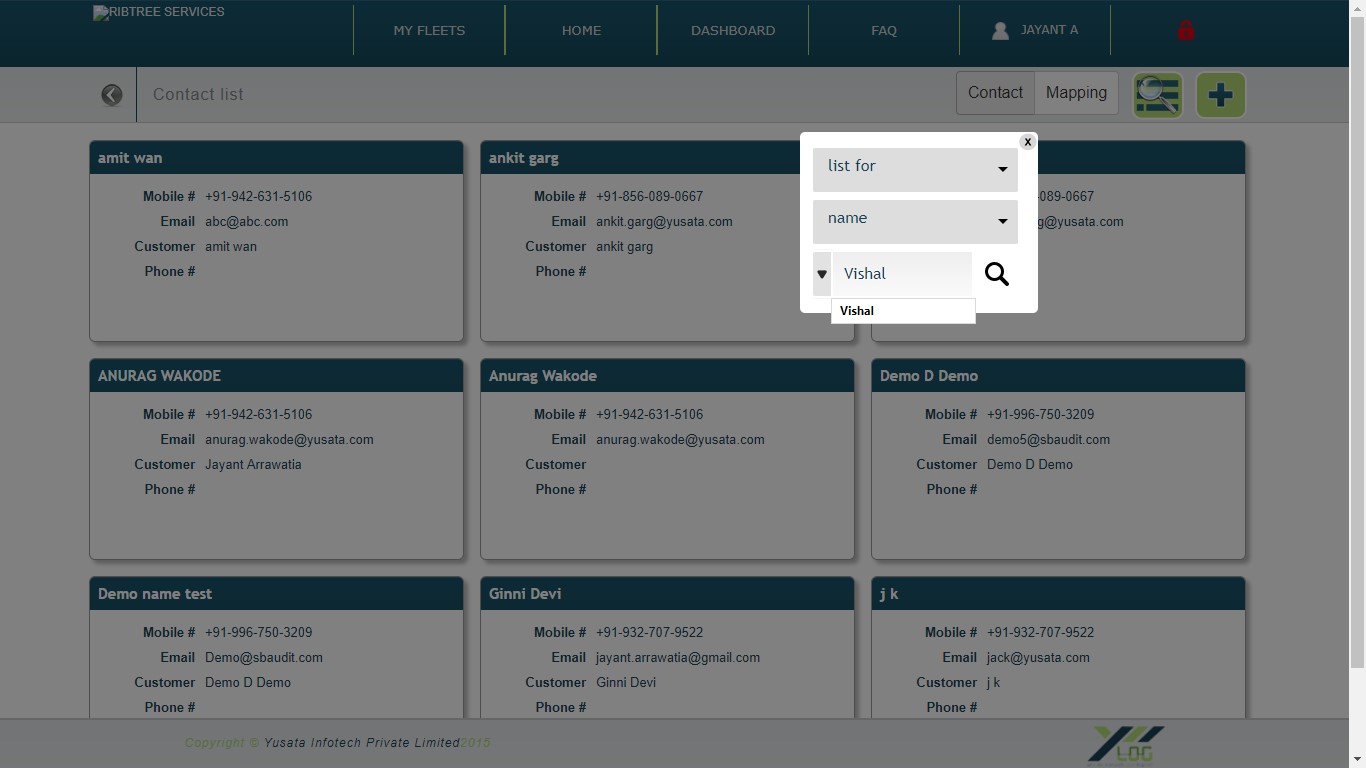
3. Search for the contact in search option for sending mail to the specific person.
4. Click on mapping button to proceed further.
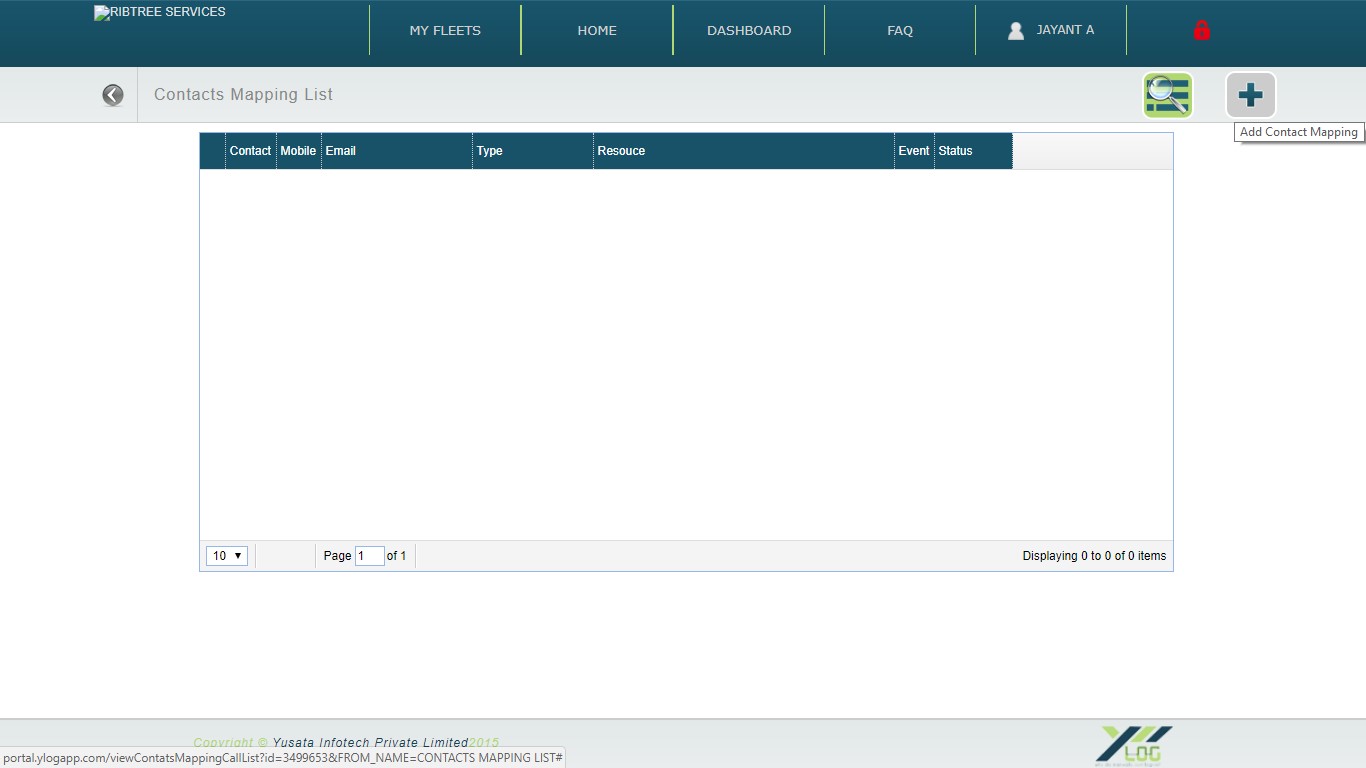
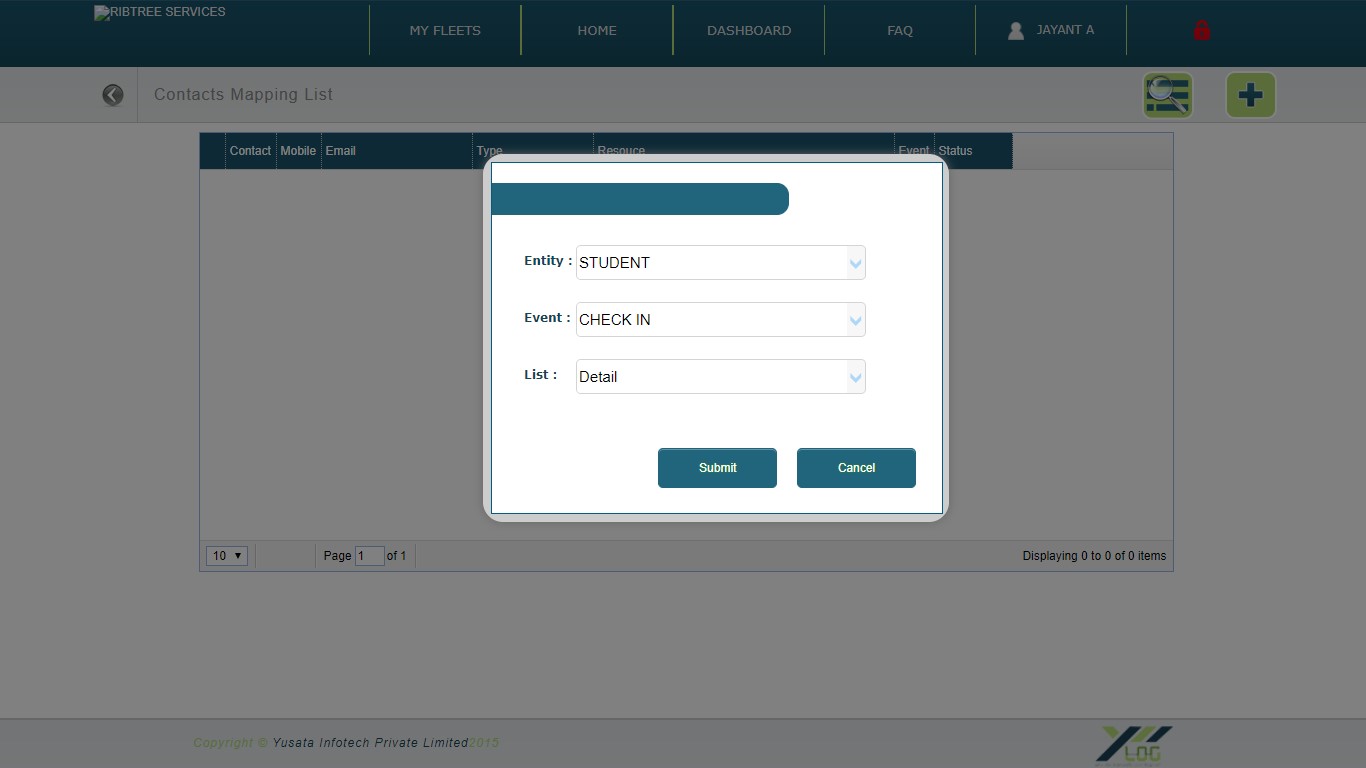
5. Click on Plus button to do add contact mapping.
6. After clicking on plus button, following list will appear.
7. Fill all the required details; Entity, Event and List.
8. Finally, click on submit to submit details.
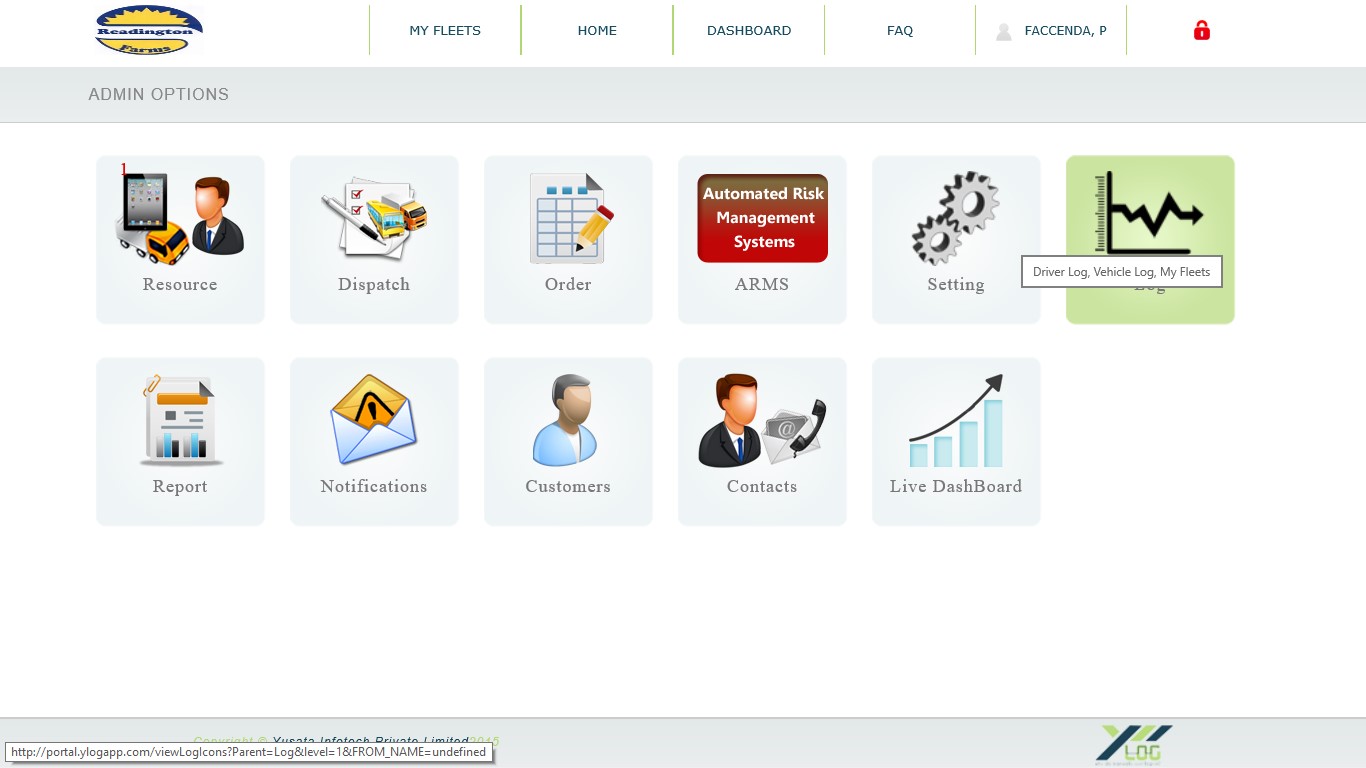
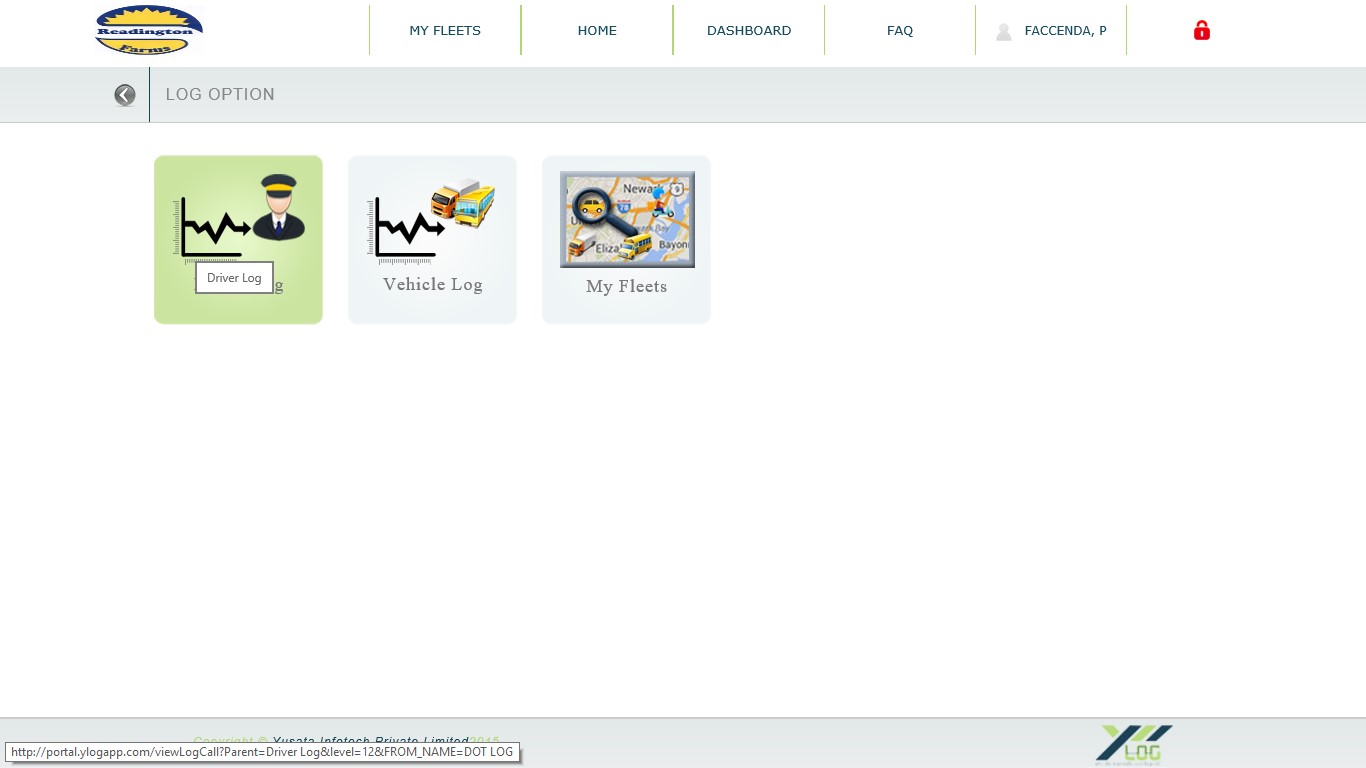
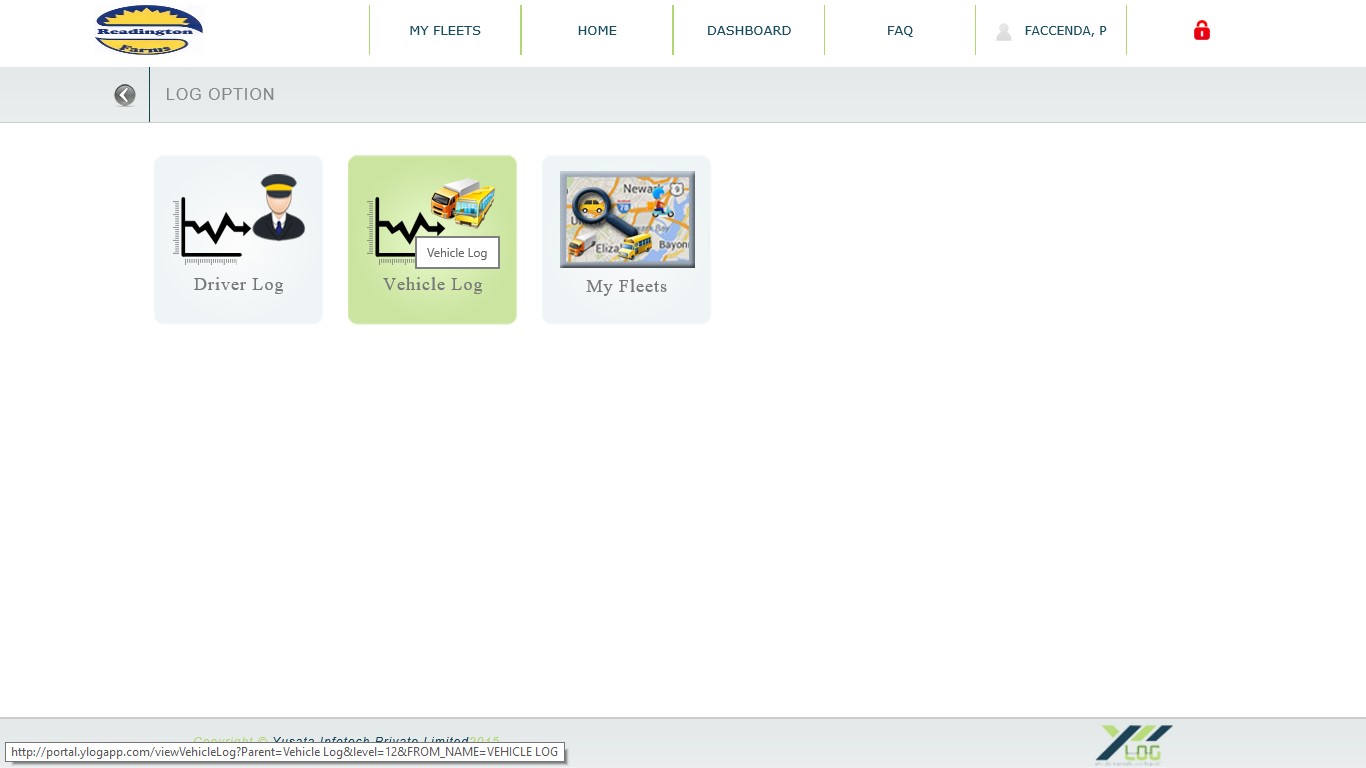
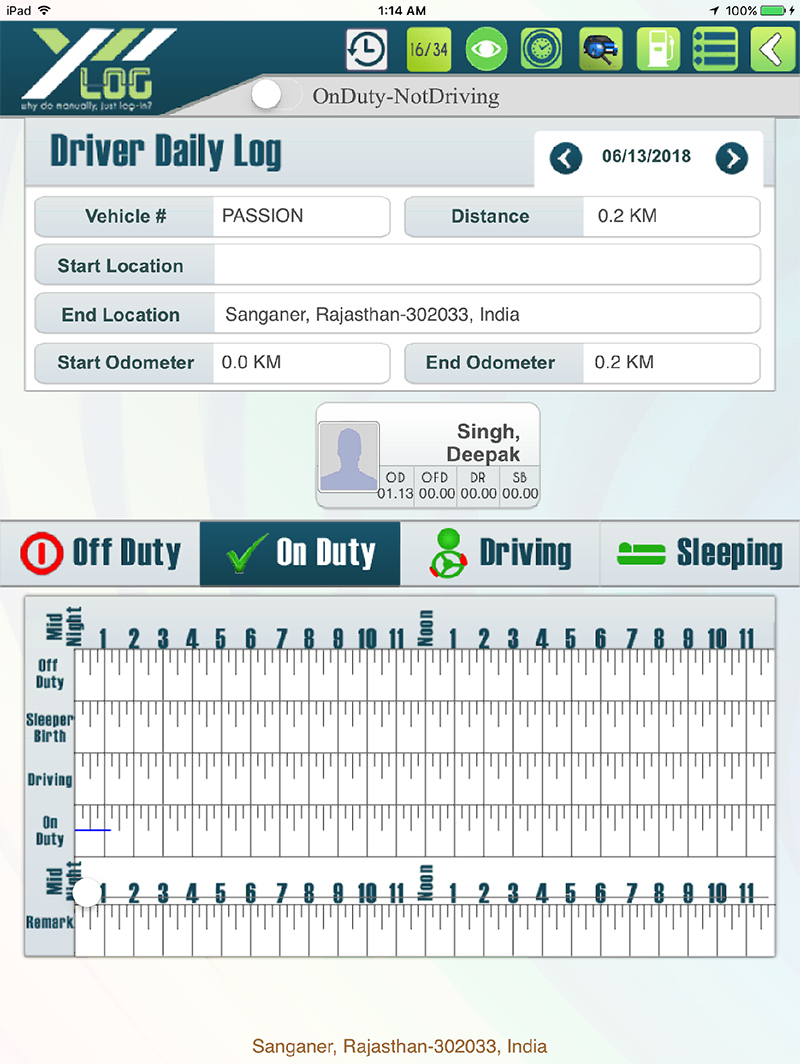
1. Go to Home – Log, three options will be available; Driver Log, Vehicle Log and My Fleets.
2. Choose Driver Log Option.
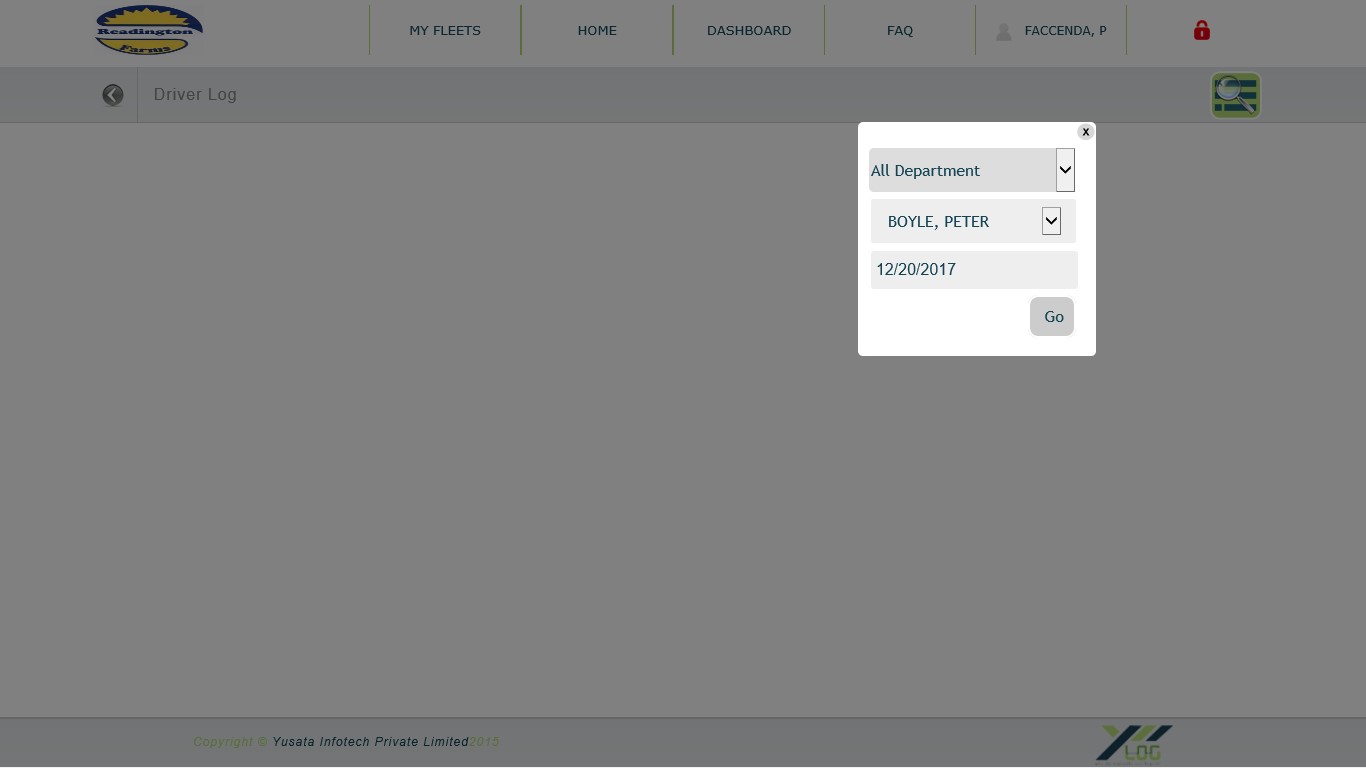
3. Fill all the required details to view Driver Log Data.
1. Go to Home – Log, three options will be available; Driver Log, Vehicle Log and My Fleets.
2. Choose vehicle log option to view any vehicle log data.
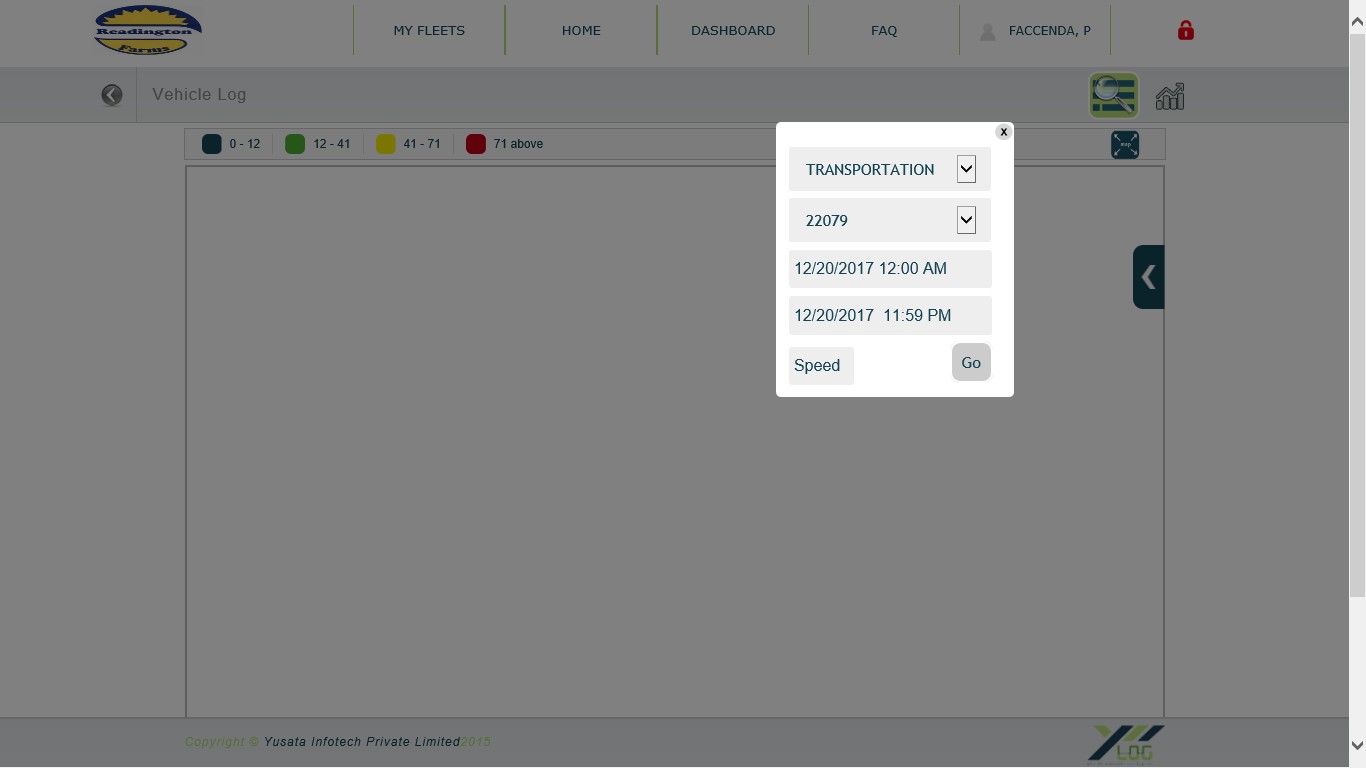
3. Fill all the required details.
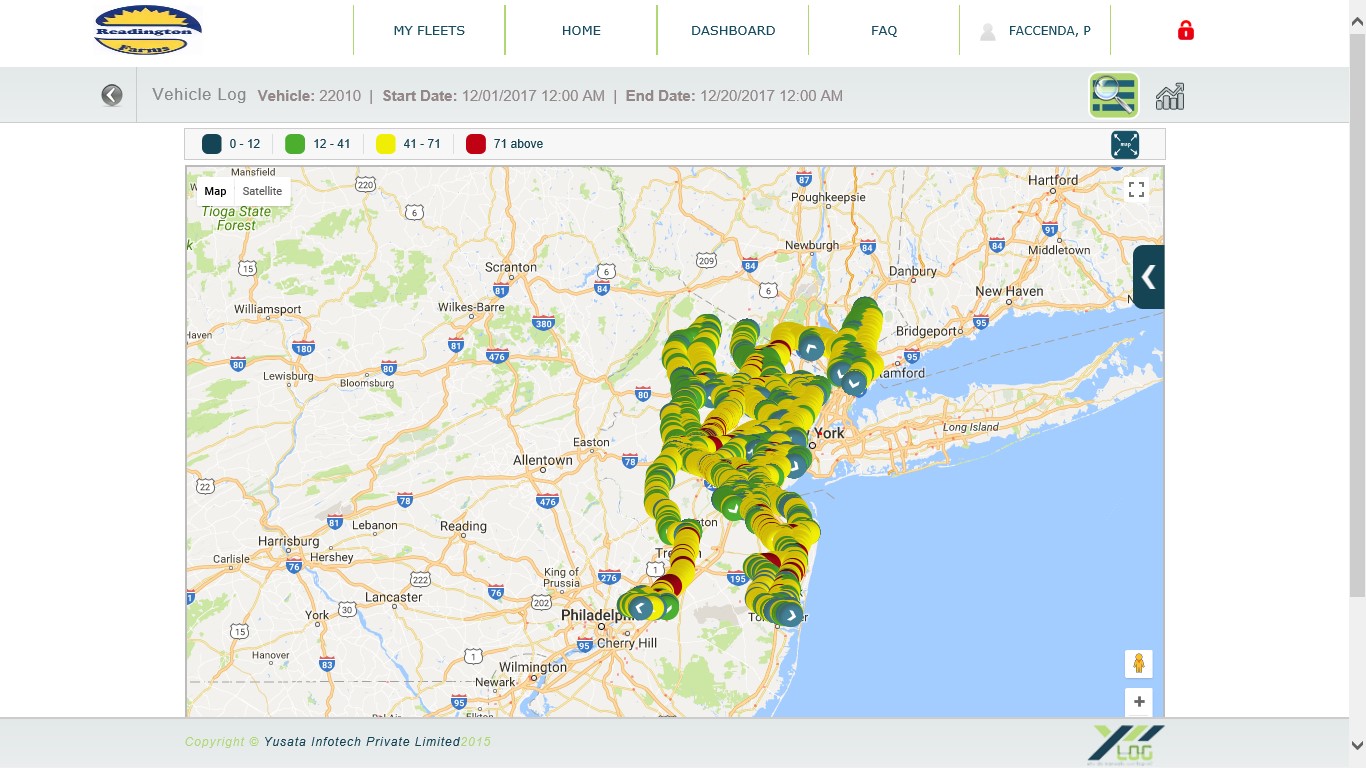
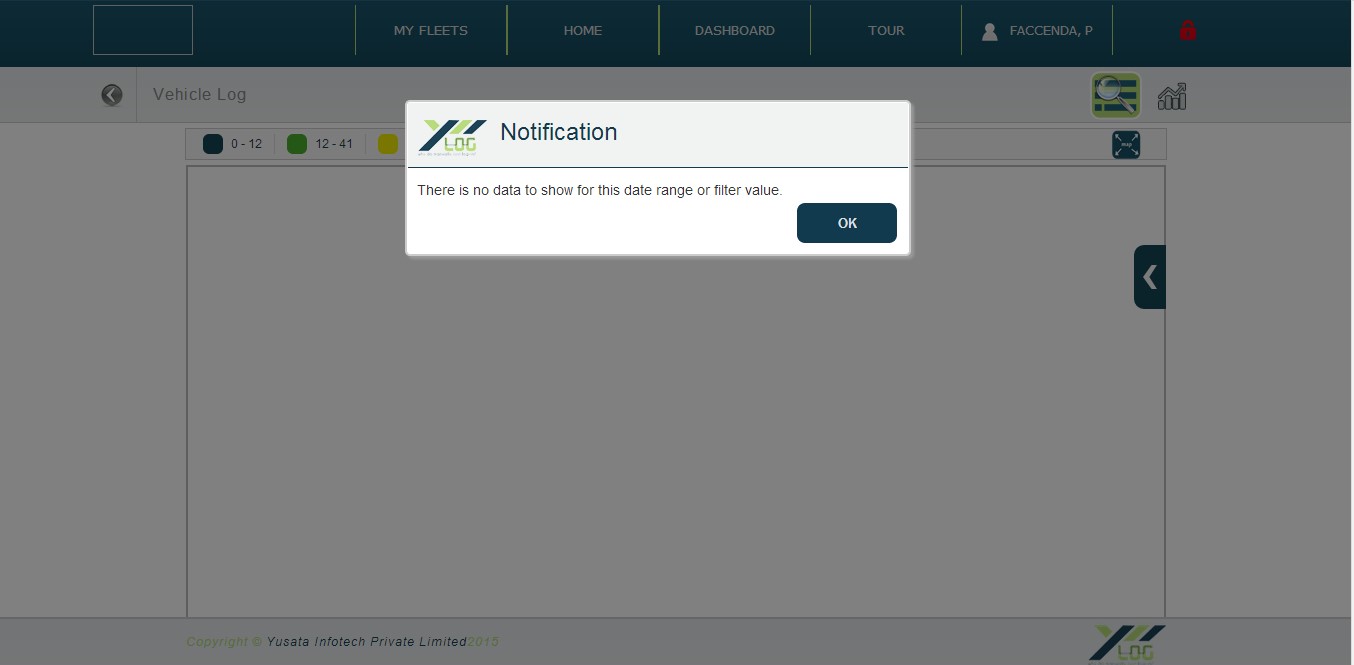
4. Click on Go and the vehicle log for the vehicle searched, will be displayed. IN CASE, AFTER SEARCHING VEHICLE LOG, FOLLOWING SCREEN DISPLAYS, THAT MEANS THERE IS NO MOVEMENT OF THE VEHICLE.
1. Login into YLogApp with your credentials.
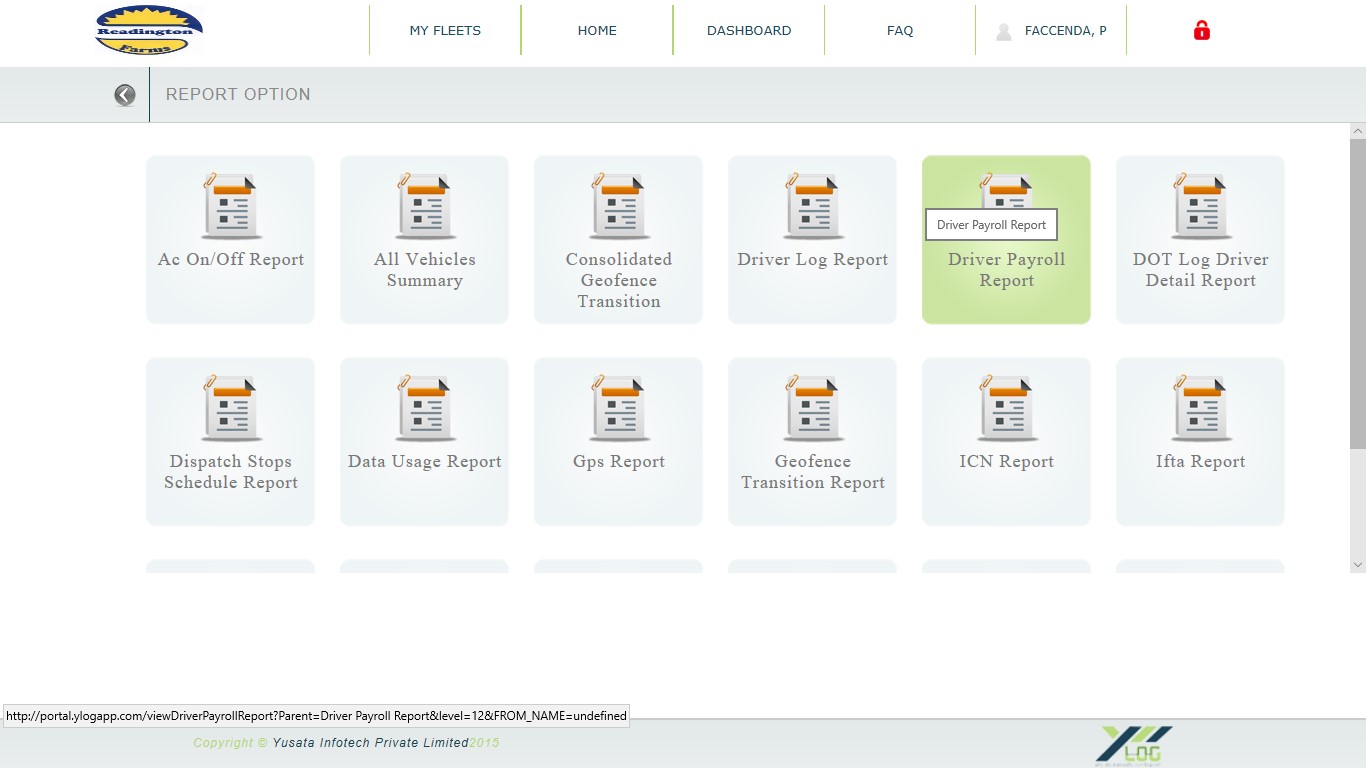
2. Go to Home Report Driver Payroll Report
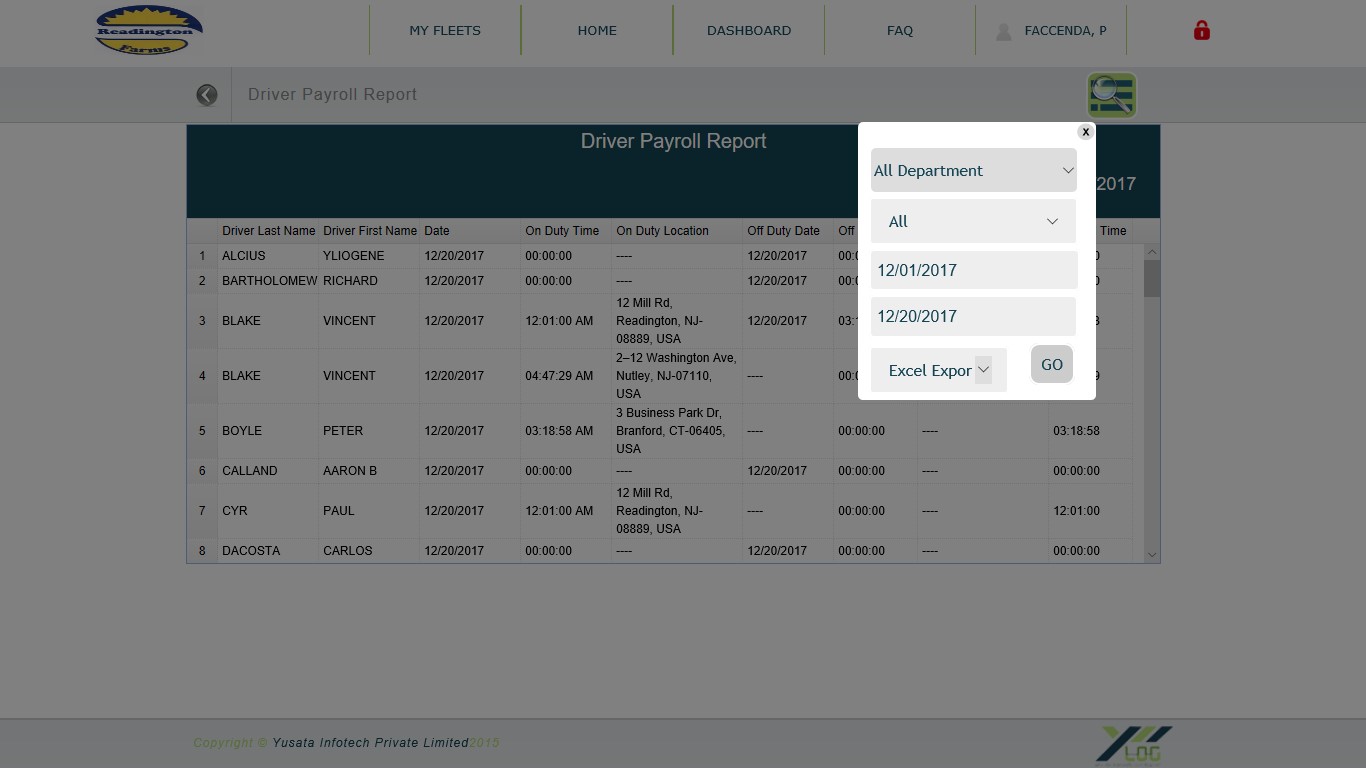
3. Select “All” drivers and date range
4. Close this box and click on “export” icon next to it.
5. Save report
1. Vehicle Code is mandatory as a vehicle is assigned with a device.
2. If the vehicle is already created into your account, and it is not engaged with any other device.
1. Sign In using concerned credentials.
2. Enter Vehicle Code to proceed.
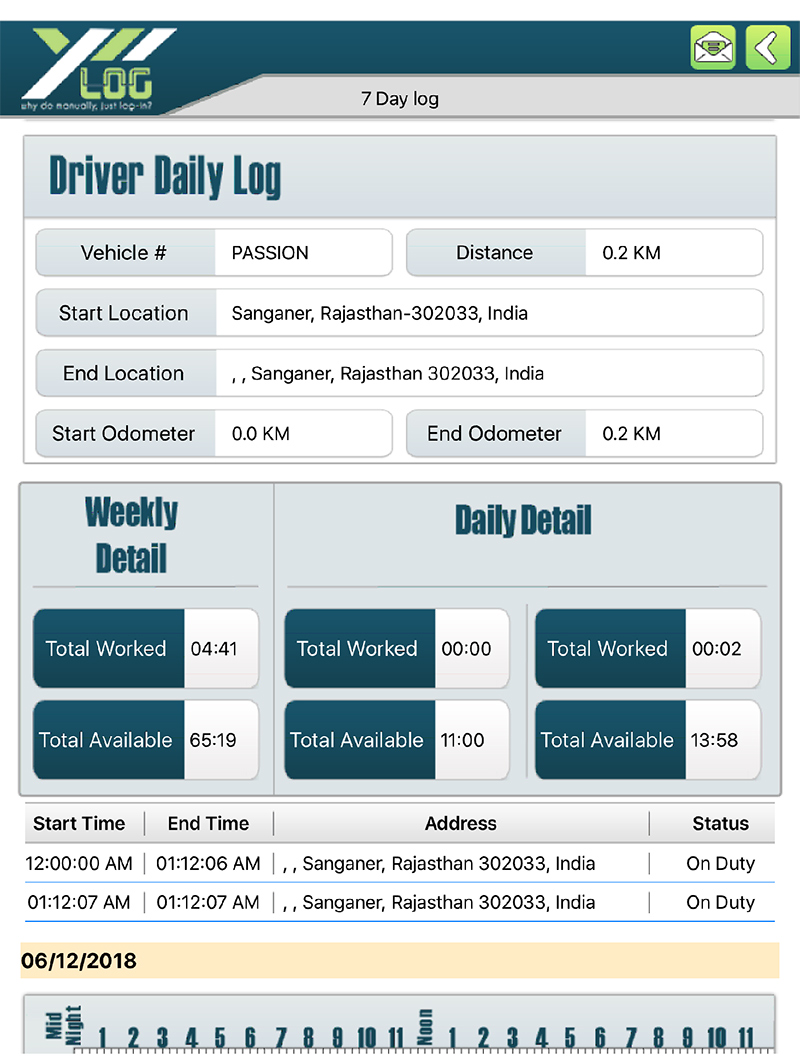
3. Click on Dot Log button to move ahead.
4. Click on left most button on top menu bar.
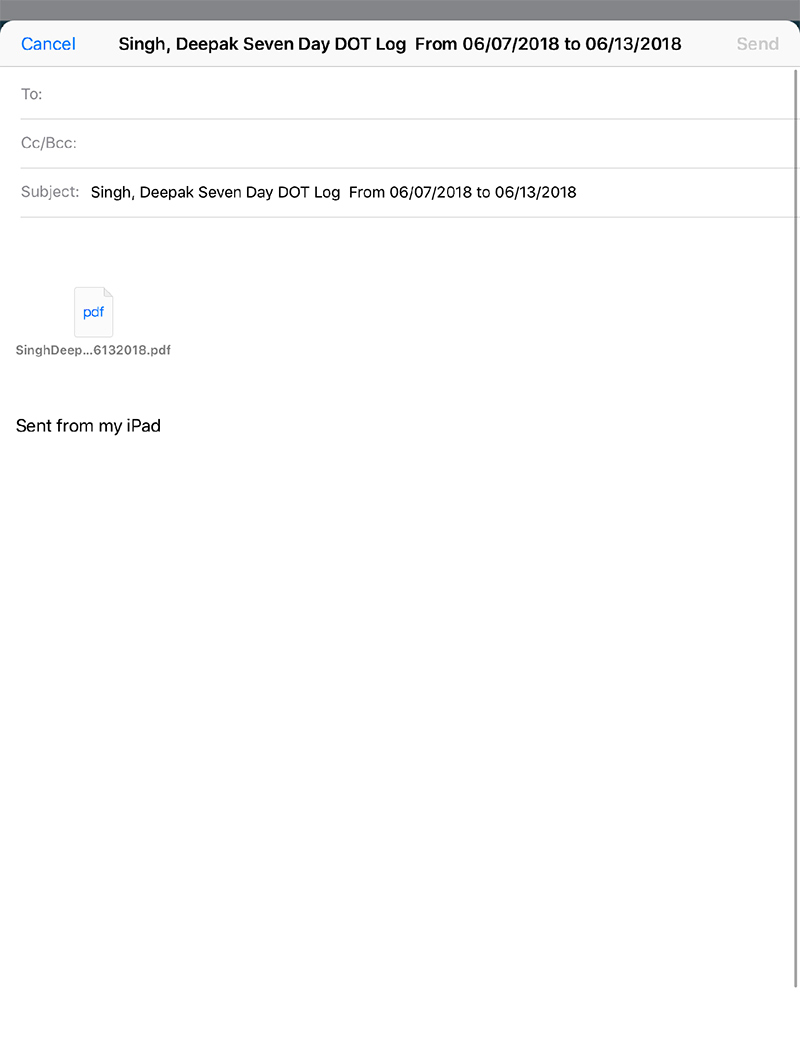
5. Click on mail icon to send DOT log pdf.
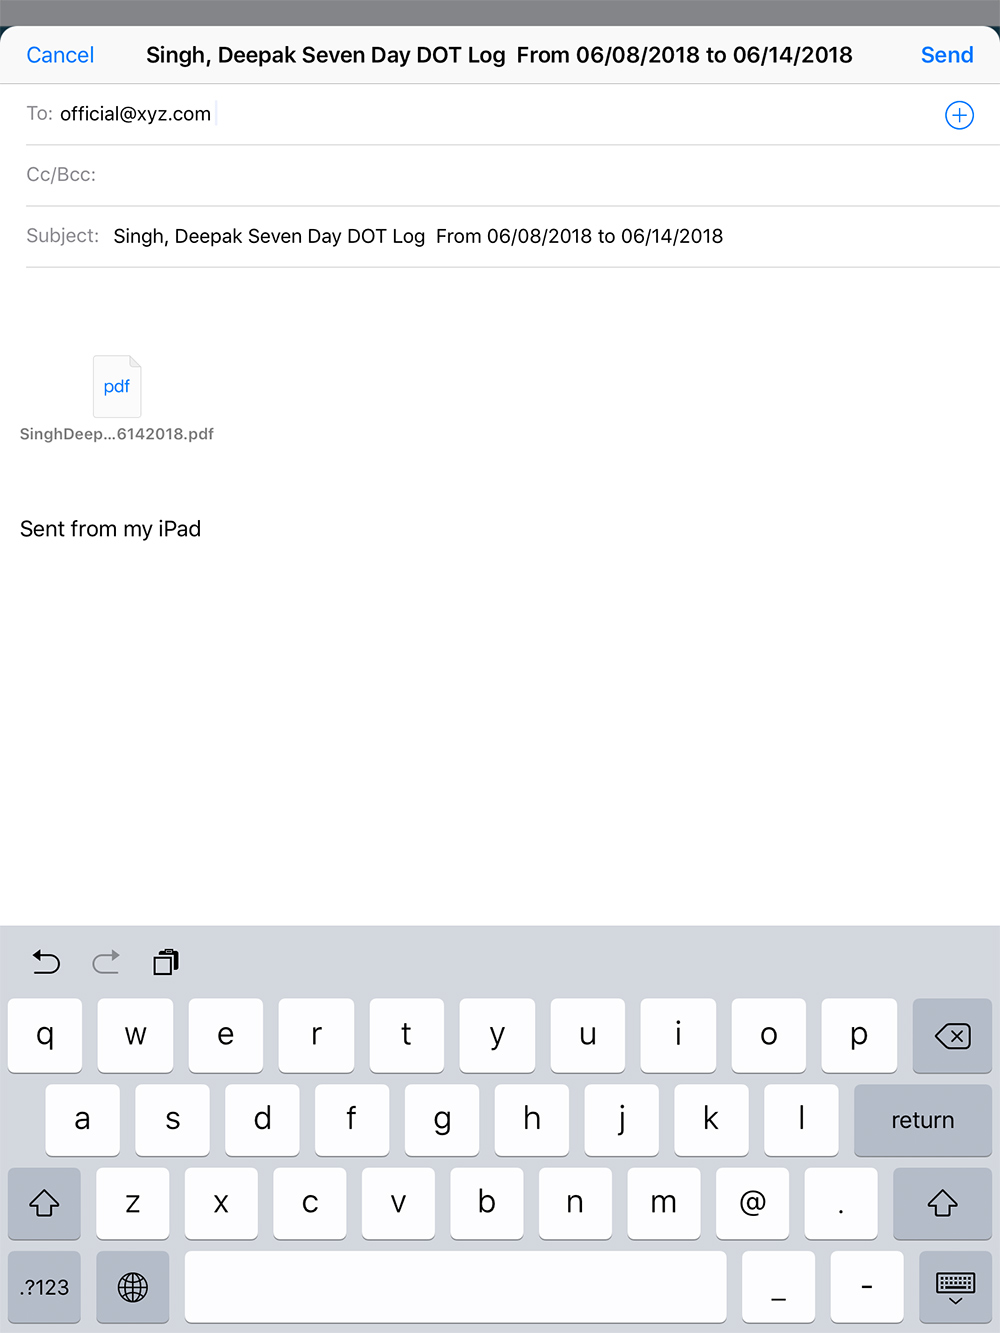
6. Enter email Id of recipient and click on send
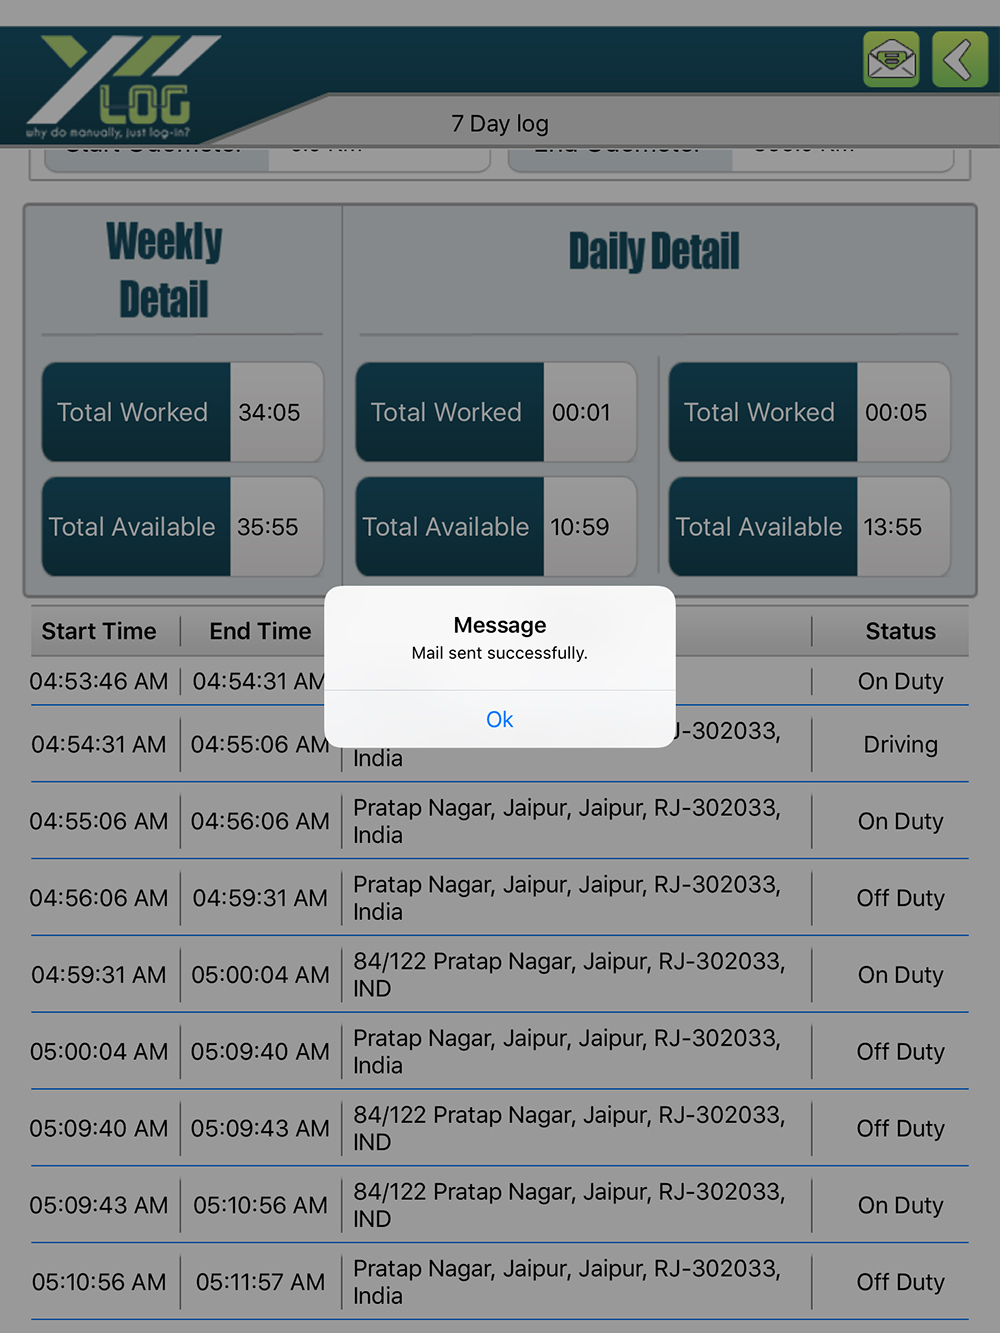
7. Check alert to confirm mail sent or not.
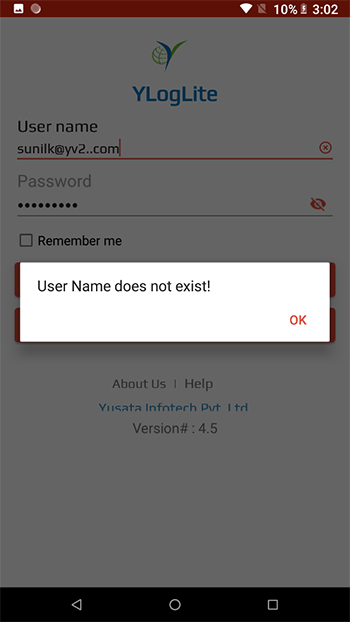
This means that either username you are entering is incorrect or the password. Resolution:Please make sure that the user is not being used on any other device.
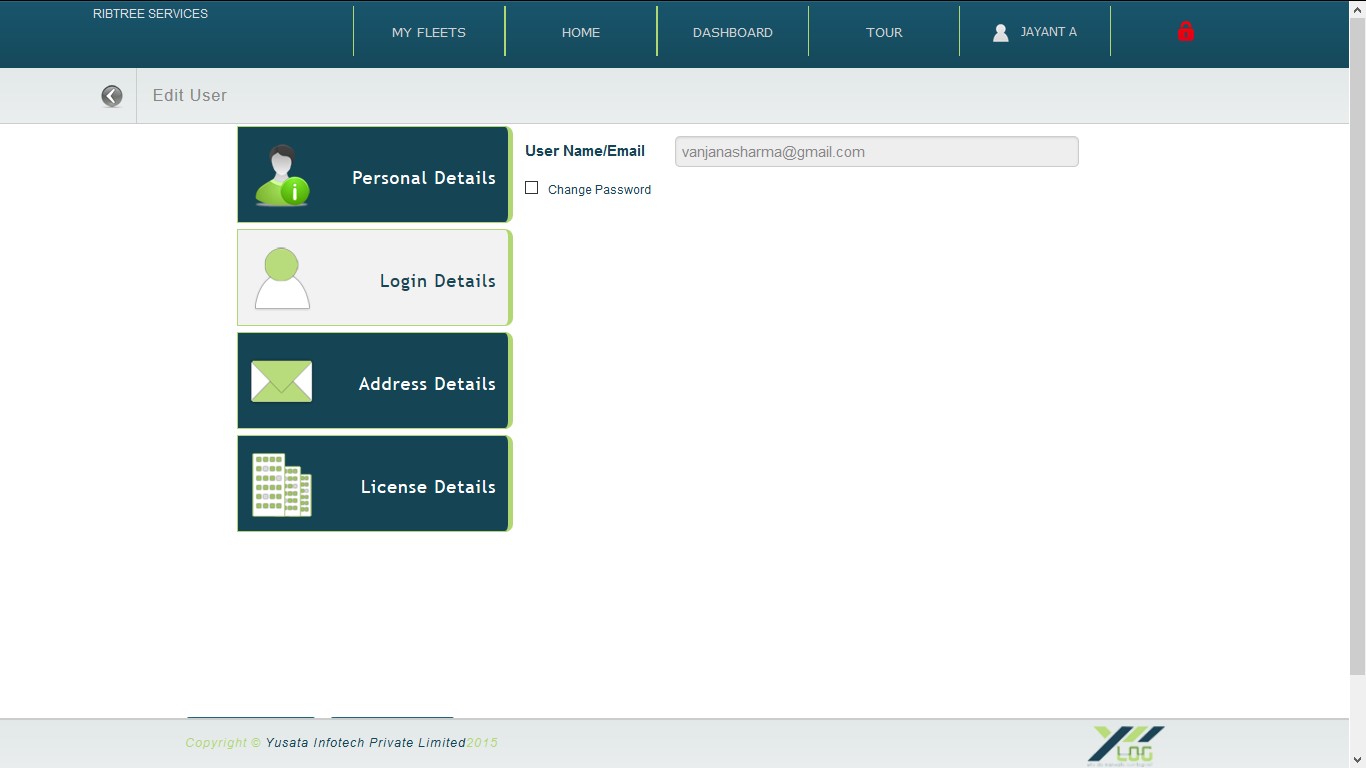
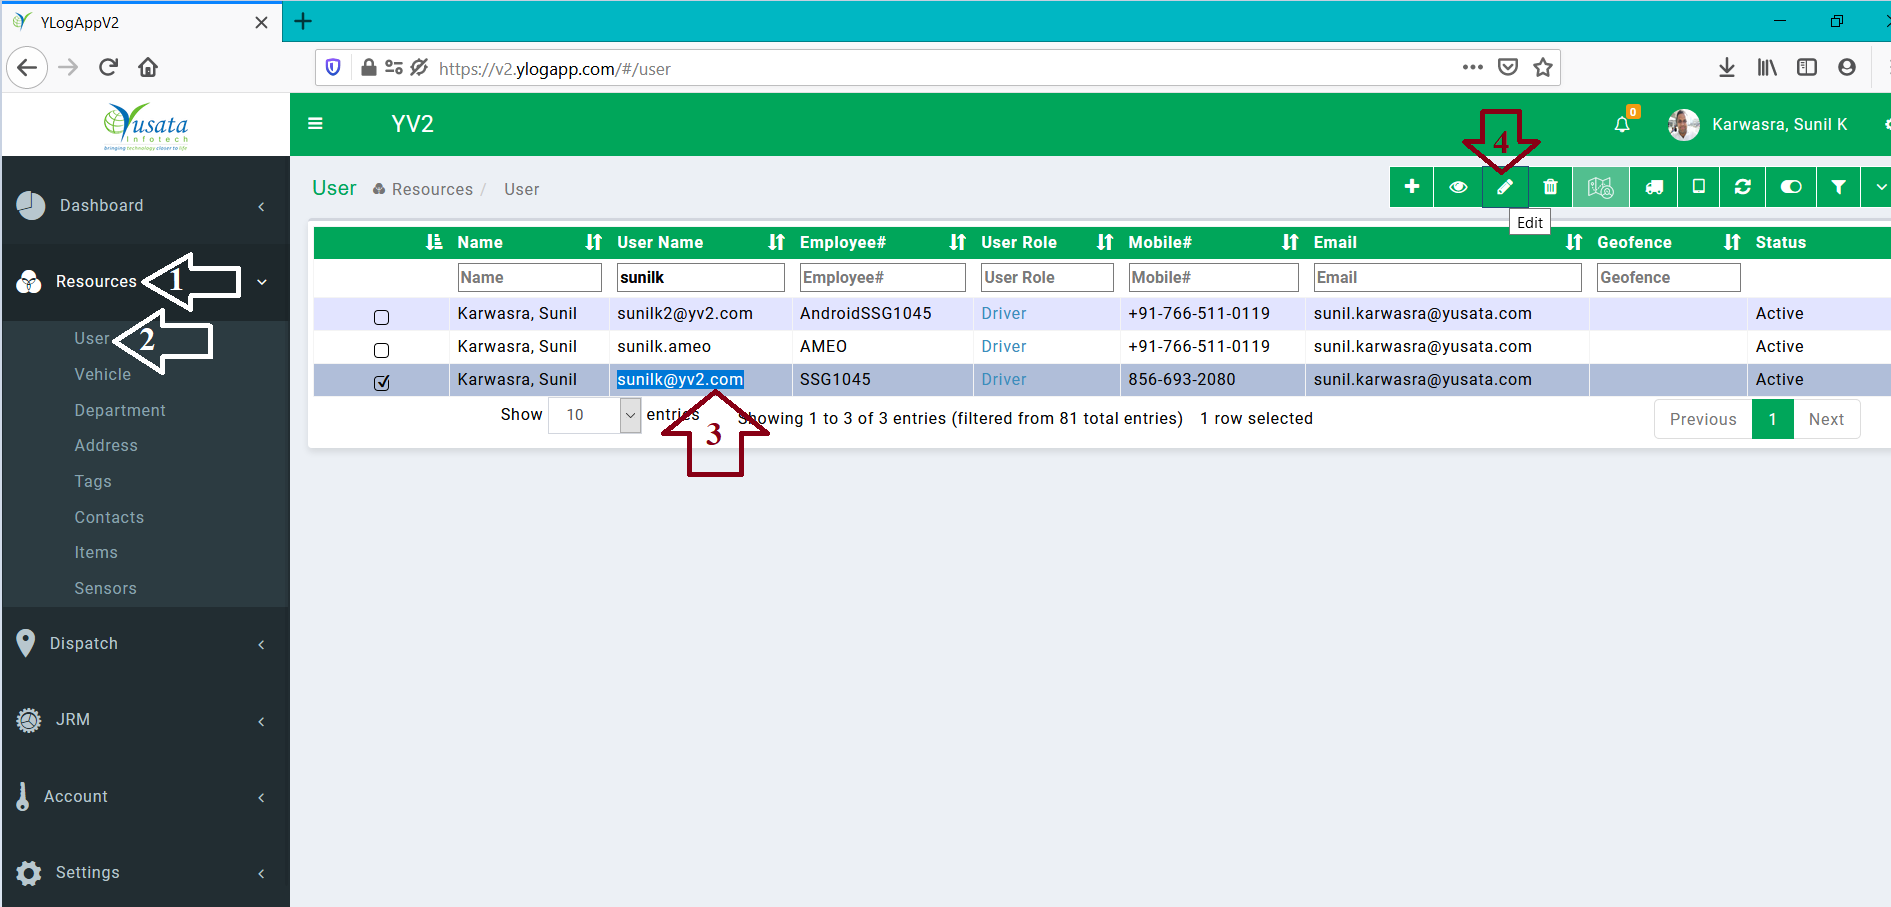
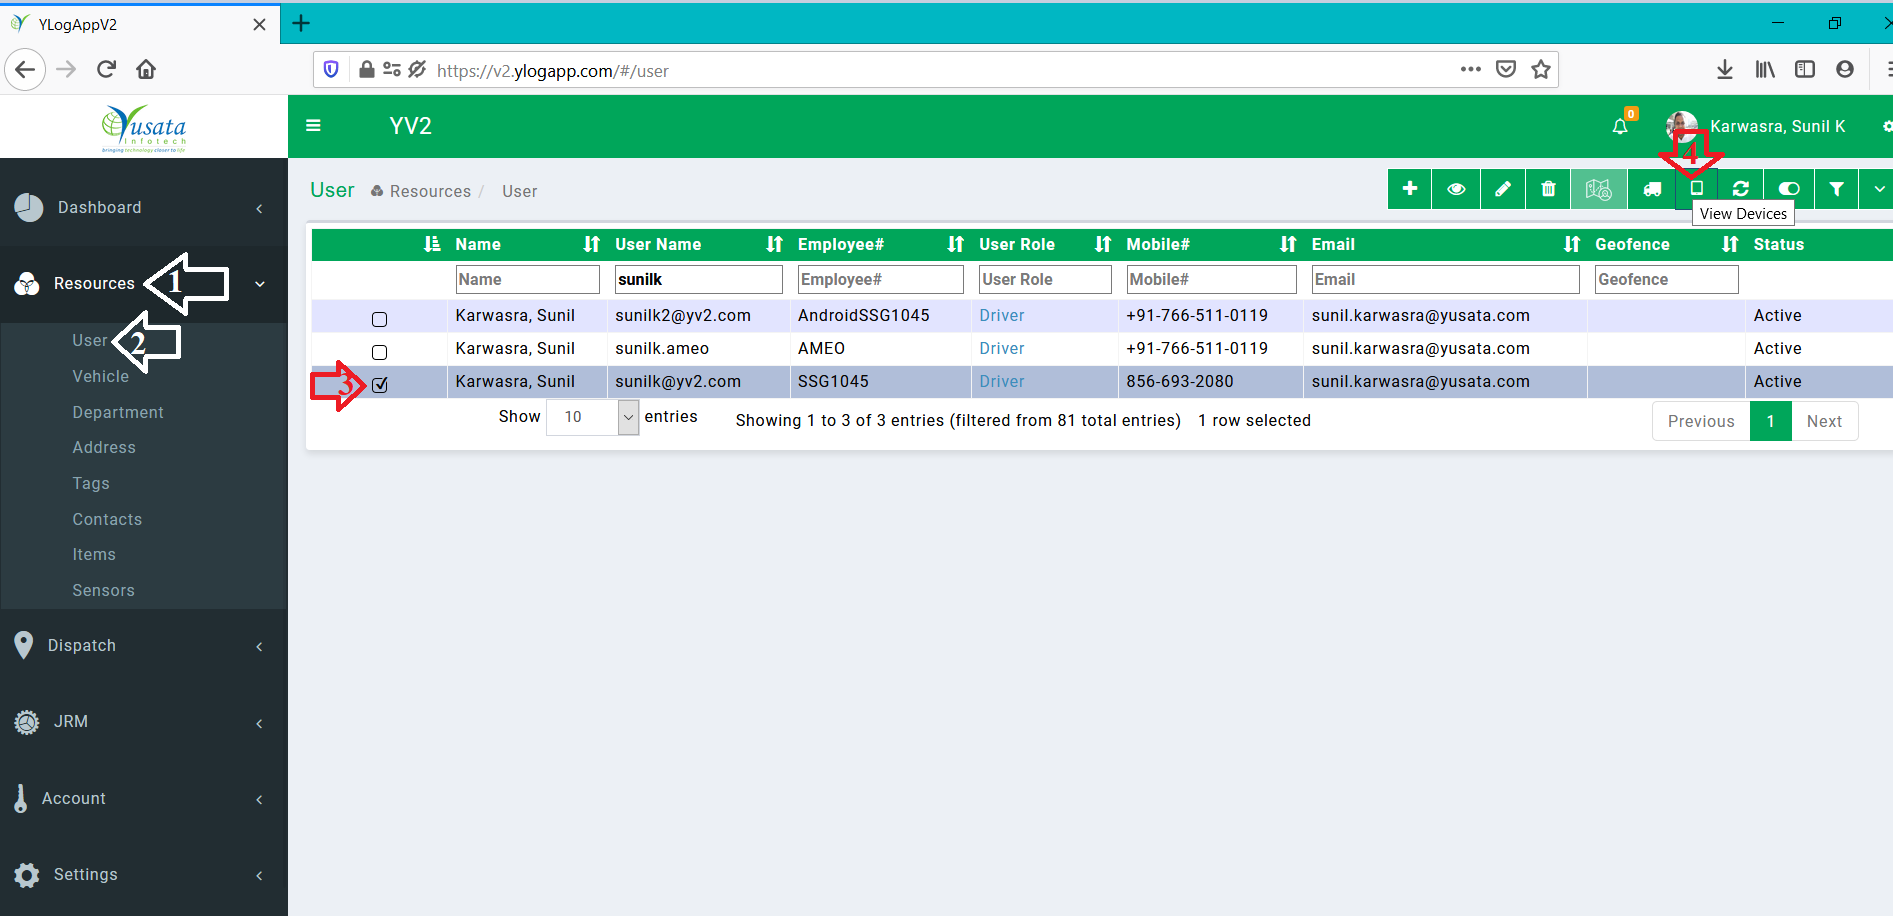
1. Login to YLogApp Portal -> Resources -> User -> Search for your user and select
Confirm your username from list to be correct (arrow# 3).
If you forgot your password, it can be updated from “Edit” by company Admin (arrow# 4).
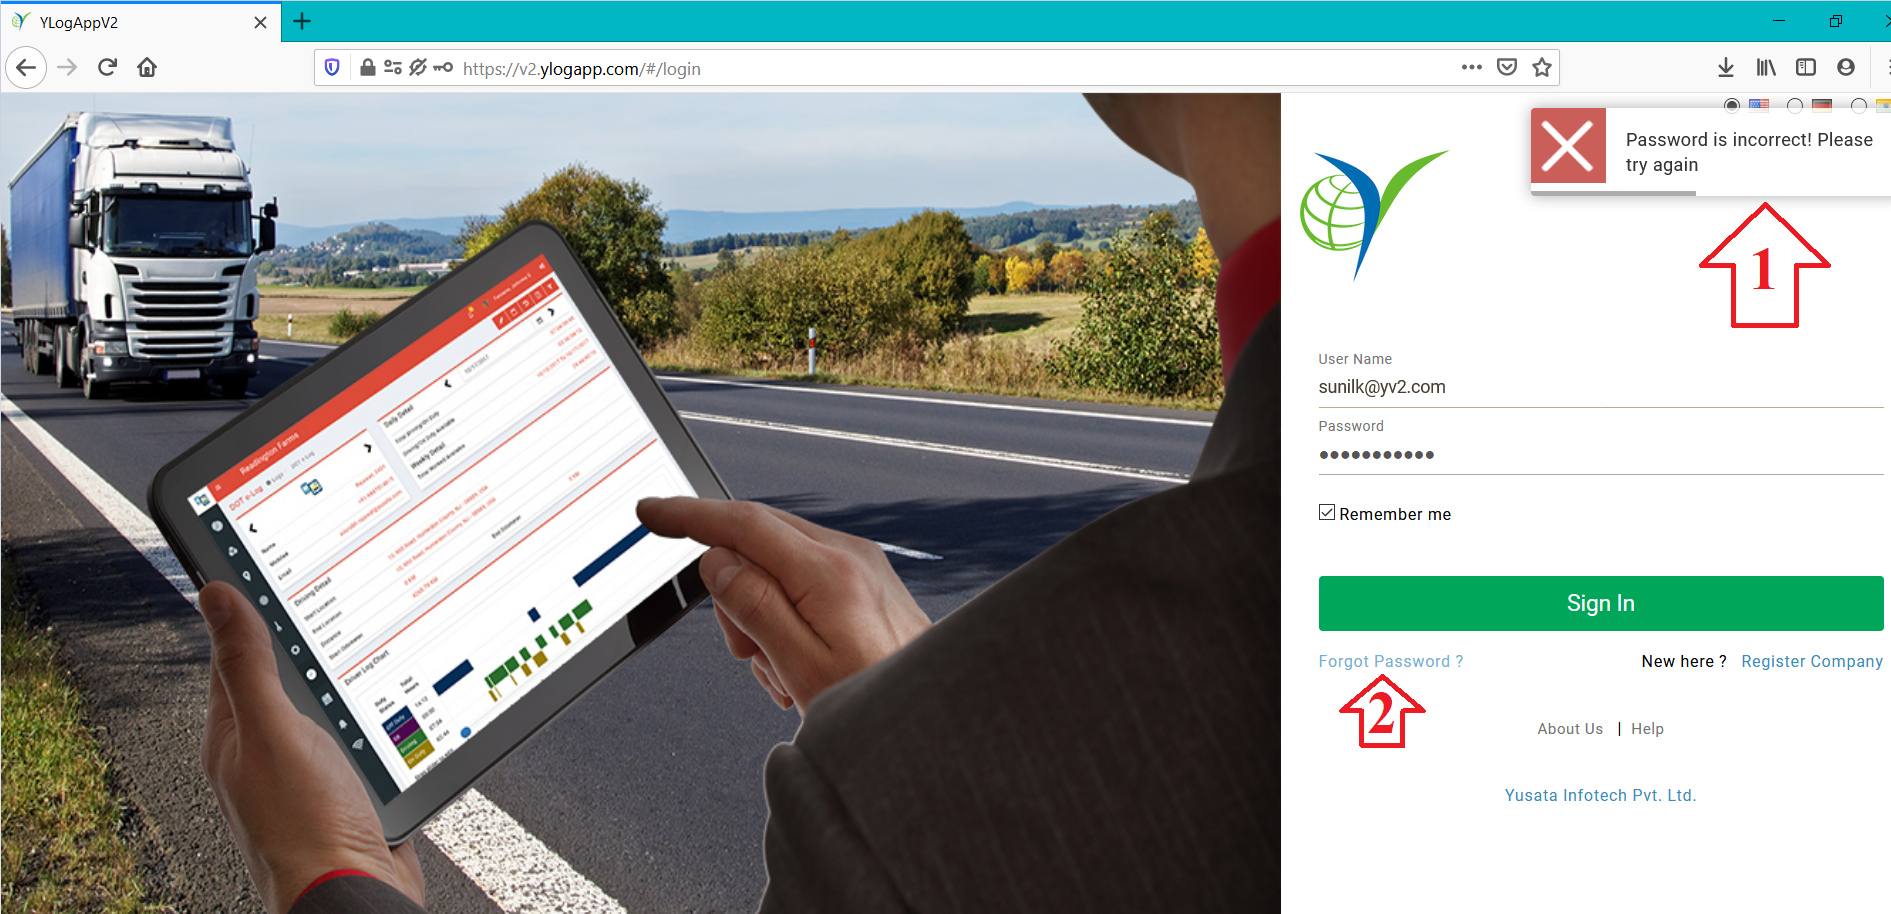
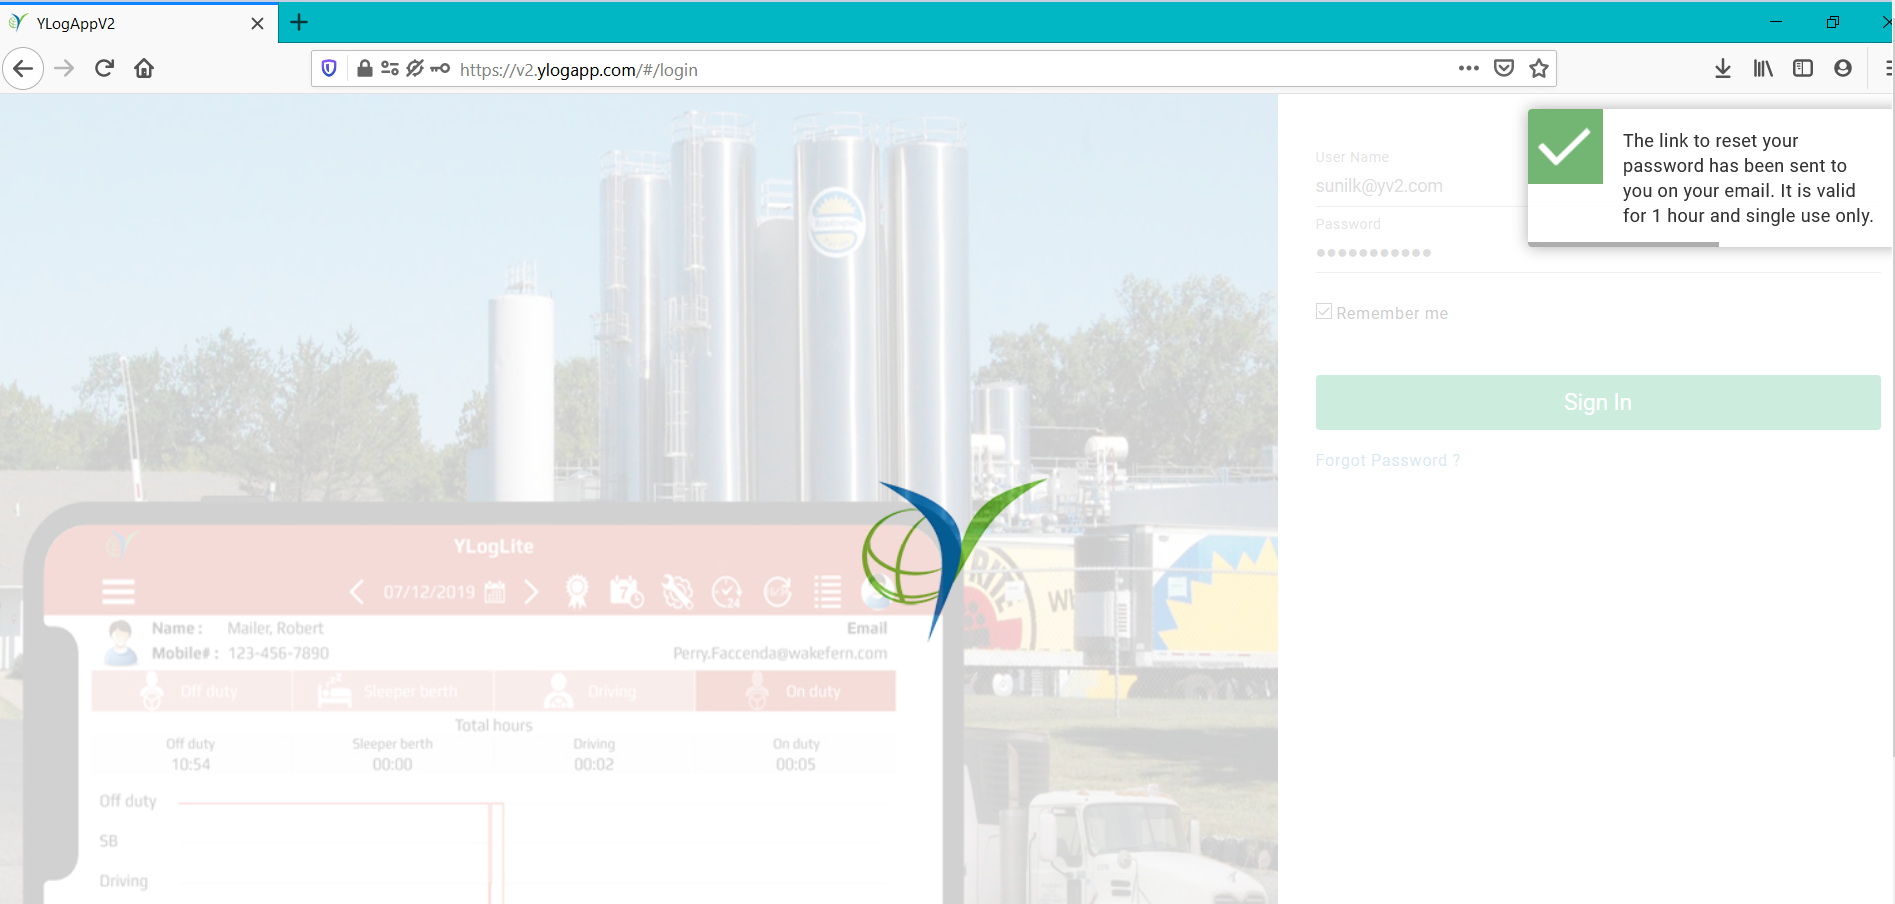
Resolution: Your password can be reset by “Forgot Password” option on login page. Click on “Forgot Password” option.
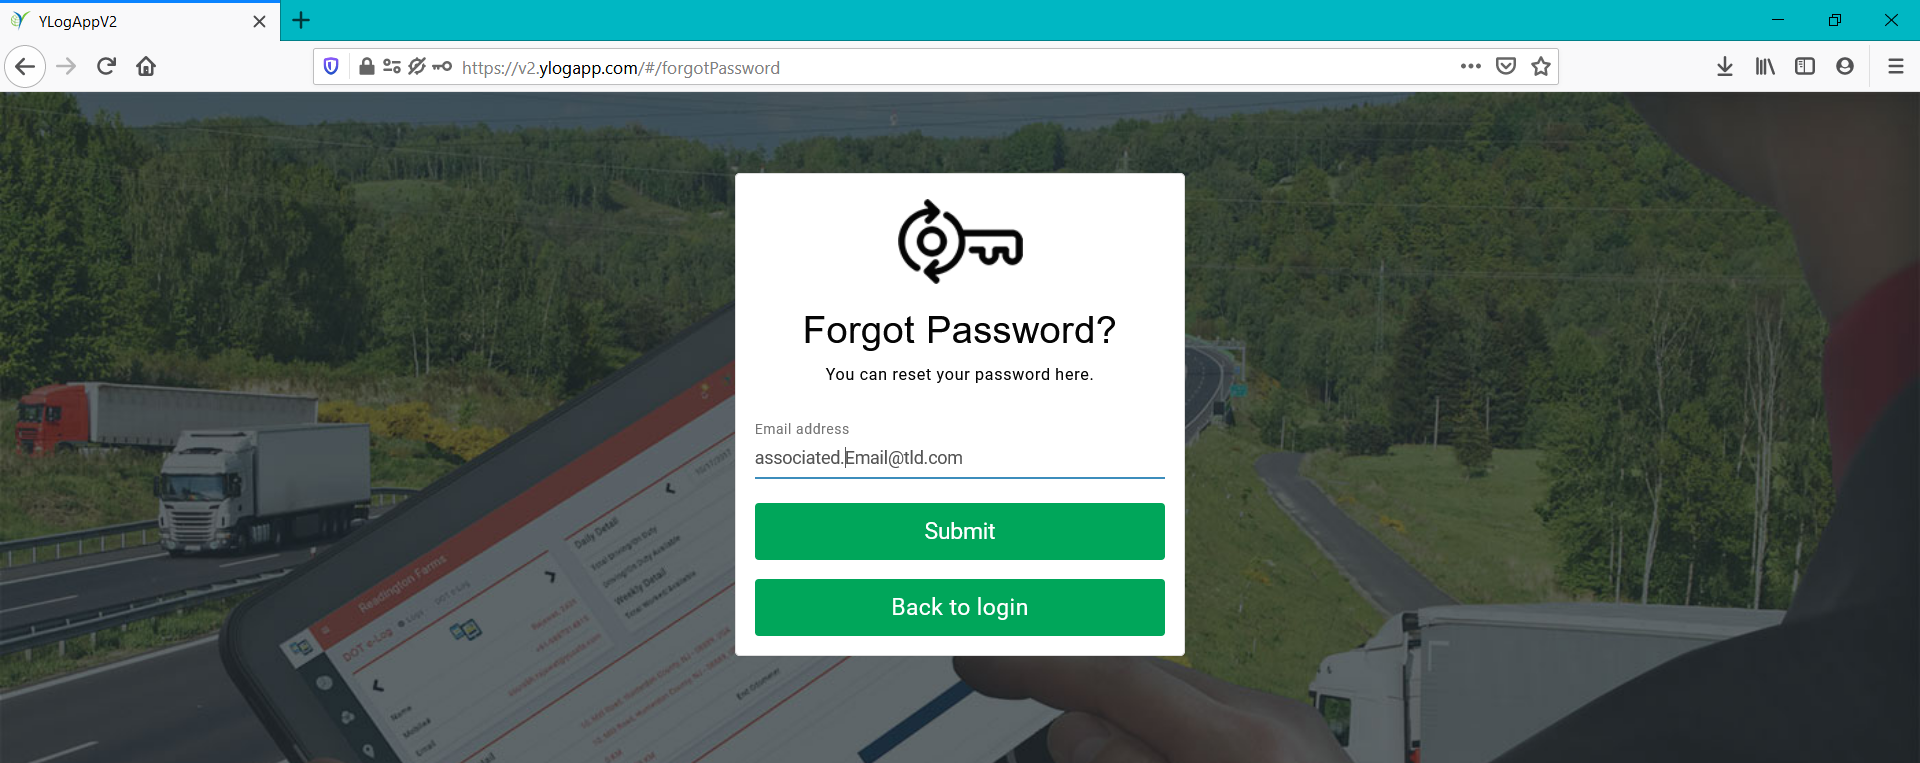
You will be prompted for email address associated with your user. A password reset link will be sent on your email. The link remains valid for One hour and can only be used once.
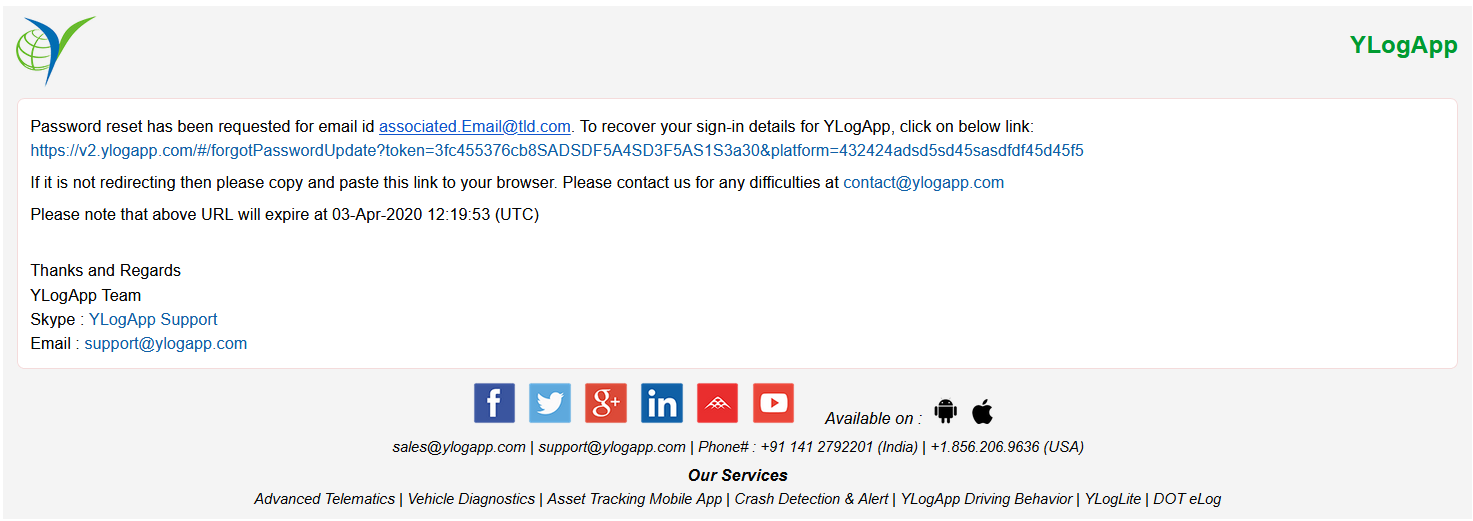
Click on password reset link to go to password reset page. For email address, where multiple accounts are associated,
password reset link will display all associated accounts. You can choose for which account you want to reset your password.
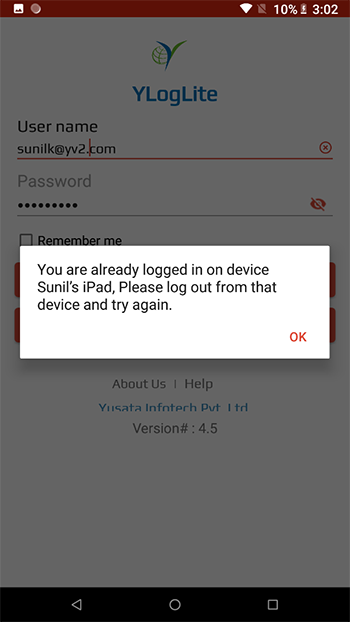
This means that the user is already logged in on another device. Ideally, you must go and logout from that device manually.
But in case, you just killed the app and don’t have access to that device, you can free up user from existing association.
Please note that this is only for rare cases, it must not be made a practice to use this feature frequently. It is subject
to remove in future versions.
Resolution:Please make sure that the user is not being used on any other device.
1. Login to YLogApp Portal -> Resources -> User -> Search for your user and select -> Click on action “View Devices”
2. It will open a pop-up and show devices mapped with this user. First device will be the one in ”Active” assignment with this user.
Select this device and click on “Unassociate” icon on top-right