YLogForms
Conditional Binding- Group/ Field Block PropertyMarch 10th, 2021
Objectives and Steps
Users can bind option values of form fields (radio buttons / checkbox / custom dropdown / multi select custom dropdown) with the field blocks (groups).
Steps
1. Login to the portal with user who can create the Form Templates
2. Click on the side menu
3. Select and click on the menu option - Wireless Forms (Figure 1)
4. Select and click on the sub menu option - Templates (Figure 1)
5. Create Groups (if Required) or can use the already created groups from the list (Figure 1.1)
Figure 1
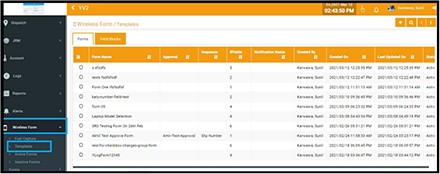
Figure 1.1
Create Groups/ Field Blocks (Figure 2)
Login to the portal with user who can create the Form Templates
Click on the side menu
Select and click on the menu option - Wireless Forms
Select and click on the sub menu option - Templates (Figure 1)
Create Groups (if Required)
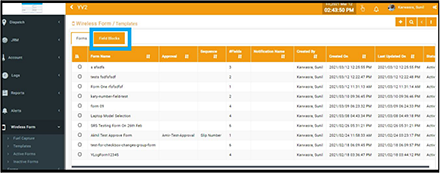
Click on Field Blocks option (Figure 2)
Click on Plus icon to add the group/block (Figure 2)
User should have a popup enabled on the screen “Create Field Block”
Field Block Name; Textbox field (Figure 2.1)
Plus icon button to submit the block name (Figure 2.1)
Here then user should be redirected to the next screen on the popup view (Figure 2.2
• Build
• Preview
• Field Block Elements
• Basic
• Date/ Time, Dropdowns
• Advanced
• Drag field to the body (Figure 2.2)
• Field Properties as the field has been dragged to the center of the screen on popup (Figure 2.2)
• Drag the property fields to build the group (Figure 2.2)
• Select the field properties and Style (Figure 2.2)
• Click on Preview to save and complete the block to be saved in the Field block list. (Figure 2.3)
• Click on the SAVE button (Figure 2.3)
• The group should get added in the list of field blocks
Figure 2

Figure 2.1

Figure 2.2

Figure 2.3

Create Forms/Templates
Login to the portal with user who can create the Form Templates
Click on the side menu
Select and click on the menu option - Wireless Forms
Select and click on the sub menu option - Templates(Figure 1)
Create Groups (if Required)
Click on Forms (Figure 3)
Click on Plus icon to add the template (Figure 3)
User should have a popup enabled on the screen “Create Form” (Figure 3.1)
• Form Name; Textbox field
• Allowed Role (dropdown list)
• Parent Menu (Under which menu the form template should be added)
• Approval Flow(dropdown list)
• Sequence (dropdown list)
Plus icon button to submit the block name “Create New Form” (Figure 3.1)
Here then user should be redirected to the next screen on the popup view (Figure 3.2)
• Build
• Preview
• Settings
• Form Elements
Drag field to the body
Form Properties as the field has been dragged to the center of the screen on popup
Drag the property fields to build the Form.
Select the form properties and Style (Figure 3.3 and Figure 3.4)
Click on Preview to save and complete the block to be saved in the Form list.
Click on the SAVE button (Figure 3.5)
The form should get added in the list of forms
Then user should be redirected to the Settings tab
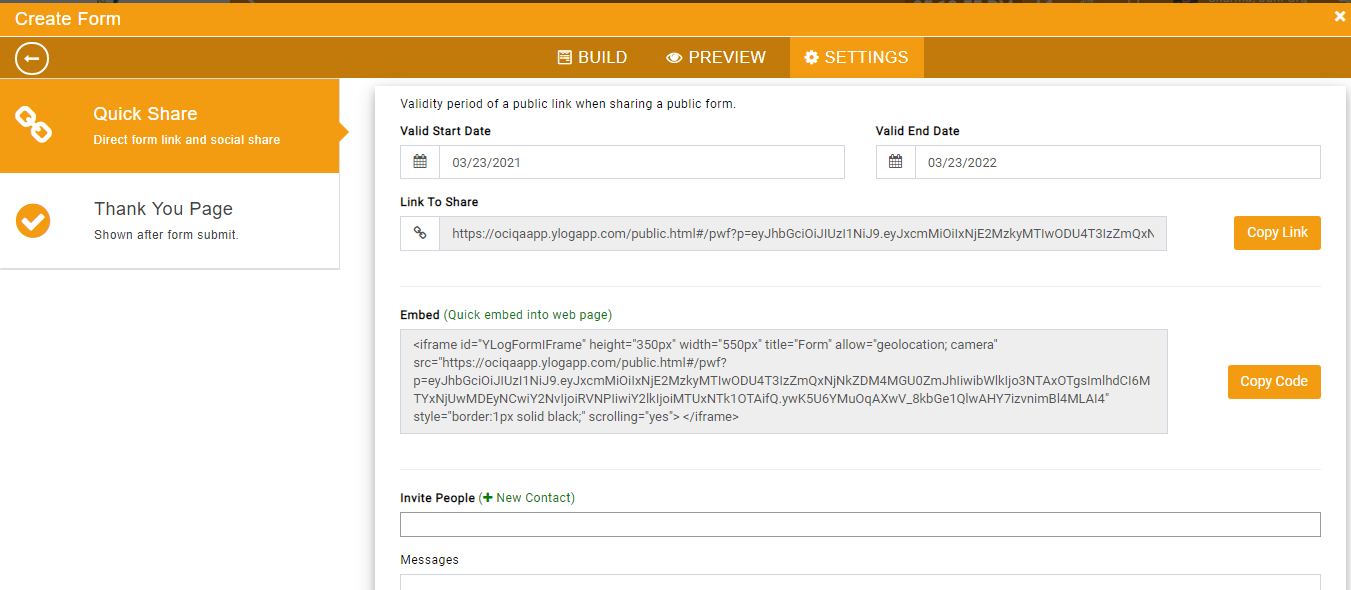
• Quick Share (Figure 3.6)
• Here user can created the public link
• Here user can create the embedded link
• Here users can share the form to the specific contacts
• by inviting the same after selecting the contact from the list.
• Thank You Page (Figure 3.6)
• Here users can create the thank you page or settings that should be performed after form submission.
Figure 3

Figure 3.1

Figure 3.2

Figure 3.3

Figure 3.4

Figure 3.5

Figure 3.6
Bind the fields on the form
Create the form
Create the field blocks if required or use the previously created field blocks
While creating the form drop the fields (Radio Field/ Checkbox Field/ Custom Dropdown/ Multi Select Custom Dropdown (Figure 4)
Drop one of the above fields (Figure 4)
Now drop a group/ Field Block (Figure 4)
The user will have a new Property “Conditional Binding” (Figure 4)
Checkbox option (This is property of the group )
As the user selects the checkbox - user will have two fields enabled on the property popup -Bind With and Option Values (Figure 4)
Now select the field for which the user wants to bind the field block (Figure 4)
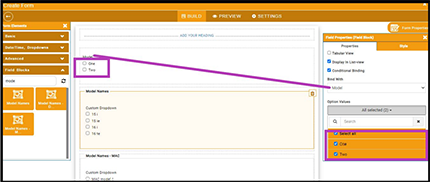
As it is selected the user now will have the options list values enabled - select as required one or more or all (Figure 4.1)
Now save the form and if required generate the public shareable link or embedded link for the website.
Figure 4
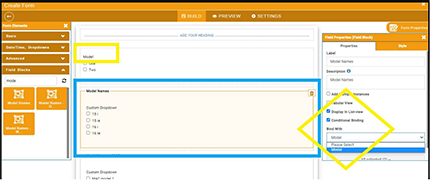
Figure 4.1
Add Form/ Edit Form/ View Form
From Portal
• Select the form from side menu under which parent menu the form has been created
• Now click on Add icon button
• Fill in the form fields
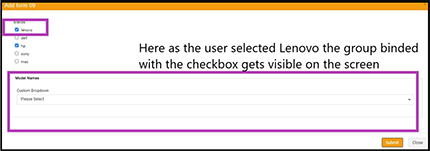
• Here the end user when selects the form if he/she selects the field on which the field binding has been marked then only the field block will be visible otherwise it will be hidden on the form. (Figure 5.1 and Figure 5.2)
• Submit the form and the form will be added in the list.
Figure 5.1
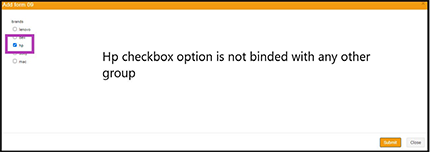
Figure 5.2
From App (YlogForms/ MI Forms/ YLogLite)
Login with the driver user
After login click to open side menu
Go to Wireless Forms
Click on the form to open
Enter the field values
Here the end user when selects the form if he/she selects the field on which the field binding has been marked then only the field block will be visible otherwise it will be hidden on the form.
Submit the form and the form will be added in the list.
