YLogForms
File Upload Enhancement6th April 2022
This feature facilitates the user to upload a csv file by clicking on a Icon “File Upload”

Objectives and Steps
OVERVIEW & PURPOSE
This feature facilitates the user to upload a csv file by clicking on a Icon “File Upload”
Wireless Form - File Upload
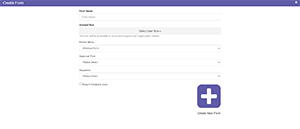
• Create a template, give a valid form name and select the allowed role from dropdown.Click Create New Form.
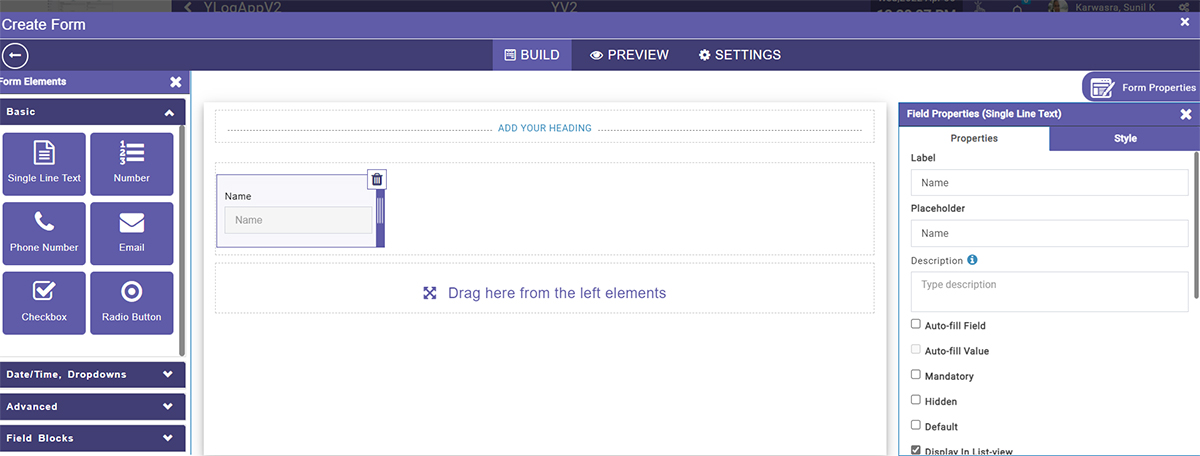
• Drop the single line text.
• Here the user will have a single line field,give a name/label and description
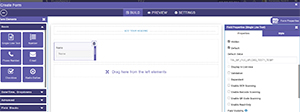
• Set the field properties for the field/table as Hidden
• Set the field properties for the field/table as Default and give the Default value as “tbl_WF_File_Upload_Test1_temp”.
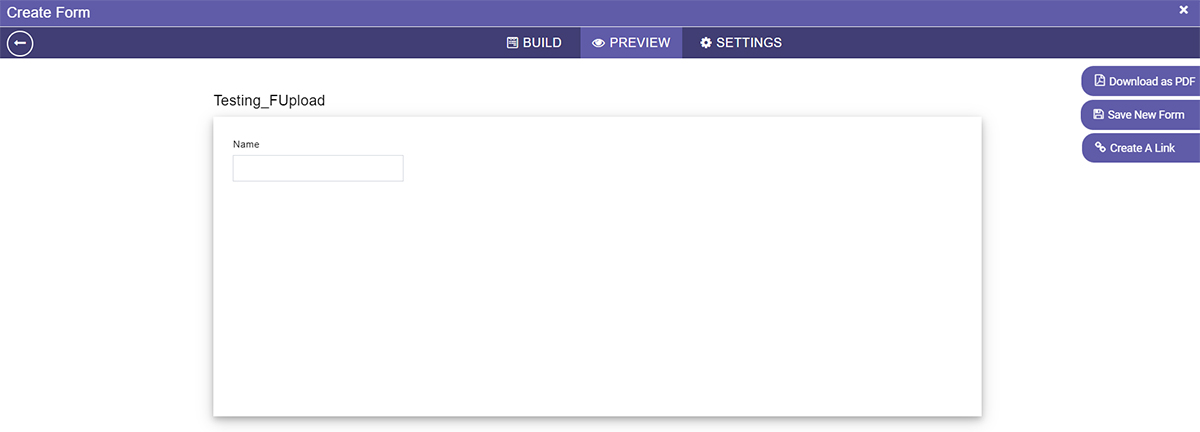
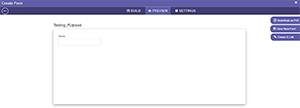
• Move to Preview,”Save New form”.
Create New Form
Drag Single Line field
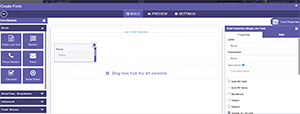
Edit Field Properties
Save the form
Form Added

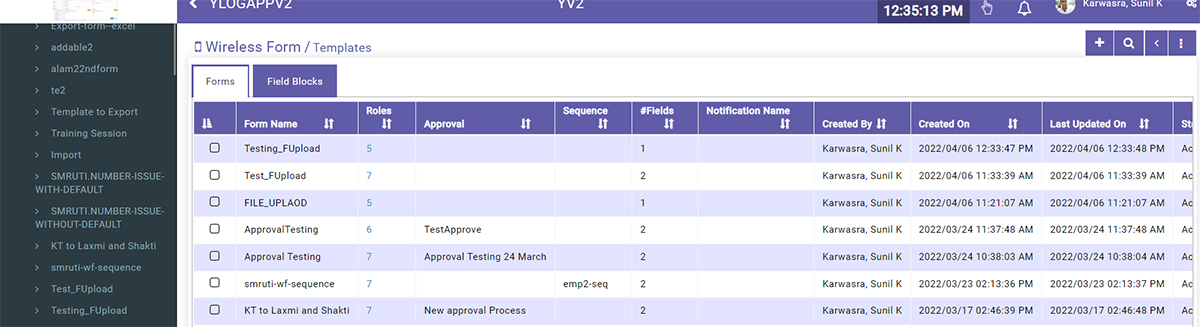
Search the created template
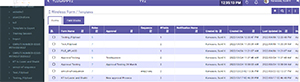
Expand the grid from RHS and choose File Upload Icon

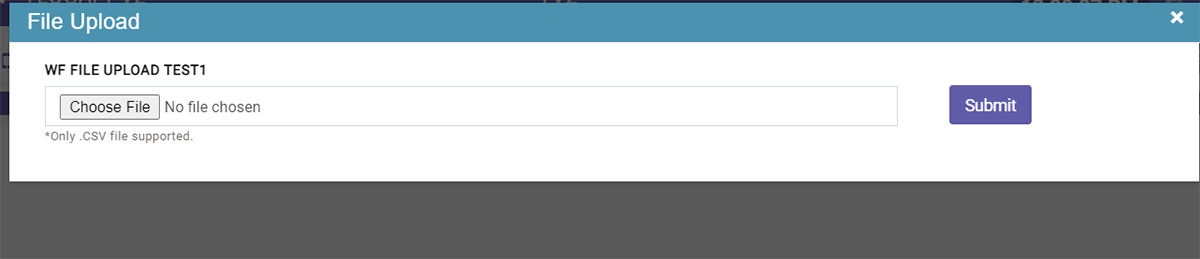
Upload csv file via “Choose File” Button and hit on Submit Button
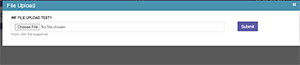
File Selection Done

File Uploaded

Conditions while uploading the file
• This functionality supports only .csv files.
• Csv file header name should be the same as the table column names.
• If the column name does not match with Database’s header, then it should give the error message “Table/Columns does not exist”.